Wood paneling walls can be an outdated and unsightly feature in a home. However, with a little bit of work, it is possible to fix and update these walls. In this post, we will discuss how to fix wood paneling walls and give you ideas for updating them to create a more modern look in your home. Keep reading to learn more.
Summary: Update the look of your wood paneling walls with these easy steps. First, gather all necessary materials and tools, then inspect the panels for damage. Replace any damaged panels by measuring the area to be replaced and cutting new pieces, then attach and caulk the joints. Fill in nail holes, paint or stain the paneling, and add molding if desired. Finally, enjoy your newly updated space!
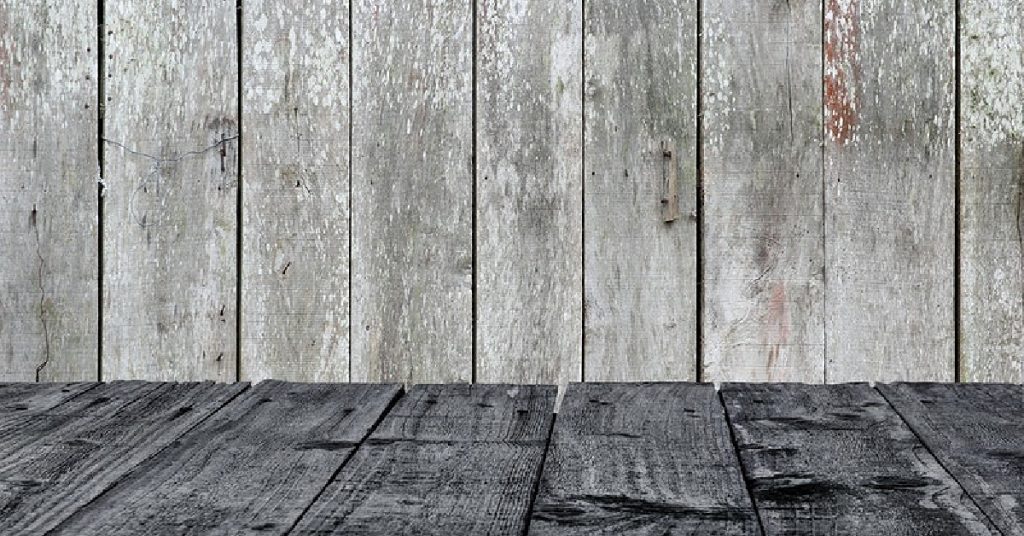
What Causes Wood Paneling Walls to Warp?
There are a few different things that can cause wood paneling walls to warp. One of the most common causes is moisture. If the panels are not properly sealed, they can absorb moisture from the air and start to warp. Another common cause of warping is changing in temperature and humidity.
If the panels are exposed to extreme temperature or humidity changes, they can also start to warp. The other main cause of warping is poor installation. If the panels are not installed correctly, they can start to warp over time. Finally, they can also warp if the panels are not made of high-quality wood.
Why Is It Important to Fix Wood Paneling Walls?
It is important to fix wood paneling walls for a few different reasons. First, warped panels can be unsightly and make your home look dated. Second, warped panels can be a safety hazard. If the panels are not properly secured, they can come loose and fall, which could injure someone.
Third, warped panels can let in drafts and cause your energy bills to go up. Finally, warped paneling can be a turn-off for potential buyers if you are trying to sell your home. Therefore, if you have warped paneling in your home, it is important to take the time to fix it.
Step by Step How to Fix Wood Paneling Walls
Step 1: Assess the Damage
Before starting any repairs, examine the wood paneling to determine the extent of the damage. Look for issues such as cracks, warping, rot, or loose panels. Make a list of the problems you identify, as this will help guide your repair process.
Step 2: Gather Necessary Tools and Materials
To fix wood paneling, you’ll need a variety of tools and materials. These may include:
- Wood filler or putty
- Putty knife
- Sandpaper (various grits)
- Wood glue
- Wood screws
- Drill and drill bits
- Hammer
- Pry bar
- Replacement panels (if needed)
- Paint or stain (if necessary)
- Paintbrush or roller
- Clean, damp cloth
Step 3: Repair Cracks and Holes
To fix cracks or holes in wood paneling, use wood filler or putty. Choose a product that is appropriate for the type of wood and the size of the repair. Using a putty knife, apply the filler to the damaged area, pressing it firmly into the crack or hole. Smooth the surface, removing any excess filler, and allow it to dry according to the manufacturer’s instructions. Once dry, sand the area with fine-grit sandpaper until it is smooth and level with the surrounding wood.
Step 4: Address Warping or Bowing
If you notice warping or bowing in your wood paneling, you may need to add support behind the panel to fix the issue. Start by gently prying the warped panel away from the wall using a pry bar. Be careful not to damage the panel or the surrounding wood. Once the panel is removed, inspect the wall behind it for any structural issues that may be causing the warping. If necessary, repair the wall before proceeding.
Next, attach wood furring strips or additional support to the wall behind the panel. Use wood screws and a drill to secure the furring strips to the wall studs, ensuring they are level and evenly spaced. Finally, reattach the panel to the furring strips using wood screws, making sure the panel lies flat against the wall.
Step 5: Fix Loose Panels
Loose panels can be reattached to the wall using wood screws or wood glue. First, clean the back of the panel and the wall surface with a damp cloth to remove any dust or debris. If using wood glue, apply a thin layer to the back of the panel and press it firmly against the wall. Hold the panel in place until the glue begins to set, following the manufacturer’s instructions for drying time.
If using wood screws, drill pilot holes through the panel and into the wall studs. Then, insert the screws and tighten them until the panel is securely attached to the wall. Be careful not to overtighten the screws, as this may cause damage to the panel.
Step 6: Replace Damaged Panels
If a panel is too damaged to repair, you may need to replace it entirely. Carefully remove the damaged panel from the wall using a pry bar. Measure the dimensions of the panel and purchase a replacement panel that matches the existing wood paneling.
Before installing the new panel, ensure the wall behind it is clean and in good condition. If necessary, make any repairs to the wall before proceeding. Then, attach the new panel to the wall using wood screws or wood glue, following the same process outlined in Step 5.
Step 7: Sand and Finish
Once all repairs are complete, sand the entire surface of the wood paneling with fine-grit sandpaper to create a smooth, even finish. Wipe away any dust or debris with a clean, damp cloth.
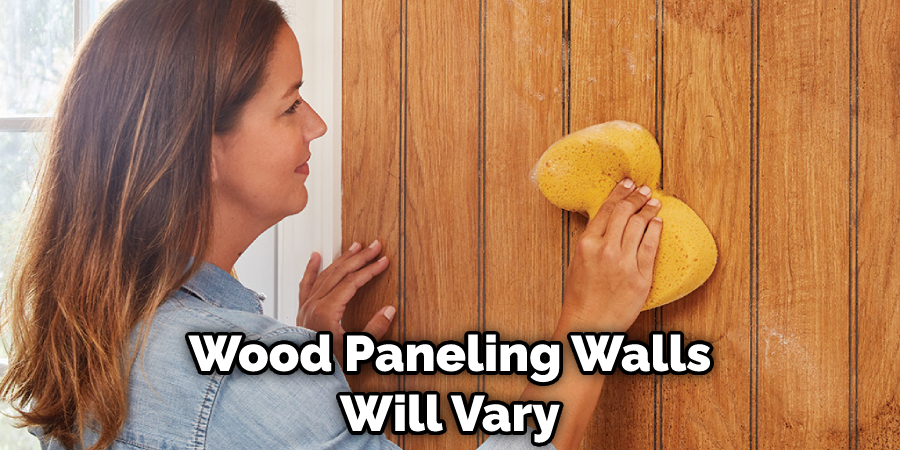
If you plan to paint or stain the paneling, now is the time to do so. Choose a paint or stain color that matches or complements the existing finish. Apply the paint or stain using a paintbrush or roller, working in even, smooth strokes. Be sure to follow the manufacturer’s instructions for the number of coats needed and the drying time between coats. If you’re only painting or staining a few panels, take care to blend the new finish with the surrounding panels to create a cohesive look.
Step 8: Seal the Wood Paneling
To protect the wood paneling from moisture, dirt, and wear, apply a clear sealant, such as polyurethane or varnish. Choose a product that is appropriate for the type of wood and finish. Use a paintbrush or roller to apply the sealant evenly across the surface of the paneling, following the manufacturer’s instructions for the number of coats required and the drying time between coats.
Step 9: Reinstall Any Removed Fixtures or Hardware
If you removed any fixtures, outlet covers, or hardware during the repair process, reinstall them once the paneling is completely dry. Use a screwdriver or drill to secure the items in place, taking care not to damage the newly repaired paneling.
Step 10: Inspect Your Work
Once all repairs, refinishing, and reinstallation are complete, take a step back and carefully inspect your work. Ensure that all panels are securely attached, that the repaired areas blend seamlessly with the surrounding wood, and that the finish is smooth and even. Address any remaining issues or imperfections as needed.
Step 11: Maintain the Wood Paneling
To keep your wood paneling looking its best, clean it regularly with a damp cloth and a mild cleaner designed for wood surfaces. Avoid using harsh chemicals or abrasive cleaning tools, as these can damage the finish. Periodically inspect the paneling for signs of damage or wear and address any issues promptly to prevent further deterioration.
By following these steps, you can effectively repair and restore wood paneling walls, giving them a fresh, updated appearance. With proper maintenance and care, your wood paneling can remain an attractive feature in your home for years to come.
Tips and Warnings on How to Fix Wood Paneling Walls
Tips:
- Be sure to remove all the nails and screws from the paneling before you attempt to repair it.
- If the wood paneling is warped, use a heat gun or hair dryer to straighten it out carefully.
- Be careful not to apply too much pressure when sanding the wood paneling, as this can damage it.
- If the wood paneling is cracked, use a wood filler to fill in the cracks.
- Be sure to stain or paint the wood paneling after you have repaired it.
Warnings:
- Do not use a power sander on the wall. The paper could tear and cause permanent damage to the wood.
- If you are going to paint the paneling, be sure to prime it first with a good-quality primer meant for hard surfaces.
- Be sure to use very fine sandpaper to avoid damaging the wood surface.
How Much Does It Cost to Fix Wood Paneling Walls?
The cost to fix wood paneling walls will vary depending on the extent of the damage, the type of wood paneling, and the size of the room. Expect to pay anywhere from $100 to $1,000 for the materials and labor. However, if you are handy, you can probably do the repairs yourself for less than $100.
Conclusion
So, there you have it! Everything you need to know about how to fix wood paneling walls. We hope that this article was helpful and that you are now ready to take on this project yourself. Remember to be patient and take your time; if you follow the steps outlined in this article, you should be able to achieve great results. Finally, have fun fixing up your home.