There are several reasons why you should know how to fix water dripping from your bathroom fan. Firstly, an ongoing leak can cause damage to your ceiling and walls, leading to costly repairs. Secondly, a dripping fan can lead to mold growth, which can have negative health effects on you and your family. Lastly, fixing the issue yourself can save you money on hiring a professional plumber.
The main advantage of knowing how to fix water dripping from your bathroom fan is that you can address the issue immediately. This will prevent any further damage or expenses and ensure a healthy environment in your home. You can find step-by-step instructions on how to fix water dripping from bathroom fan in this blog article.
Step-by-step Instructions for How to Fix Water Dripping From Bathroom Fan
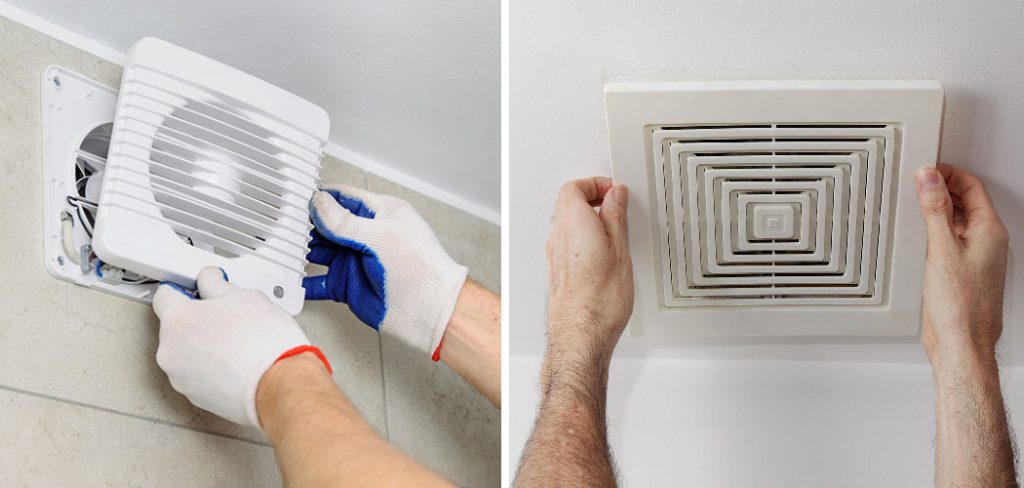
Step 1: Inspect the Fan
The first step in fixing a dripping bathroom fan is to inspect it. Check for any visible cracks, damage or holes in the unit that may be causing the leak. Before attempting any repairs, make sure to clean the surrounding area thoroughly. This will help you better identify where the water is coming from and prevent any further damage.
Step 2: Check for Clogs
Clogs can often cause water to back up and drip from a bathroom fan. Use a flashlight to check for any debris or buildup in and around the fan blades and remove if necessary. Loose screws or bolts can also contribute to a leaking bathroom fan. Use a screwdriver to tighten any visible screws or bolts on the unit.
Step 3: Replace Gasket or Sealant
If the fan is still leaking, check the gasket or sealant around the edges of the fan housing. If it appears cracked or damaged, replace it with a new one. Water may be entering through the roof vent or flashing above your bathroom fan. Inspect these areas for any cracks, holes, or damage and repair as needed.
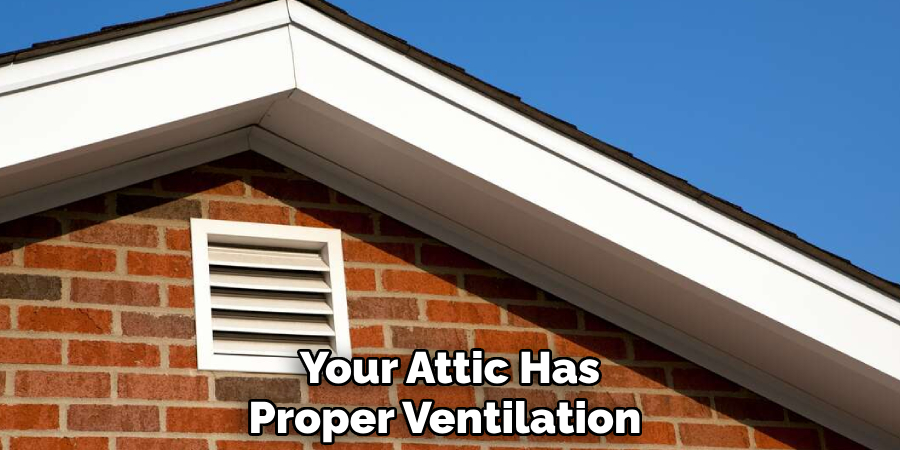
Step 4: Check Attic Ventilation
Improper attic ventilation can cause excess moisture buildup, leading to water dripping from the bathroom fan. Make sure your attic has proper ventilation and consider installing a vent fan if necessary. Condensation can also cause water to drip from a bathroom fan. Consider adding insulation or a dehumidifier to reduce moisture levels in the room.
Step 5: Check for Leaks in Plumbing
If you are still experiencing leaks after checking and repairing other possible causes, it may be due to plumbing issues. Have a professional plumber inspect and repair any leaks in the pipes or fixtures near your bathroom fan. If all else fails, it may be time to replace your bathroom fan unit with a new one. Follow manufacturer instructions for installation and make sure to seal all connections properly to prevent any future leaks.
By following these step-by-step instructions, you can effectively fix water dripping from your bathroom fan and prevent any further damage to your home. Remember to always prioritize safety and seek professional help if needed. With proper maintenance, your bathroom fan should provide efficient ventilation without any leaks for years to come.
Safety Tips for How to Fix Water Dripping From Bathroom Fan
- Before you start working on your bathroom fan, make sure to turn off the power supply. This will ensure your safety and prevent any electrical accidents from occurring.
- When trying to fix a water dripping bathroom fan, it is important to use the right tools and equipment. Using incorrect or damaged tools can lead to further damage and even cause harm to yourself.
- It is always a good idea to wear protective gear when handling any repairs in your bathroom. This includes gloves, goggles, and a mask if necessary. These items will protect you from any harmful debris or particles that may be present.
- Before beginning any repair work, make sure to thoroughly clean the area around your bathroom fan. This will help you identify any potential issues and make it easier to work on the fan.
- When taking apart your bathroom fan, be careful not to force any pieces apart. Use gentle pressure and take your time to avoid breaking any components.
- If you are unsure of how to fix a water dripping bathroom fan, it is always best to seek professional help. Trying to fix it on your own without the proper knowledge or experience can lead to more problems and potentially cost you more money in the long run.
- Lastly, once you have completed the repairs, make sure to test the fan before turning it back on. This will ensure that everything has been fixed properly and will prevent any unnecessary accidents.

Remember, safety should always be your top priority when dealing with any repairs in your home, especially in areas like the bathroom where water and electricity are present. By following these safety tips, you can successfully fix a water dripping bathroom fan without risking your well-being.
What Causes Water to Drip From a Bathroom Fan?
Water dripping from a bathroom fan can be a frustrating issue to deal with. Not only is it annoying, but it can also lead to bigger problems such as mold and mildew growth in your bathroom. In order to fix this issue, it’s important to understand what causes water to drip from a bathroom fan in the first place.
1. Condensation Buildup
One common cause of water dripping from a bathroom fan is condensation buildup on the inside of the exhaust duct. This typically happens when warm, humid air from the shower or bath travels through the exhaust duct and meets cold surfaces. The resulting temperature difference causes moisture to form and eventually drip down.
2. Damaged or Misaligned Ductwork
If your ductwork has any cracks, holes, or gaps, it can allow warm, humid air to escape and come into contact with cold surfaces. This can lead to excess condensation buildup and ultimately water dripping from your bathroom fan.
In addition, if the ductwork is misaligned or disconnected in any way, it may not be properly directing moisture out of your bathroom and instead allowing it to accumulate near the fan.
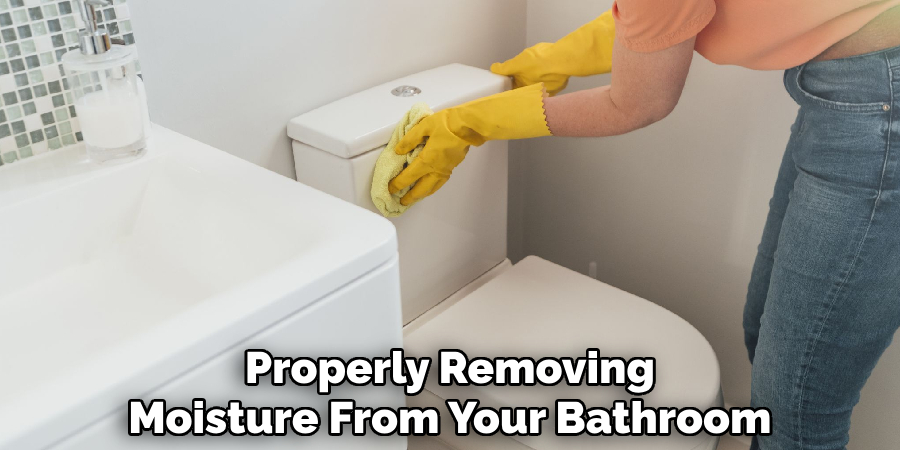
3. Inadequate Ventilation
Proper ventilation is crucial in preventing excess moisture in your bathroom. If your bathroom fan is not functioning correctly or is too small for the size of your bathroom, it may not be able to effectively remove the moisture from the air. As a result, this excess moisture can end up dripping from the fan.
4. Clogged or Dirty Fan
Over time, your bathroom fan can become clogged with dust, dirt, and debris. This buildup can restrict the airflow and prevent the fan from properly removing moisture from your bathroom. As a result, water may start to drip from the fan.
By regularly cleaning or replacing your fan, you can ensure that it is functioning properly and prevent water from dripping.
How Can You Prevent Water From Dripping Out of Your Bathroom Fan in the Future?
Water dripping from a bathroom fan can be a nuisance, as well as an indication of potential problems with your ventilation system. While fixing the immediate issue is important, it’s also crucial to take steps to prevent it from happening again in the future. Here are some tips on how you can keep your bathroom fan from leaking water.
- Keep the fan clean and free of debris. Dust, dirt, and other particles can accumulate in your bathroom fan over time, causing clogs that can lead to water leakage. Regularly cleaning your fan and removing any obstructions will help prevent this issue.
- Properly install or replace your vent hood. The vent hood is responsible for directing moisture out of your home through the exhaust duct. If it’s not installed properly or is damaged, it can result in water dripping from the fan. Make sure to follow manufacturer instructions when installing or replacing your vent hood.
- Check for any damage to the exhaust duct. Over time, the exhaust duct can become cracked, loose, or disconnected, which can lead to water leakage. Inspect the duct regularly and make repairs as needed.
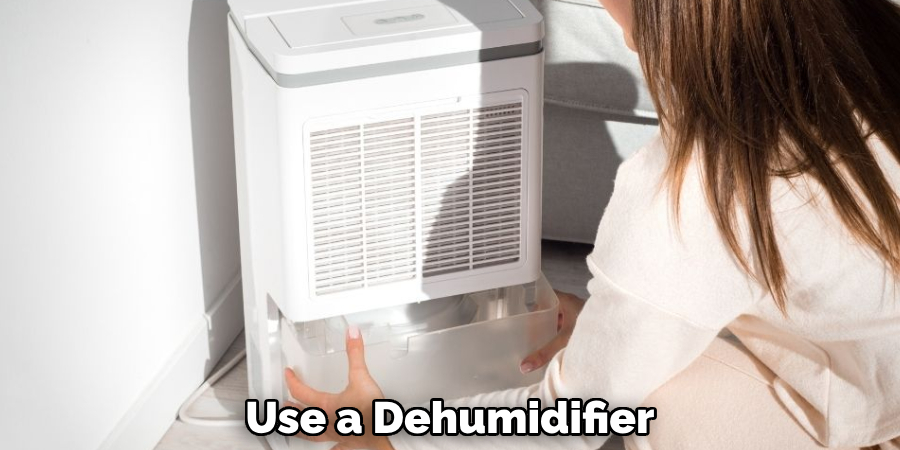
- Use a dehumidifier in your bathroom. High levels of humidity in your bathroom can cause condensation on your fan and potentially lead to water dripping. A dehumidifier will help keep moisture levels controlled and prevent this issue.
- Consider upgrading to a better quality fan. Some bathroom fans are more prone to water leakage than others due to their design or poor ventilation capabilities. If you’ve been experiencing frequent water dripping, consider upgrading to a higher quality fan that is more efficient at removing moisture.
- Inspect your roof for any leaks. In some cases, water dripping from your bathroom fan may be due to a leak in your roof, which can allow water to seep into the exhaust duct. Regularly checking and repairing any damage on your roof can prevent this issue.
By following these tips, you can not only fix the immediate problem of water dripping from your bathroom fan but also prevent it from happening again in the future. Remember to regularly maintain and inspect your fan and ventilation system to ensure proper functioning and prevent potential issues.
Are There Any DIY Methods for Fixing a Leaking Bathroom Fan Without Using Caulk or Sealant?
If you’ve noticed water dripping from your bathroom fan, it’s important to take action and fix the issue before it causes any further damage. While most people would reach for a tube of caulk or sealant to solve the problem, there are actually some DIY methods that can help fix a leaking bathroom fan without using these products.
Firstly, it’s important to understand why your bathroom fan is leaking in the first place. The most common cause is excess moisture in the air, which can build up and eventually leak through your fan. This excess moisture can come from various sources such as showering, cooking or even just breathing. To tackle this problem, there are a few things you can do:
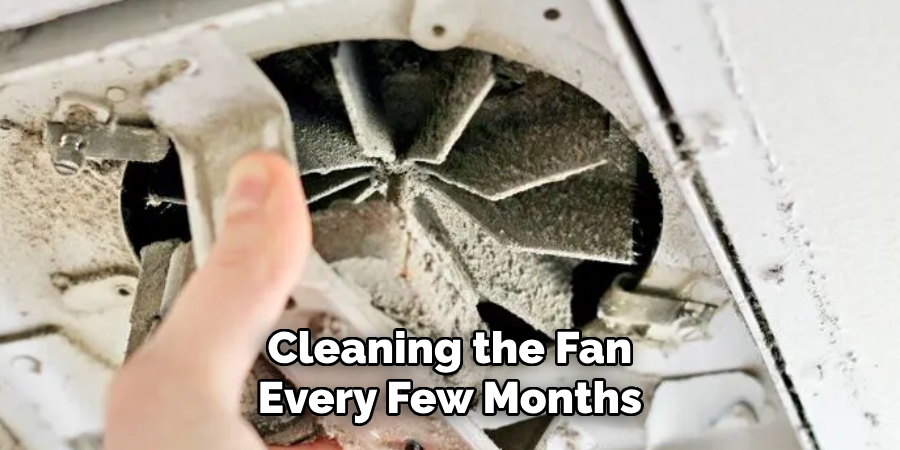
1. Clean Your Fan
One of the simplest and most effective ways to stop your bathroom fan from leaking is to clean it regularly. Dust, dirt, and debris can accumulate on the fan blades and cause them to become unbalanced, leading to excess moisture being released through the fan. By cleaning the fan every few months, you can prevent this buildup.
2. Check Your Ductwork
If your bathroom fan ductwork has any holes or cracks, it could be allowing moisture into your ceiling or attic space. You can use foil tape or HVAC tape to cover these openings and prevent water from dripping out of them.
3. Install a Vent Cover
Another DIY method for fixing a leaking bathroom fan is by installing a vent cover. These covers are designed to block outside air, preventing excess moisture from entering your bathroom in the first place. They’re relatively easy to install and can make a big difference in preventing your fan from leaking.
4. Consider Adding a Dehumidifier
If the excess moisture in your bathroom is still causing your fan to leak, you may want to consider adding a dehumidifier to the room. This will help reduce the humidity level and prevent water from building up on your ceiling or walls.
While these DIY methods can be effective in fixing a leaking bathroom fan, it’s important to keep in mind that they may not solve the issue entirely. If you continue to experience leaks even after trying these methods, it may be time to call a professional for further assistance.

Conclusion
In conclusion, if you’ve noticed water dripping from your bathroom fan, it’s important to take prompt action and address the issue before it causes any further damage. While there are some DIY methods that can help fix a leaking bathroom fan without using caulk or sealant, they may not completely solve the problem.
It’s always a good idea to regularly clean your fan and check for any holes in the ductwork, as well as consider installing a vent cover or adding a dehumidifier to reduce excess moisture in the air. I hope this article has been beneficial for learning how to fix water dripping from bathroom fan. Make Sure the precautionary measures are followed chronologically.