If you need to attend to some undercarriage damage, the process might seem complicated at first. With the right know-how and a few items around your house, it’s possible to effectively repair the issue and get back on the road with confidence.
In this blog post, we’ll discuss how to fix undercarriage damage in a few simple steps.
Tools and Materials You Will Need to Fix Undercarriage Damage
- Jack and Jack stands
- Tire iron/lug wrench
- Socket set
- Oxyacetylene torch or MIG welder (if necessary)
- Grinder with the grinding disc, flap wheel, or wire brush attachment
- Sandpaper
- Metal filler
- Primer and paint of your choice
- Clean rags
Step by Step Guidelines on How to Fix Undercarriage Damage
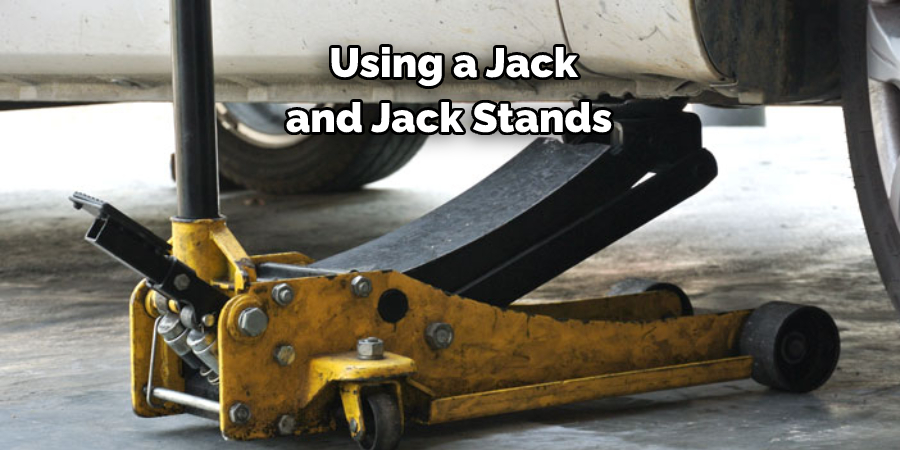
Step 1: Lift the Vehicle and Inspect the Damage
The first step in fixing undercarriage damage is to lift your vehicle off the ground. This can be done using a jack and jack stands. Place the jack stands on either side of the damaged area, ensuring a level stand and secure footing for the vehicle. Once the car is lifted, inspect the damage to determine what needs to be done and if any metal will need to be replaced.
Step 2: Remove Rusty or Damaged Metal
Once you have a clear view of the affected area, use a grinder with a grinding disc attachment to remove any rusted or damaged metal. Be sure to keep the area clean as you work, and wear safety goggles to protect your eyes. While removing the damaged metal, be sure to not create too much heat; this can cause further damage and warping.
Step 3: Sand Down the Area
Once you have successfully removed all of the rust and damaged metal, use sandpaper to smooth down any remaining jagged edges. This will help ensure a good seal when it is time to reapply the metal. Sanding will help you get an even, smooth surface, creating the best possible outcome. Use a clean rag to remove any dust or debris after sanding.
Step 4: Apply Metal Filler and Primer
Once the sanding is complete and you have a smooth surface, apply metal filler to the area. This will help create a strong seal when applying the primer. Let it dry overnight before moving on to the next step. Applying metal filler will also help create a smooth finish and primer will help protect the metal from rust and premature wear.
Step 5: Paint and Apply Clear Coat
After the metal filler is dry, use an automotive paint of your choice and apply it to the area. If you need more coverage than one coat provides, allow each layer to dry before applying another. Once the paint has dried thoroughly, apply a clear coat. This will help protect the area from further damage and give your car a glossy, finished look.
Step 6: Reassemble and Test Drive
Once the clear coat has dried thoroughly, it is time to reassemble the vehicle and take it for a test drive. Make sure all of the nuts and bolts are tightened accordingly, and be sure to check for any rattling or other sound that could indicate further damage.

By following these steps, fixing your undercarriage damage should be successful. Make sure you use the correct tools and materials as instructed above to ensure a durable repair job. Good luck!
Additional Tips and Tricks to Fix Undercarriage Damage
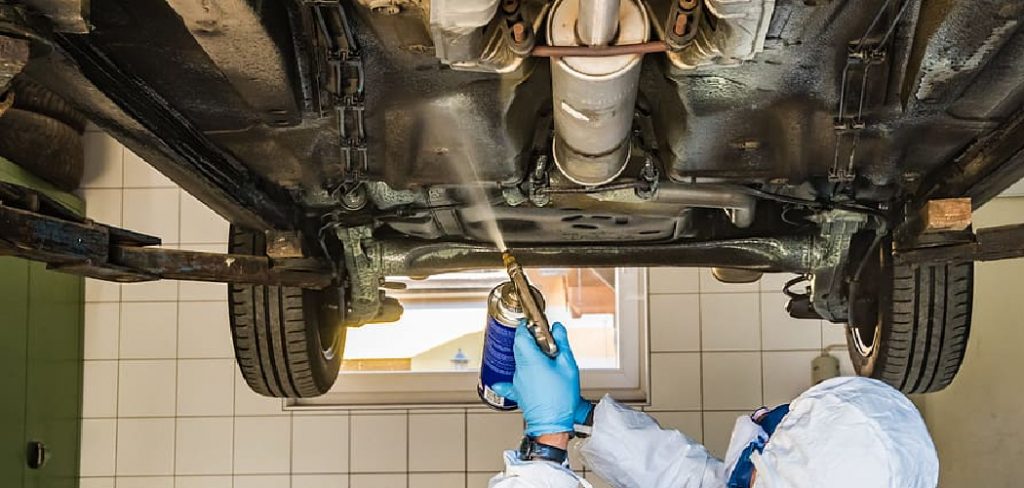
1. the undercarriage damage is minor, it may be possible to repair it yourself with some tools and supplies. Start by using a pressure washer to remove any dirt from the damaged area. Then, use rust remover to get rid of any corrosion and debris that may have built up on the surface.
2. Depending on the extent of the damage, it may be necessary to patch up any holes or cracked sections with a high-quality epoxy-based product. Cover the patch and let it dry completely before moving on to the next step.
3. If you’re dealing with a more serious issue like rust, use an angle grinder or other power tool to remove the affected area. Then, apply a high-quality rust inhibitor to the exposed metal and let it dry before reapplying a new coat of paint or primer to make sure the new coating adheres properly.
4. Make sure you sand down any rough areas around the damage before applying any primer or paint, as this will help ensure a smooth final finish. Once everything is dry, apply a protective coating to the undercarriage to help prevent future damage from occurring.
5. Finally, inspect the area regularly and take care of any small issues as soon as they arise in order to ensure that your undercarriage remains in top condition. Regular maintenance and repairs can go a long way in extending the life of your vehicle and reducing the risk of major damage.
By following these tips, you can easily fix most minor undercarriage damage and prevent it from becoming a bigger issue down the line. Just remember to always use high-quality products, take your time with repairs, and keep up with regular maintenance. With a bit of effort and time, you can get your car’s undercarriage looking like new again.
Precautions Need to Follow for Fixing Undercarriage Damage
1. Safety should be the top priority. Make sure to wear protective gear such as goggles and gloves before starting any repairs.
2. Park the car on an even surface and apply chocks around the tires for extra security.
3. Look for signs of rust and corrosion when inspecting the undercarriage parts. Make note of any dents, cracks, or holes.
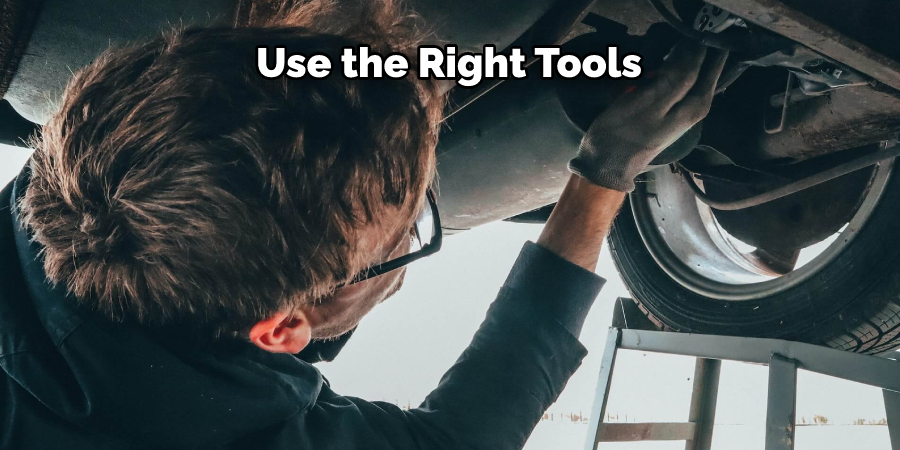
4. Make sure to use the right tools and products for the job. Choose ones that are specifically designed for car undercarriage repair.
5. When removing parts, be extra careful not to bend them in an unnatural way. If possible, keep a record of the parts in case they need to be reinstalled.
6. When working on the undercarriage, use wire brushes and emery cloths to clean off any rust or corrosion buildup.
7. Before installing new parts, make sure all connections are tight and secure. Use new bolts if necessary.
Following these precautions will help ensure a successful job when fixing undercarriage damage. It is important to take the time and extra care needed to do the job right. Skimping on safety or quality can lead to further problems down the line, so make sure all precautions are followed.
Frequently Asked Questions
How Much Does It Cost to Repair Damage to the Undercarriage of a Vehicle?
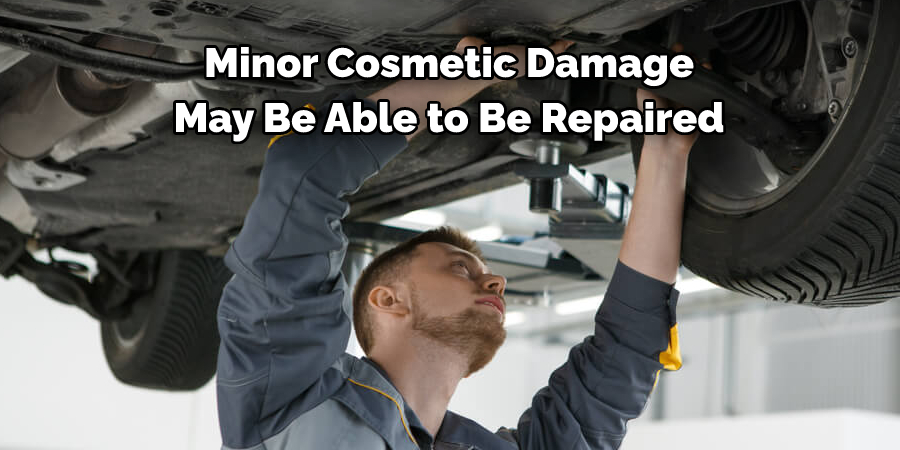
The cost of repairing damage to the undercarriage of a vehicle can vary significantly, depending on the nature and extent of the damage. Generally speaking, repairs for minor cosmetic damage may be as low as $50-$100, while more serious damage that requires the replacement of parts may cost several hundred dollars or more.
Is It Necessary to Repair the Undercarriage of a Vehicle?
It is not always necessary to repair the undercarriage of a vehicle, depending on the nature and extent of the damage. In some cases, small dents and scratches can be left as they are without causing any serious harm or risk of further damage. However, more serious issues such as rusting and structural damage may need to be addressed in order to ensure the safety and reliability of the vehicle.
What Are Some Common Causes of Damage to the Undercarriage of a Vehicle?
Common causes of undercarriage damage include rusting, collision damage from hitting curbs or other objects, and exposure to extreme weather conditions. In addition, wear and tear over time can lead to minor dents and scratches in the undercarriage of a vehicle.
How Can Drivers Prevent Damage to the Undercarriage of Their Vehicle?
Drivers can take some simple precautions to minimize the risk of undercarriage damage. Regularly inspecting and maintaining the condition of the undercarriage is a good way to help spot any small issues before they become bigger problems. Drivers should also avoid driving over rough terrain or high curbs, and be sure to park in covered areas if possible to protect against extreme weather. Finally, regularly waxing the undercarriage of the vehicle can help protect it from corrosion and rust.
Can the Undercarriage of a Vehicle Be Repaired at Home?
In some cases, minor cosmetic damage to the undercarriage may be able to be repaired at home using touch-up paint or body filler. However, it is not advisable to attempt any repairs involving structural damage or corrosion, as these may require the expertise of a professional mechanic.
Conclusion
In conclusion, knowing how to fix undercarriage damage can be costly and time-consuming, but the end result is worth all the effort given. Whether you choose to do it yourself or take it in for professional service at a body shop, fixing your car’s undercarriage damage is an important step for preserving its integrity and value.
Fixing undercarriage damage may involve some heavy machinery such as a welder and lift, so be sure to wear safety gear, like gloves and glasses on your project. Keeping up with regular maintenance of your vehicle will help prevent expensive problems like undercarriage damage in the future. Stay safe while maintaining the longevity of your vehicle by completing regular check-ups, making sure axle seals don’t leak, and doing whatever necessary repairs along the way.