Have you ever tried to fix a stripped faucet and failed? If so, don’t worry; you’re not alone. Stripped faucet threads are a common problem, but they can be fixed with a little bit of know-how. In this blog post, we’ll teach you how to fix stripped faucet threads using a few simple tools and techniques.
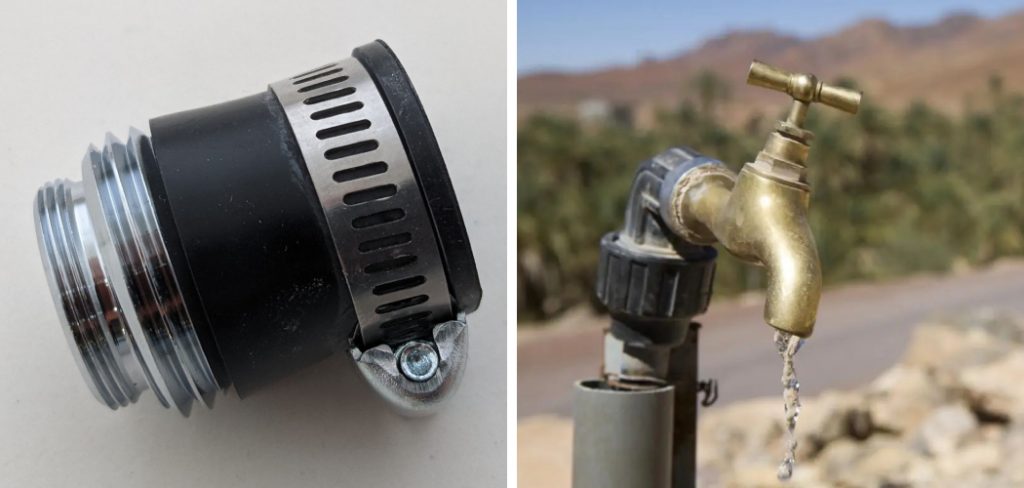
You’re not alone if you’ve ever tried to screw on a new faucet handle or hose and found that the threads are stripped. This is a common problem, but it’s one that you can easily fix yourself with just a few tools and supplies. So why wait? Read on for tips that will help you get the job done right.
Summary: Stripped faucet threads can be fixed by using a thread sealant or Teflon tape. If the threads are too badly damaged, the fixture may need to be replaced altogether. To fix minor thread damage, start by cleaning the area with a damp rag and allow it to dry.
Apply a few layers of Teflon tape around the challenged area and tighten the fixture in place. Use a thread sealant for extra protection against leakage from water pressure.
10 Ways on How to Fix Stripped Faucet Threads
1. Use a Wire Brush:
A wire brush can help you remove any corrosion or debris that may be causing the stripped threads. First, try spraying the area with a lubricant like WD-40 to help loosen any built-up gunk. Then, use the brush to scrub away at the affected threads.
2. Try a Thread Repair Kit:
If the wire brush doesn’t do the trick, you may need to try a thread repair kit. These kits usually come with various different-sized inserts that you can use to fix the stripped threads. Insert the appropriate-sized insert into the stripped area and then screw it in place.
3. Use JB Weld:
If you can’t find a thread repair kit or if the kits don’t seem to be working, you can try using JB Weld. First, clean the area around the stripped threads with a wire brush. Then, apply the JB Weld to the area and let it dry for 24 hours. Once it’s dry, you should be able to screw in a new faucet. If none of these methods work, you can always call a plumber to come and fix the problem for you.
4. Use a Dremel Tool:
If your faucet is stripped, you can use a Dremel tool to remove the stripped threads. First, attach a grinding bit to the Dremel. Then, grind away at the stripped threads until they’re gone. Once you’ve removed the stripped threads, you can screw in a new faucet.
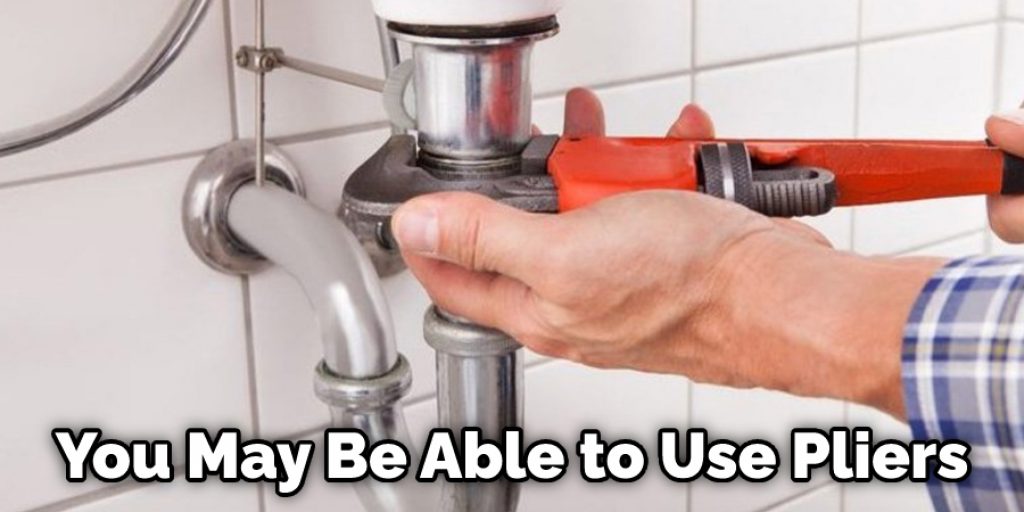
5. Use Pliers:
If the stripped threads are small, you may be able to use pliers to remove them. Grip the stripped threads with the pliers and twist them in the opposite direction of the original threading. If you are lucky, this will loosen the threads and you can remove the faucet without any further damage.
6. Apply a Sealant to the Threads:
If your faucet’s threads are stripped but not too badly damaged, you may be able to apply a sealant to them. First, clean the area around the threads with a wire brush. Then, apply a generous amount of sealant to the threads. Let it dry for 24 hours before screwing in a new faucet.
7. Try a Pipe Repair Clamp:
If the threads on your pipes are damaged, you may need to use a pipe repair clamp to hold the pipes together while you re-thread them. It’s a tricky process, so be sure to read the instructions carefully before trying it.
8. Adjust the Packing Nut:
If the packing nut is loose, it may be causing the stripped threads. To fix this, you’ll need to tighten the packing nut. First, remove the faucet handle. Then, use a wrench to tighten the packing nut. Be careful not to overtighten it, or you may damage the threads.
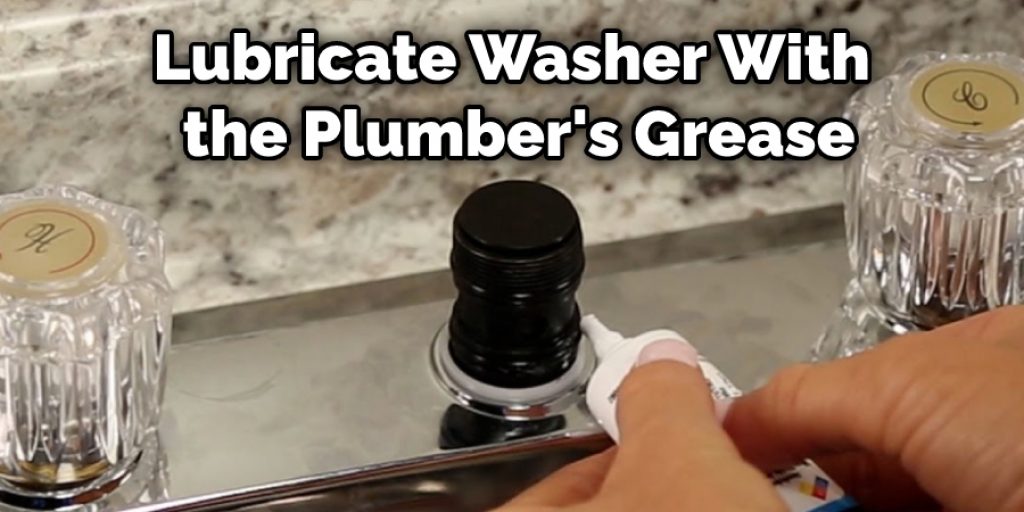
9. Replace the Washer:
If the washer is damaged, it may be causing the stripped threads. Replacing the washer is a relatively easy fix that anyone can do. First, turn off the water to the faucet. There will be a valve under the sink; turning it clockwise will shut off the water.
Next, use a wrench to remove the handle. Be careful not to strip the screws holding the handle in place. With the handle removed, you should be able to see the washer. Next, remove the old washer and replace it with a new one. Be sure to get the right size washer; it won’t work properly if it’s too big or small. Finally, reassemble the handle and turn on the water.
10. Install a New Faucet:
If all else fails, you may need to install a new faucet. This is a more involved process, so you may want to hire a professional to do it for you. However, if you’re handy and have some experience with plumbing, you should be able to do it yourself.
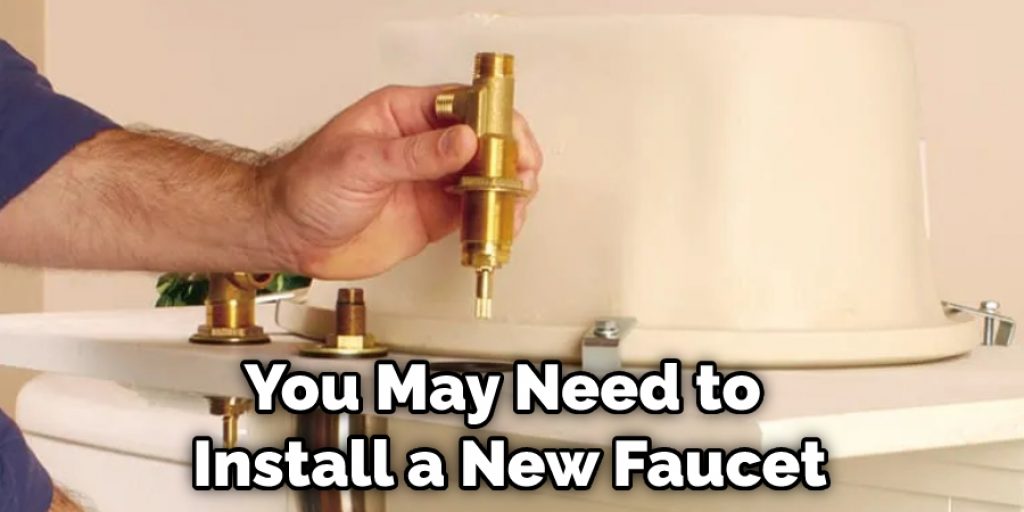
First, turn off the water supply to the faucet and disconnect the hoses. Then, remove the old faucet and install the new one. Again, be sure to follow the manufacturer’s instructions carefully. Finally, reconnect the hoses and turn on the water supply.
Instructions: How to Fix Stripped Faucet Threads?
Step 1: Turn Off the Water Supply
Before attempting any repair, it is crucial to turn off the water supply to the faucet. Locate the shut-off valves beneath the sink and turn them clockwise to close them. If there are no individual shut-off valves, locate the main water valve for the house and turn it off.
Step 2: Remove the Faucet Handle
To access the stripped threads, first remove the faucet handle. Depending on the faucet design, there might be a screw holding the handle in place, either hidden beneath a decorative cap or exposed. Use a flathead or Phillips screwdriver to remove the screw, and then lift off the handle.
Step 3: Disassemble the Faucet
Remove any additional components of the faucet, such as the retaining nut or cartridge, to access the damaged threads. Keep track of the order in which the components are removed and set them aside in a safe place.
Step 4: Assess the Damage
Inspect the faucet threads to determine the extent of the damage. If the threads are only slightly worn, it may be possible to repair them using a thread file or rethreading tool. If the damage is extensive, a thread insert or complete faucet replacement may be necessary.
Step 5: Repair Minor Thread Damage
For minor thread damage, use a thread file to gently clean and reshape the threads. Follow the existing thread pattern and work carefully to avoid causing further damage. Alternatively, use a rethreading tool, also known as a thread chaser, to restore the threads. Select the correct size and thread pitch for the faucet and follow the manufacturer’s instructions to rethread the damaged area.
Step 6: Apply Thread Sealant
Once the threads have been repaired, apply a thread sealant, such as plumber’s tape or pipe joint compound, to ensure a watertight seal when the faucet is reassembled. Wrap plumber’s tape clockwise around the threads or apply a thin layer of pipe joint compound, following the manufacturer’s instructions.
Step 7: Reassemble the Faucet
Reassemble the faucet components in the reverse order they were removed. Tighten any retaining nuts or screws securely, taking care not to overtighten and cause further damage to the threads.
Step 8: Install a Thread Insert
If the faucet threads are too damaged for repair, consider using a thread insert to restore the connection. A thread insert, also known as a helicoil, is a coiled metal insert that is screwed into the damaged threads, providing a new, secure surface for the faucet components to attach.
A. Determine the Correct Size: Measure the diameter and thread pitch of the faucet threads to select the appropriate size thread insert.
B. Drill Out the Damaged Threads: Use a drill and the recommended drill bit size to remove the damaged threads, following the thread insert manufacturer’s instructions.
C. Tap the Hole: Using a tap wrench and the corresponding tap for the thread insert, carefully tap the hole to create new threads for the insert.
D. Install the Thread Insert: Place the thread insert onto the installation tool and screw it into the newly tapped hole until it sits flush with the faucet surface.
E. Remove the Installation Tool: Detach the installation tool from the thread insert, leaving the insert securely in place.
Step 9: Reassemble and Test the Faucet
With the faucet threads repaired or a thread insert installed, reassemble the faucet components and turn on the water supply. Test the faucet for leaks and proper function. If any issues persist, consider consulting a plumber or replacing the faucet entirely.
By following these steps and using the appropriate tools and techniques, you can effectively repair stripped faucet threads and restore the function of your faucet. Regular maintenance and careful handling of faucet components can help prevent future issues and prolong the life of your faucet.
Step 10: Regular Maintenance
To prevent future issues with stripped faucet threads, consider performing regular maintenance on your faucet. This may include periodically checking for loose components, cleaning the faucet and aerator to remove buildup, and replacing worn parts as needed.
Step 11: Use Proper Tools
When working on your faucet, ensure that you are using the correct tools for the job. Using the wrong type of wrench or pliers can cause additional damage to the threads or other faucet components. Always use an adjustable wrench or the appropriate-sized open-ended wrench to prevent slippage and potential damage.
Step 12: Avoid Overtightening
One common cause of stripped faucet threads is overtightening during installation or repair. When tightening components, apply enough pressure to create a secure, watertight seal but avoid excessive force that could damage the threads or other parts of the faucet. It is generally better to tighten components by hand and then use a wrench to make a quarter or half turn, checking for leaks and making adjustments as needed.
Step 13: Replace Damaged Components
If the faucet threads are beyond repair, it may be necessary to replace the damaged component or the entire faucet. Consult the manufacturer’s guidelines for the specific model of faucet you have and purchase the appropriate replacement parts.
Step 14: Consider Hiring a Professional
If you are unsure about your ability to repair stripped faucet threads or if the damage is extensive, consider hiring a professional plumber. They will have the necessary tools, experience, and expertise to properly address the issue and ensure a successful repair.
By following these steps and employing preventative measures, you can fix stripped faucet threads and maintain the longevity of your faucet. It is essential to address any issues promptly, as even minor leaks can lead to more significant problems, such as water damage or mold growth. Proper care and maintenance of your faucet will help ensure its reliable function for years to come.
Some Helpful Tips and Suggestions
- If the faucet threads are stripped, you can try to fix them by using a pipe wrench. First, close off the water supply and turn the faucet handle as tightly as possible with the wrench. Then, turn it back in the opposite direction to loosen it.
- If the above method doesn’t work, you can try using a hacksaw blade. Insert the blade into the space between the handle and the faucet body. Turn the blade until it is tight and then turn the handle in the opposite direction to loosen it.
- Remove any remaining pieces of the old washer with a utility knife.
- Inspect the seats for damage and clean or replace them.
- Lubricate the new washer with the plumber’s grease and install it on the valve stem.
Frequently Asked Questions
Can Stripped Threads Be Repaired?
Stripped threads can often be repaired with a little bit of elbow grease and some seam tape. When you accidentally rip or pull the thread throughout the entire fabric, it’s important to repair it as soon as possible so that there is no chance of it unraveling further.
Luckily, seam tape is an easy way to do this without having to go back through the entire garment. Simply place a piece of seam tape over the ripped area along with another layer on top for extra protection. Once everything is in place, gently stretch and pull until your stitches are tight again.
Do You Tighten a Loose Faucet?
it depends on the individual’s specific circumstances and needs. However, if you feel that your faucet has become loose over time, there are a few things that you can do to try and fix the situation. You may need to adjust the handle or use a wrench to tighten the nut or bolt that holds it in place. Additionally, you may need to replace the valve stem if it’s cracked or damaged.
Which Type of Thread Repair is Most Commonly Used?
There are a few different types of thread repair, but the most commonly used is whipstitch. Whipping is a type of stitch that uses a flexible thread to connect two pieces of fabric. It’s a fast, easy, and reliable way to mend small tears in the fabric.
What is a Faucet Cartridge?
A Faucet Cartridge is a device that attaches to your home’s water supply and allows you to control the flow of water using an intuitive touchpad. This makes it convenient for filling pots, brushing teeth, washing dishes, or any other chore that requires frequent use of water. Plus, because there is no need for batteries or any additional wiring, installation is simple and hassle-free.
Moreover, since faucet cartridges are made from high-quality materials like steel and plastic, they are durable enough to handle even the heaviest use without faltering. And lastly, due in part to their design simplicity and precision, these devices tend to be more affordable than similar options found on the market today.
Conclusion
As faucet technology has advanced, the likelihood of stripped threads during installation or repair has increased. This can be a frustrating and costly problem to fix. In this blog post, we have discussed some methods for repairing stripped faucet threads.
We hope that by following these instructions on how to fix stripped faucet threads, you will be able to fix your faucet without calling a professional. Please note that these are general guidelines; if you are uncomfortable with any of the steps involved in repairing your faucet, please consult a plumbing professional. If you have any questions or want to know more, then feel free to comment below!
You May Also Read: How to Fix Exhaust Pipe Without Welding