If you’ve ever encountered a persistent ticking noise coming from your vehicle’s engine, it’s possible that the issue lies with the stabilizer.
Stabilizer ticking can be an annoying problem, often signaling a need for attention before it leads to more significant mechanical concerns.
This guide on how to fix stabilizer ticking will walk you through the common causes of stabilizer ticking and provide step-by-step solutions to help you fix the issue, ensuring your vehicle runs smoothly and quietly.
Whether you’re a seasoned mechanic or a car owner looking to perform basic maintenance, this introduction aims to equip you with the knowledge needed to tackle stabilizer ticking confidently.
Why Does Stabilizer Ticking Occur?
Stabilizer ticking, also known as stabilizer bar or sway bar ticking, is typically caused by worn-out or loose components within the stabilizer system. The stabilizer bar connects the front and rear wheels of your vehicle to help reduce body roll and stabilize the car during sharp turns.
Over time, the constant stress and strain on the stabilizer can result in wear and tear, leading to various issues such as ticking noises. It’s also possible for debris, such as mud or dirt, to get trapped between the stabilizer components, causing friction and resulting in ticking noises.
Additionally, uneven weight distribution on the wheels can put excess strain on the stabilizer system, leading to ticking sounds. Identifying the root cause of the issue is crucial in effectively fixing the stabilizer ticking.
Needed Materials:
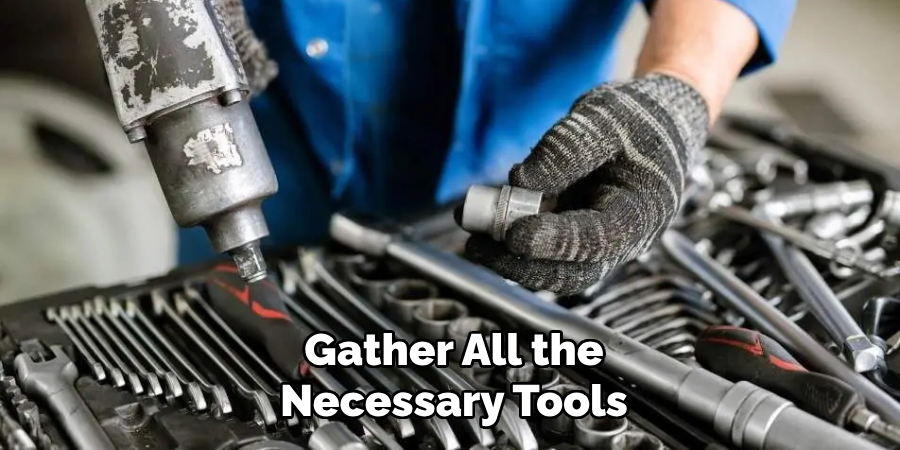
Before starting the process of fixing the stabilizer ticking, it’s important to gather all the necessary materials. Here are some common tools and supplies you may need:
- Jack and jack stands (or a hydraulic lift)
- Wrench or socket set
- Pliers
- Wire brush
- Lubricant spray (such as WD-40)
- Replacement stabilizer bar components (if needed)
Make sure to consult your vehicle’s manual for any specific tools or supplies required for your particular make and model.
8 Step-by-step Guidelines on How to Fix Stabilizer Ticking:
Step 1: Lift the Vehicle
Begin by safely lifting your vehicle to gain access to the stabilizer bar. Use a jack and jack stands, or a hydraulic lift if available, to elevate the vehicle. Ensure that the vehicle is on a flat and stable surface to prevent any accidents.
Once lifted, double-check the stability of the vehicle by gently shaking it before proceeding to work underneath.
This step is crucial as it allows you to inspect the stabilizer components closely and perform any necessary repairs safely. Always follow the manufacturer’s instructions for using jacks and stands to avoid potential hazards.
Step 2: Inspect the Stabilizer Bar
Using a flashlight and a wire brush, carefully inspect the stabilizer bar for any signs of damage or wear. Look for noticeable cracks, rust, or loose components such as bushings and links.
It’s also essential to check if any debris is trapped between the components that may be causing ticking noises. You can also try manually shaking the bar to see if there is any excessive movement or play. If you notice any issues, proceed with the necessary repairs.
Step 3: Tighten Loose Components
If the inspection reveals that some components are loose, use a wrench or socket set to tighten them. Make sure to follow the recommended torque specifications for your vehicle and avoid over-tightening, as it can lead to further damage.
In case of damaged or worn-out components, such as bushings or links, it’s best to replace them rather than trying to tighten them.
Step 4: Clean and Lubricate the Stabilizer Bar
Using a wire brush, gently clean any dirt or debris from the stabilizer bar. Then, spray a lubricant such as WD-40 on the bar to reduce friction between components. This step can help eliminate ticking noises caused by trapped debris or lack of lubrication.
You can also apply a lubricant to any bushings and links that are showing signs of wear. It’s advisable to use a silicone-based lubricant as it’s less likely to attract dirt and debris.
Step 5: Check Wheel Alignment
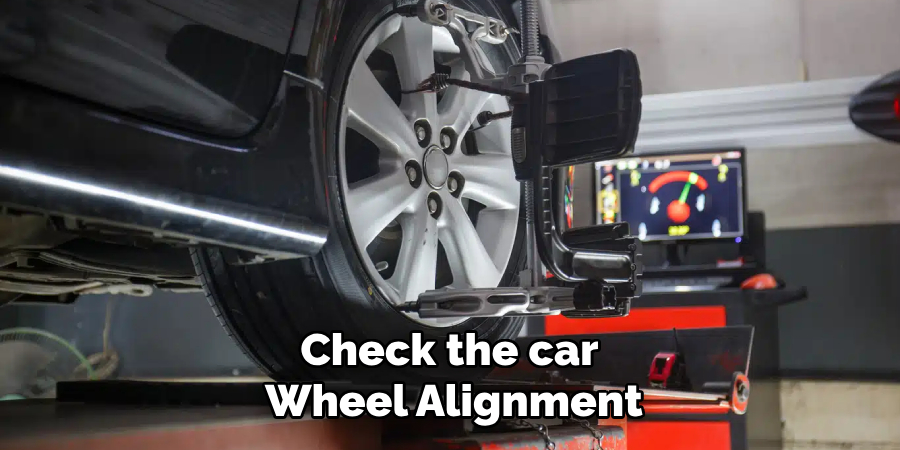
Uneven weight distribution on the wheels can put extra strain on the stabilizer system, causing ticking noises. It’s essential to check the wheel alignment and make any necessary adjustments.
If you’re not confident in performing this task yourself, it’s best to seek professional help. But if you do decide to adjust the alignment, make sure to follow the proper procedures outlined in your vehicle’s manual.
Step 6: Replace Damaged Components
If the inspection reveals that some stabilizer bar components are damaged beyond repair, it’s crucial to replace them. This may include bushings, links, or even the entire stabilizer bar.
Make sure to consult your vehicle’s manual for specific instructions on replacing these parts. It’s advisable to replace all components on the same side of the stabilizer bar to ensure proper balance and functioning.
Step 7: Reinstall and Test
Once all necessary repairs have been made, carefully reinstall the stabilizer bar and its components. Make sure everything is tightened to the recommended torque specifications.
After reinstallation, take your car for a test drive to see if the stabilizer ticking has stopped. If not, you may need to repeat some steps or seek professional help.
Step 8: Regular Maintenance
To prevent future stabilizer ticking issues, it’s essential to perform regular maintenance on your vehicle’s stabilizer system. This includes checking for loose components, cleaning and lubricating the stabilizer bar, and keeping an eye out for any signs of wear or damage.
By following these guidelines on how to fix stabilizer ticking, you can effectively fix stabilizer ticking and ensure a smooth ride in your vehicle. Remember to always prioritize safety and consult professional help if needed.
Maintaining your stabilizer system will not only eliminate annoying ticking noises but also improve your overall driving experience. Happy tinkering!
How Much Could It Cost?
The cost of fixing stabilizer ticking can vary significantly based on several factors, including the severity of the issue, the specific components that need to be replaced, and whether you choose to do the repairs yourself or hire a professional.
DIY Repairs:
If you have the necessary tools and skills, performing the repairs yourself can be a cost-effective option. Basic tools and supplies like a wrench, lubricant, and wire brush are relatively inexpensive, often totaling under $50.
However, should you need to replace parts like bushings or links, the cost could range from $20 to $20 per part, depending on the vehicle’s make and model.
Professional Repairs:
If you’re not confident in performing repairs yourself or don’t have access to the necessary tools, it’s best to seek professional help. The cost of hiring a mechanic will depend on their hourly rate and the extent of the repairs needed.
On average, repairing a stabilizer system at a repair shop can cost anywhere from $200 to $500. Remember that these are just rough estimates, and costs may vary significantly based on your location and specific circumstances.
Frequently Asked Questions:
Q: How Do I Know if My Vehicle Has a Stabilizer Bar?
A: Most modern cars and trucks come equipped with a stabilizer bar, also known as a sway bar or anti-roll bar. You can check your vehicle’s manual to confirm if it has one. It’s usually located between the front or rear wheels and connected to the suspension components.
Q: Can I Drive My Vehicle With a Broken Stabilizer Bar?
A: It’s not recommended to drive your vehicle with a broken stabilizer bar as it can affect the handling and stability of your car. If you suspect that your stabilizer bar is damaged, it’s best to have it inspected and repaired before driving again.
Q: Can I Replace Only One Side of the Stabilizer Bar?
A: While it may be possible to replace only one side of the stabilizer bar, it’s generally recommended to replace both sides at once. This ensures proper balance and functioning of the system, reducing the likelihood of any issues in the future.
Q: How Often Should I Perform Maintenance on My Stabilizer Bar?
A: It’s recommended to perform regular maintenance on your stabilizer bar every 12,000-15,000 miles or as per your vehicle’s manual.
However, if you notice any signs of damage or hear ticking noises, it’s best to inspect and maintain the system right away. Maintaining your stabilizer bar can extend its lifespan and prevent potential issues while driving.
Conclusion
Maintaining your vehicle’s stabilizer bar is essential to ensure a safe and comfortable driving experience.
By following the outlined steps on how to fix stabilizer ticking for identifying and repairing any issues, you can prevent annoying stabilizer ticking noises and prolong the life of your car’s suspension system.
Regular inspections and maintenance are key to catching problems early, enhancing the handling and stability of your vehicle. Remember, prioritizing safety and seeking professional help when needed will save you time and money in the long run while keeping your ride smooth and enjoyable.