Most people take showers for granted. It is important to know how to fix shower rise. We turn on the water, hop in, and enjoy a few minutes of relaxation. But what if your shower head doesn’t deliver the right pressure or amount of water? Suddenly, that relaxing shower turns into a frustrating experience.
If you’re dealing with low water pressure or inadequate water flow from your shower head, don’t worry – we’ve got some tips to help you fix the issue! Keep reading to find out how to get your perfect shower once again.
Tools You Will Need
- Adjustable wrench
- Screwdriver
- Plumber’s tape
- Clean cloth
8 Steps Guide on How to Fix Shower Rise
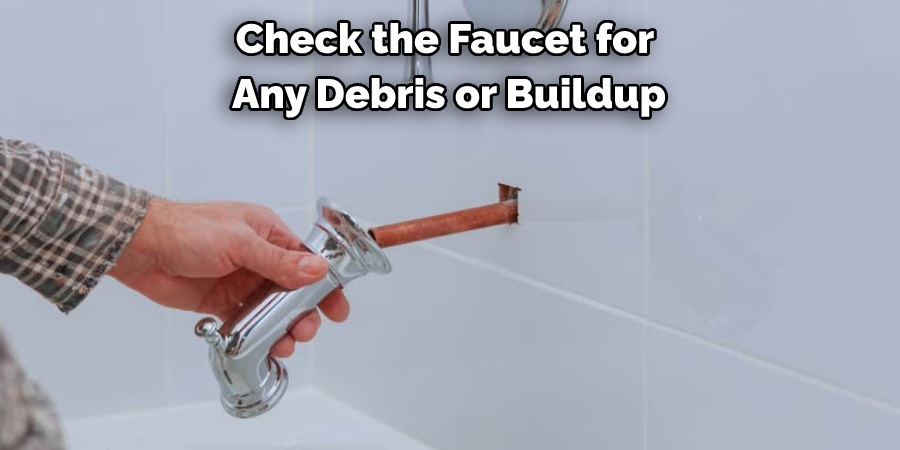
Step 1: Start by Checking the Faucet
When your shower suddenly starts losing water pressure, it can be frustrating. Luckily, there are a few simple things you can do to try to fix the problem. Check the faucet for any debris or buildup. If anything is blocking the flow of water, simply remove it and see if that solves the issue.
If not, take a look around the base and handle of the shower to see if any clogs need to be removed. If all else fails, you may need to replace the showerhead itself. With a little troubleshooting, you should be able to get your shower back up and running in no time.
Step 2: Wipe Away Any Residue
Clogs in the shower rise are a common occurrence, but they can be easily fixed with a few simple tools. If you find a clog, start by using a screwdriver to loosen it. Wipe away any residue with a clean cloth. If the clog is stubborn, you may need to use a plunger to get rid of it. Remember, always use caution when working with plumbing fixtures. If you’re not comfortable fixing the problem yourself, call a plumber. With a little effort, you can quickly and easily fix a clogged shower rise.
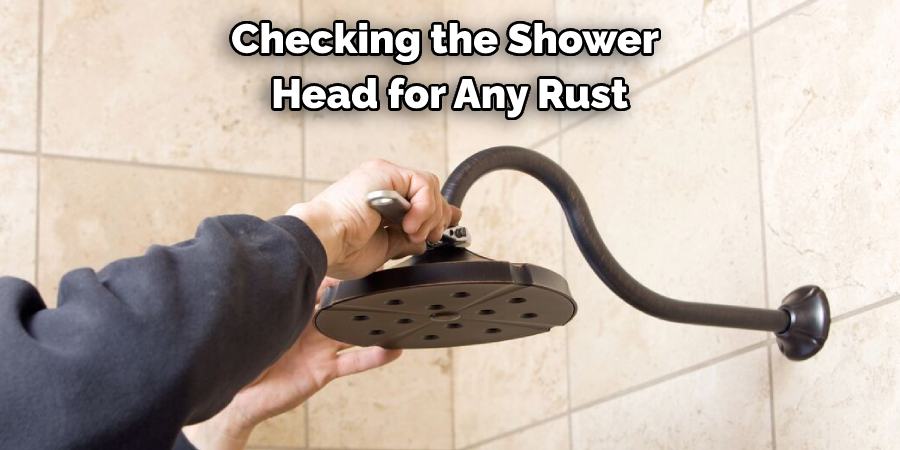
Step 3: Check the Shower Head
Checking the shower head for any rust or mineral deposits should be part of any homeowner’s regular bathroom maintenance routine. If allowed to build up, rust and mineral deposits can cause several problems, including decreased water pressure and an unattractive appearance.
In most cases, these deposits can be removed with a few simple household cleaners and a little elbow grease. However, if the buildup is significant, it may be necessary to replace the showerhead entirely. By taking the time to clean the showerhead regularly, homeowners can avoid these costly repairs and keep their bathrooms looking like new.
Step 4: Check for Any Leaks
Many people take their showers for granted, but the truth is that a lot of engineering goes into making sure that they work properly. One of the most important parts of a shower is the pipe that carries water to the shower head. Over time, this pipe can become worn or damaged, leading to leaks. If you suspect that your shower pipe may be leaking, it’s important to take action right away.
Turn off the water in the shower. Once the water is off, you can inspect all of the parts of the pipe for signs of wear and tear. If you see any damage, it’s important to fix it right away. There are a few different ways to fix a leaky shower pipe, so be sure to consult with a professional before taking any action. Taking care of a leaky shower pipe now will help to prevent more serious problems down the road.
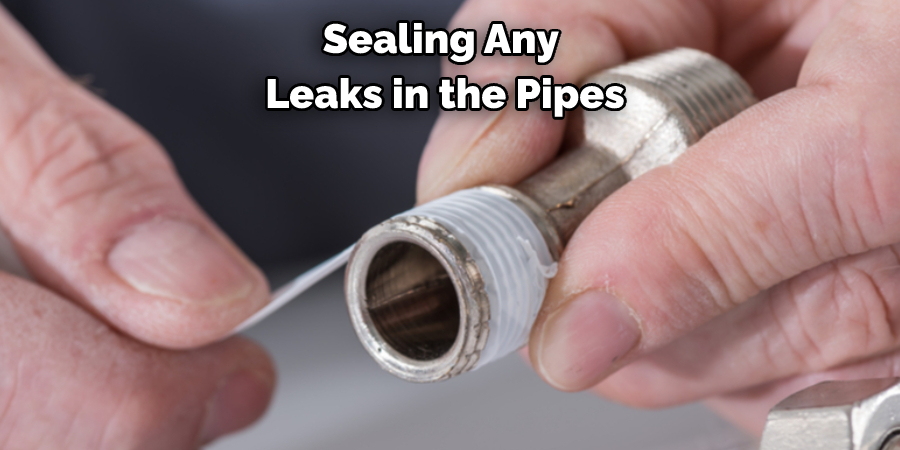
Step 5: Seal Any Leaks in the Pipes
You can try sealing any leaks in the pipes using the plumber’s tape. This will ensure that water won’t escape and cause a further drop in pressure or flow. By simply wrapping the tape around the leaky pipe, you’ll be able to restore normal function to your shower in no time. Plus, it’s a much cheaper solution than calling a professional! So next time you’re faced with a low-flow shower, reach for the plumber’s tape and give it a try.
Step 6: Turn the Main Water Valve Back
After making sure that the water valve is turned off, use a putty knife to scrape off any old plumber’s tape or silicone sealant from the shower rise. Apply a new layer of plumber’s tape or silicone sealant around the shower rise. Make sure that the sealant is applied smoothly and evenly to create a good seal. Turn the water valve back on and check for any leaks. If there are no leaks, then your shower should be working properly. If there are still leaks, then you may need to replace the shower head or the shower rise itself.
Step 7: Tighten Any Connections
Loose connections are one of the most common causes of malfunctioning showers. If your showerhead is not functioning properly, there is likely a loose connection somewhere. Use an adjustable wrench to tighten any connections and make sure the showerhead is firmly secured.
This should fix the problem. If there is still an issue, it might be caused by a blocked showerhead. Use a toothbrush or pipe cleaner to clear any debris from the showerhead and then run some water through it to see if that clears the problem. You may also need to descale the showerhead if it is hard water build-up that is causing the problem.
Step 8: Test Your Work
When you’re in the shower, the last thing you want is for the water to stop flowing or for the pressure to be too low. Unfortunately, these problems can be all too common, and they often stem from a problem with the shower head. Fortunately, there are a few things you can do to try to fix the issue.
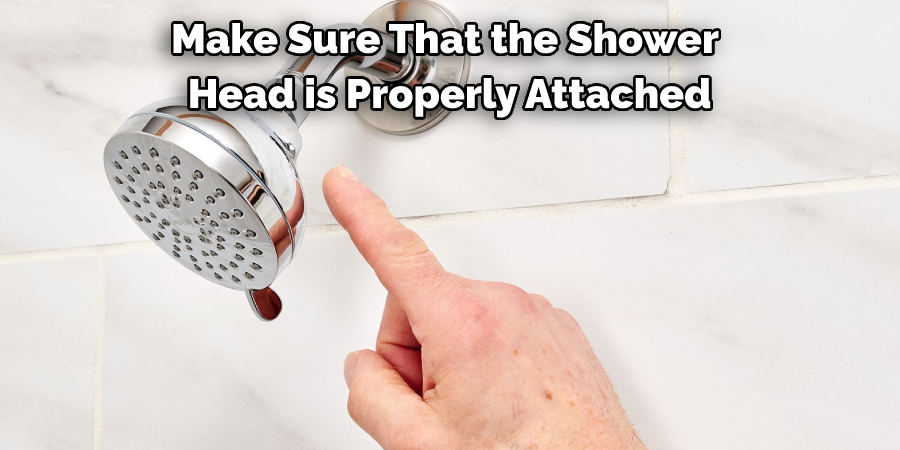
Check to make sure that the shower head is properly attached to the shower arm. If it’s loose, tighten it with a wrench. Clean out any mineral deposits that may have built up in the shower head by soaking it in vinegar overnight. Test your work by turning on the shower and checking for any additional problems. If all else fails, you may need to replace the shower head entirely to fix the shower rise.
By following these steps, you should be able to diagnose and fix any problems with your shower head. With a few tools, some patience, and these simple instructions, you’ll be back in the shower enjoying that luxurious experience before you know it! Good luck!
How to Seal Leaks in Your Shower Pipes?
Shower leaks can be frustrating, not to mention expensive if they’re not fixed promptly. But what’s the best way to seal a leaky shower pipe? There are a few different methods that can be effective, depending on the severity of the leak. For a small leak, you may be able to simply apply some plumber’s putty or caulk around the leaking area.
If the leak is larger, you may need to replace the entire section of the pipe. In either case, it’s important to make sure that the area around the pipe is clean and dry before you begin, as this will help ensure a tight seal. With a little time and effort, you can fix those pesky leaks and keep your shower pipes in good condition for years to come.
How to Tighten Connections on Your Showerhead?
Over time, the connections on your showerhead can become loose, resulting in a weak spray or even water leaks. If you’ve noticed that your shower isn’t performing as well as it used to, it’s likely due to loose connections. Luckily, this is an easy problem to fix. All you need is a wrench and some plumber’s tape.
First, remove the showerhead by unscrewing it from the shower arm. Be sure to use a wrench so you don’t strip the threads.
Next, wrap some plumber’s tape around the threads on the shower arm. This will help create a tighter seal when you screw the showerhead back on. Finally, screw the showerhead back into place and turn on the water to test for leaks. If everything is tight, you should notice an improvement in your shower’s performance. With just a few simple tools and a little bit of effort, you can keep your shower running like new.
How to Descale Your Showerhead?
If you’ve noticed your showerhead is starting to get a little bit of gunk on it, then it’s probably time to descale it. descaling just means getting rid of all the calcium deposits and other impurities that can build up over time. While this might not seem like a big deal, these deposits can eventually cause your showerhead to stop working properly. Fortunately, descaling your showerhead is a fairly simple process that only requires a few household ingredients.
First, you’ll need to remove the showerhead from the wall. Next, fill a bowl with equal parts white vinegar and water. Then, place the showerhead in the bowl and let it soak for at least an hour. After that, simply rinse off the showerhead with some clean water and reattach it to the wall. And that’s it! By following these simple steps, you can keep your shower head working like new for years to come.
Conclusion
Although each situation may be different, the shower riser is a great tool to have in your arsenal when it comes to fixing a height problem in your shower. You should determine carefully how to fix shower rise.
With a little bit of creativity and some elbow grease, you can make this work for you and finally have that perfect shower experience you’ve always wanted. Hopefully, one of these tips will work for you and help solve your problem. Thanks for reading and good luck!