Are you dealing with an annoying shower leaking through the ceiling? If so, it’s likely that your shower is leaking through the ceiling. Although this can be a daunting issue to tackle, there could be several ways to fix it without calling an expensive plumber.

It’s a common home repair headache; the water damage can be costly if not taken care of in time. Whether you’re trying to keep your ceilings from getting worse or just want to know how to take preventative measures, we have a few simple tips to help ensure everything is patched up perfectly!
In this blog post, we’ll cover the basics of how to fix shower leaking through ceiling and provide some helpful tips that you can use. Read on for our guide on troubleshooting and ultimately stopping shower leaks coming through your ceiling!
What is the Cause of Leaks in the Shower?
Before we delve into how to fix shower leaking through the ceiling, you should be aware of a few factors that cause leaks. The most common cause of shower leaks is a defective showerhead or faucet, which can allow water to escape from the shower and penetrate your ceiling. In addition, improper installation of pipes and fittings can also lead to leaking showers.
Additionally, you may need to check for any loose joints in the bathroom, as these can cause water to escape and leak through the ceiling. Finally, old showerheads or faucets may fail over time, allowing water to penetrate your ceiling too.
Once you’ve identified the source of the leak, it’s time to start troubleshooting. Here are some simple ways you can fix your shower leaking through the ceiling.
What Will You Need?
Before you begin, make sure you’re armed with the right supplies to fix your shower leaking through the ceiling. You may need a few tools depending on the issue at hand:
- A wrench
- Tape
- Pipe sealant
- Plumber’s
- Adjustable ring spanner
- Adhesive
When combined with the following steps, these tools will help you fix your shower leaking through the ceiling effectively.
10 Easy Steps on How to Fix Shower Leaking Through Ceiling
1. Check for Loose Pipes and Fixtures:
Make sure all connecting pipes and fixtures are tightly secured on both ends, including where they connect with your wall or ceiling. This is especially important if you recently installed a new showerhead or faucet. If you find any loose pipes and fixtures, re-tighten them with a wrench.
2. Inspect Joints Seals:
Another common source of leaks is faulty seals around your joints and fittings. Make sure all seals are fitted and intact to prevent leaks from occurring. You can also use a pipe sealant to reinforce the seals.
3. Check Showerhead/Faucet:
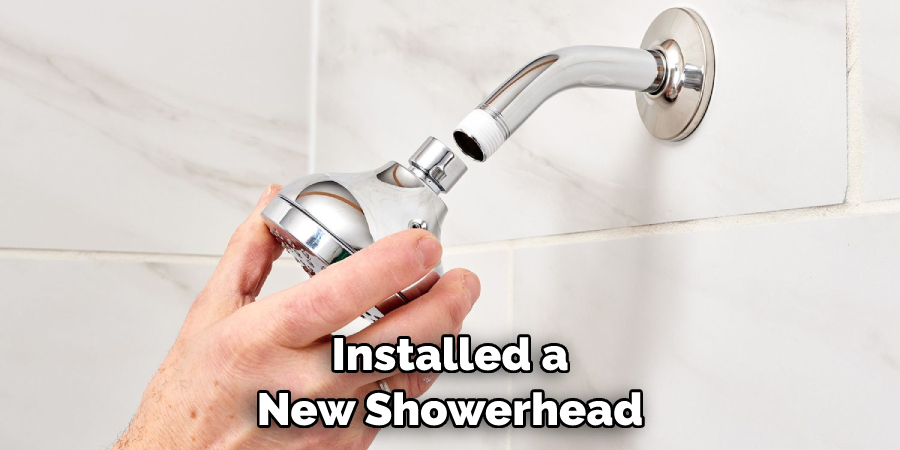
If your current showerhead faucet is old, it may be time to replace it with a newer model. This can help keep water from seeping through the ceiling over time. Additionally, you can use a sealant around the showerhead and faucet to prevent leaks further.
4. Apply Tape to Secure Fittings:
To ensure that any fixtures remain secure, apply waterproof tape around each joint or fitting as an extra precaution against leakage. As the tape will prevent water from seeping through, it’s an important step to take. Don’t forget to replace any old or worn-out tape, as it won’t provide the same protection.
5. Apply Pipe Sealant:
In addition to waterproof tape, applying pipe sealant can help keep fittings securely attached and prevent water from leaking through the ceiling. Try to cover all the joints and fittings in your shower with sealant or a waterproof adhesive. You can get sealant from your local hardware store.
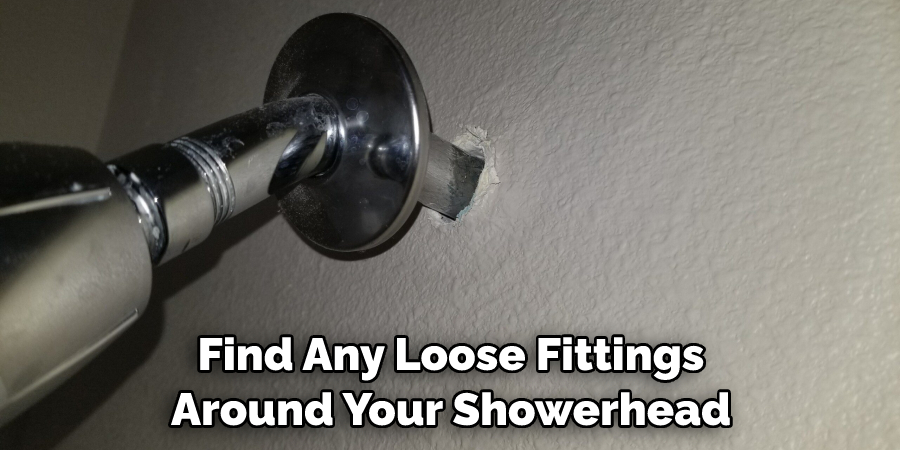
6. Use Pliers to Tighten Fittings:
If you find any loose fittings around your showerhead or faucet, use pliers to tighten them up. This will usually stop any leaks from occurring in the area. Be careful not to overtighten the fittings, though, as this can cause them to break.
7. Check for Cracked Tile Grouting:
Cracks in tile grouting can also allow water to escape and leak through your ceiling over time, so make sure all grout lines are intact before continuing with troubleshooting. Use a grout sealant if necessary to prevent any further leakage. It will also help to make your bathroom look better.
8. Replace Old Showerhead/Faucets:
If your showerhead faucet is old, consider replacing it with a more modern version that fits better and lessens the chances of leaks. Don’t forget to apply tape and sealant around the new fixtures before installing them, as this can help keep water from escaping. Otherwise, you’ll be back to square one.
9. Apply Adhesive to Wall Fixtures:
To make sure any wall fixtures stay in place, you can apply some adhesive around the area to keep them from becoming loose over time. Another option is to use an adjustable ring spanner which will help keep your fixtures tightly secured in place. If you have an old showerhead or faucet, it may be time to replace it with a newer one.
10. Install an Adjustable Spanner Ring:
Installing an adjustable spanner ring around any exposed pipes or fittings can help maintain their stability and prevent water leakage in the long run. Remember to use a pipe sealant around each fitting as well to ensure a tight and secure fit. Keep in mind that this will be a more permanent solution, so make sure you are happy with it before proceeding.
Following these steps should help you effectively fix your shower leaking through the ceiling so that no further damage occurs! If you find yourself in need of professional assistance, however, call your local plumbing expert.
5 Additional Tips and Tricks
- Make sure that the showerhead, arm, and flange are all tightened correctly. A loose flange or showerhead can cause a leak.
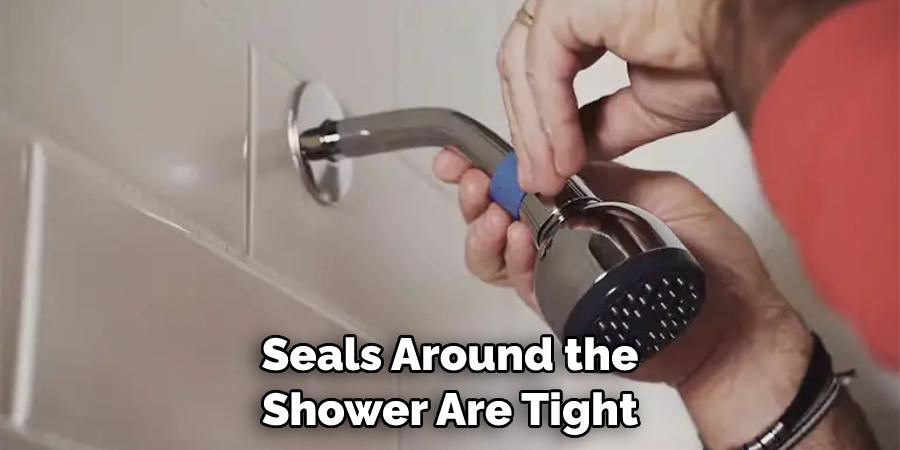
- Check and make sure all the seals around the shower are tight and secure. Caulk or grout may need to be applied if there is any sign of wear or leakage.
- If you have a removable head, check to see if the O-ring needs to be replaced or tightened, as it can cause a leak.
- Make sure that no water is dripping from the shower arm after each use. This could indicate a crack in the pipe which would require repair or replacement.
- Lastly, inspect the walls and ceiling of your bathroom for signs of mold growth due to water damage caused by an undetected leaky showerhead or other plumbing issue.
By following these tips and tricks, you can ensure that your shower is not leaking through your ceiling and avoid potential major damage to your home in the future. If you are still having trouble locating or fixing the root cause of the leak, contact a professional plumber for assistance. They will be able to diagnose and repair any problems quickly and efficiently. With their help, you can get back to enjoying an uninterrupted shower without worrying about any leaks!
5 Things You Should Avoid
1. Avoid using plumber’s tape to fix a leaking shower. This can cause an even bigger mess and may not be able to seal the leak properly.
2. Never use WD-40 or other lubricants on the pipes, which can weaken seals and cause further damage.
3. Do not use caulk or grout around the shower head, as this will not stop water from passing through.

4. Do not attempt any repairs that are beyond your skill level; instead, take them to a professional for assistance if you have any doubts or worries about safety or functionality.
5. Lastly, never ignore signs of water leakage from your showerhead, no matter how small they may seem at first – it is important to take action as soon as possible to prevent further damage.
By inspecting your shower and following these tips, you can avoid a leaking showerhead and keep your home safe and dry. With these helpful suggestions, you can end up with a reliable and functioning shower that will last for years to come.
Conclusion
In conclusion, fixing a leaking shower is not an easy job. However, it can be done if you have the right knowledge and tools to complete the task. While locating the source of the leak can be a challenge, understanding basic plumbing concepts will help you get closer to finding it.
Once you have identified the source of the leak, you can use appropriate products to repair any damage done and prevent future leaks from occurring. Taking your time while completing this project will ensure that your shower will no longer leak through the ceiling once finished! With a little effort and an investment in some tools, this job should be within reach for most do-it-yourselfers requiring only an hour or two of work.
By following these tips on how to fix shower leaking through ceiling, you will have peace of mind knowing that your shower is securely fixed with no more worries of water damage down below!