Do you need help getting your car’s rear suspension up to standard? Does the sagging make your ride uncomfortable and inefficient? Whether you’ve had your vehicle for years and the rear suspension feels more like a family sofa than an efficient road machine, or you just bought a used car and noticed it tends to drag out its back bumper – sagging rear suspension can be annoying, dangerous, and expensive.

Fortunately, there are steps you can take to correct this problem and restore your car’s safety as well as its value. In this blog post, we’ll provide step-by-step instructions on how to fix sagging rear suspension in any vehicle – from a trusty old sedan to the latest performance sports car!
We’ll also look at some of the common reasons why people’s cars begin to sag in their suspension, helping you spot any potential problems before they become too serious. Read on for tips and advice from experienced mechanics who have seen it all.
Common Causes of Rear Suspension Sagging
Sagging rear suspension can be caused by a few different issues. Common causes include worn-out shocks, loose or broken bolts, and worn-out bushings. Additionally, if the car is overloaded with weight in the trunk or cargo area, this can cause the suspension to sag over time. Regularly inspecting your car’s suspension system and replacing any damaged or worn-out parts is the best way to prevent problems from occurring in the future.
Necessary Items
Before working on your car’s suspension system, ensure you have a few essential items. These include:
- Jack and Jack stands
- Socket set
- Wrenches
- A replacement suspension kit (if needed)
- Grease gun or lubricant
- Ratchets and pry bars (optional)
10 Steps on How to Fix Sagging Rear Suspension
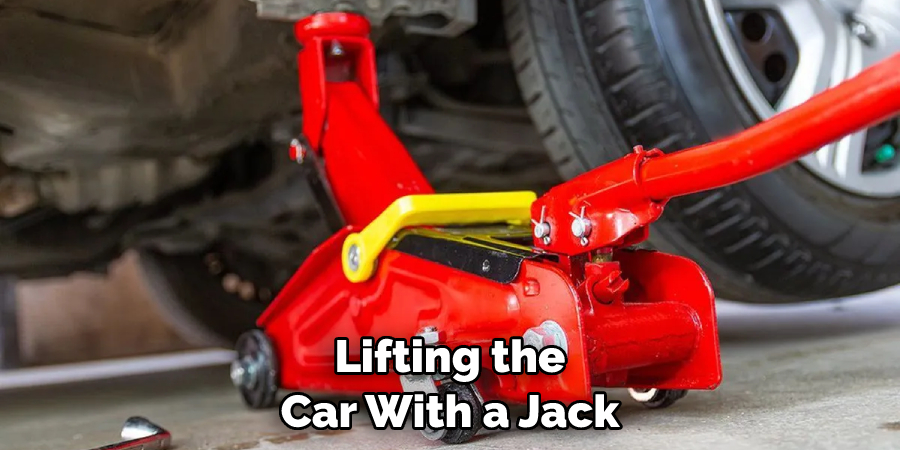
Step 1: Lifting the Car
Start by lifting the car with a jack and placing jack stands underneath for support. Make sure you use the right jacking points as specified in your owner’s manual, and never work on a vehicle that isn’t securely lifted off the ground.
Step 2: Checking the Shocks and Springs
With the car securely lifted in the air, you can now begin inspecting your shocks and springs. Start by checking for any signs of wear or damage. If there is a visible sign of corrosion on either part, they must be replaced.
If the shocks are worn out or broken, you’ll need to replace them with a new set. This is an easy and inexpensive job that takes little time.
Step 3: Inspect the Suspension Components
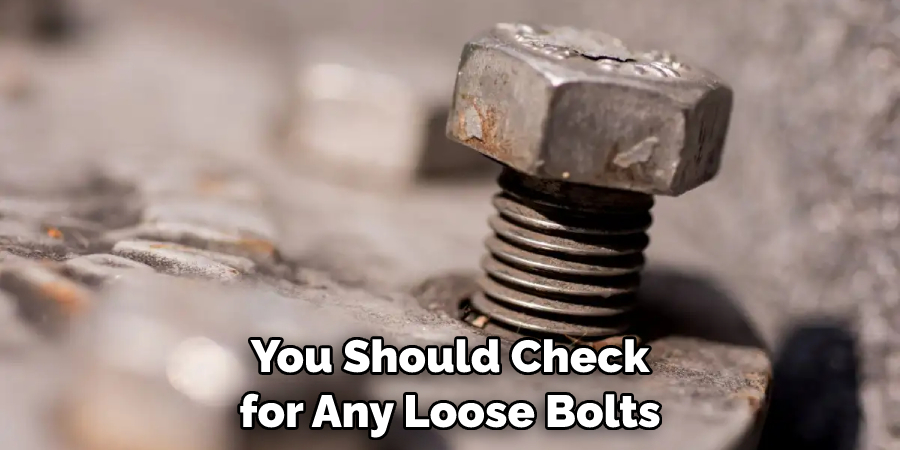
Once the shocks and springs have been checked, it’s time to inspect the other components of the rear suspension system. Check for any loose bolts or worn-out bushings, as well as any signs of rust or damage. If any of these problems are found, you’ll need to replace them with new parts.
Step 4: Lubricate Moving Parts
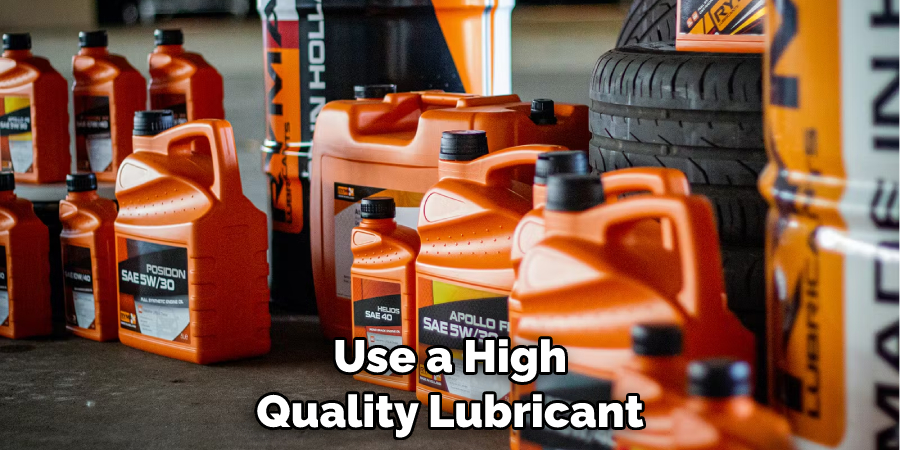
Once all the components have been inspected and replaced, if necessary, it’s time to lubricate all the moving parts of the suspension system. This includes shocks, springs, bushings, etc. Ensure you use a high-quality lubricant to ensure the parts move freely and without wear.
Step 5: Reassemble Suspension System
Now that all the suspension system parts have been inspected, replaced, and lubricated, it’s time to reassemble everything back together. Start by bolting the springs and shocks back into their respective locations. Make sure you tighten all the bolts securely and double-check that there are no loose parts.
Step 6: Adjust the Suspension
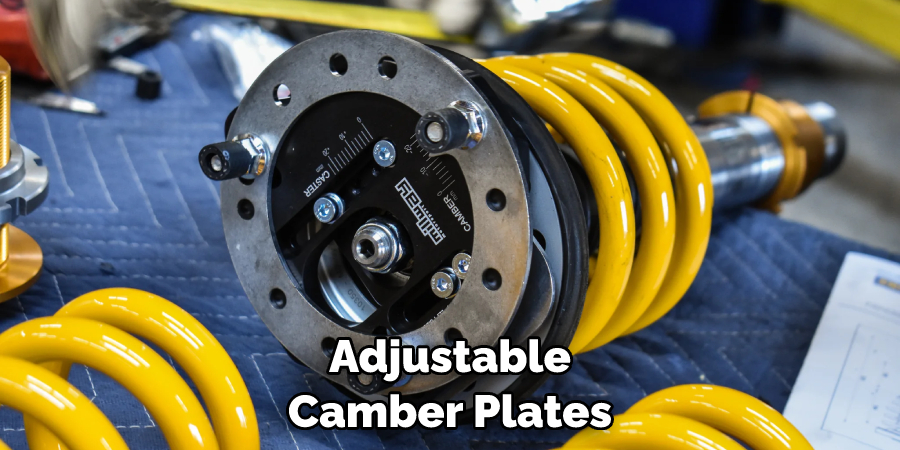
Now, it’s time to adjust your suspension system to get the optimal ride height. This can be done by adjusting the shocks and springs according to the manufacturer’s instructions. Some vehicles may also have adjustable camber plates, which can be used to adjust the angle of the wheels for a smoother ride.
Step 7: Inspect and Test Drive
Once all the adjustments have been made, it’s time to inspect the rear suspension one more time to ensure everything is in working order. If you’re satisfied with your results, take your car out for a test drive and check how it feels on the road.
Step 8: Inspect the Rear Suspension
Once you’re done with the test drive, it’s time to inspect the rear suspension one more time. Look for any signs of wear or damage and make sure everything is still in working order. Make sure you take note of any unusual noises or sensations that you may feel while driving – these could be signs of a problem with the suspension system.
Step 9: Replace Damaged Parts
If you find any parts of the rear suspension that are damaged or worn out, replace them with new ones immediately. This is especially important if the damage may be causing further issues with your car’s handling and performance.
Step 10: Enjoy the Ride
Now that everything is back in working order, you can enjoy your car’s improved suspension and the increased safety and comfort it provides. Follow these steps regularly to keep your rear suspension in tip-top condition so you can always enjoy a smooth ride!
8 Mistakes You Might Make
1. Not Jacking Up the Car:
When working on your car’s suspension system, you must always remember to lift the car with a jack and place it on jack stands for support. Never work on a vehicle that isn’t securely lifted off the ground, as this can be incredibly dangerous!
2. Not Replacing Worn-Out Parts:
If any components of your rear suspension system are worn out or damaged, it’s important to replace them with new parts as soon as possible. Please do so to avoid further damage and unsafe driving conditions.
3. Not Lubricating Moving Parts:
Make sure you use a high-quality lubricant when lubricating any moving parts of the suspension system. This will help ensure the parts move freely and without wear.
4. Not Tightening Bolts Properly:
When reassembling the suspension system, make sure you tighten all the bolts securely. Failing to do so can result in loose parts that may cause further damage.
5. Not Adjusting the Suspension:
After reassembling all the components, adjusting the suspension according to the manufacturer’s instructions is important. This is necessary for optimal ride height and improved handling.
6. Not Taking a Test Drive:
Once all the adjustments are made, take your car out for a test drive to ensure everything is working. Listen for any unusual noises or sensations that you may feel while driving – these could be signs of a problem with the suspension system.
7. Not Inspecting for Wear or Damage:
After the test drive, inspect your rear suspension again to ensure everything is still in working order. Look for any signs of wear or damage and replace any damaged parts with new ones immediately.
8. Ignoring Unusual Noises or Sensations:
While driving, pay close attention to any unusual noises or sensations that you may feel. These could be signs of a problem with the suspension system and should not be ignored! Taking care of these issues immediately can help prevent further damage and preserve the safety of your car.
Frequently Asked Questions
How Often Should I Inspect My Rear Suspension System?
You should inspect your rear suspension system at least once a year or after any significant changes in the terrain or driving conditions you may encounter. This will help ensure all parts are in working order and no damage has been done.
What Parts Should I Look for When Inspecting My Rear Suspension System?
When inspecting the rear suspension system, you should check for any loose bolts or worn-out bushings and any signs of rust or damage. If any problems are found, you’ll need to replace them with new parts.
How Do I Adjust the Suspension?
To adjust your suspension system, you’ll need to adjust the shocks and springs according to the manufacturer’s instructions. Some vehicles may also have adjustable camber plates, which can be used to adjust the angle of the wheels for a smoother ride.
Is It Important to Lubricate Moving Parts?
Yes! Make sure you use a high-quality lubricant when lubricating any moving parts of the suspension system. This will help ensure the parts move freely and without wear.
What Should I Do If I Notice Unusual Noises or Sensations While Driving?
If you notice any unusual noises or sensations while driving, take your car in for an inspection immediately. These can be signs of a problem with the suspension system and should not be ignored. Taking care of these issues immediately can help preserve the safety of your car.
Conclusion
Maintaining your car’s suspension system is essential for a safe and comfortable ride. Following these steps on how to fix sagging rear suspension will help you keep your car running like new and reduce the risk of any major problems in the future.
If you’re uncomfortable with attempting this repair yourself, it’s best to take your vehicle to an experienced mechanic who can ensure your car is in top condition. Regularly inspecting and maintaining your suspension system can ensure a smooth ride for years!
Now that you understand the importance of proper suspension maintenance, remember to check out our guide on maintaining other aspects of your car as well. From checking fluid levels and keeping your tires properly inflated to doing regular oil changes and replacing worn-out brake pads, taking good care of your car will help it last longer and run smoother. So get out there, stay safe, and enjoy the ride!