If you have a raised concrete driveway, there are a few things that you can do to repair it. Depending on the severity of the damage, some steps may be more necessary than others.
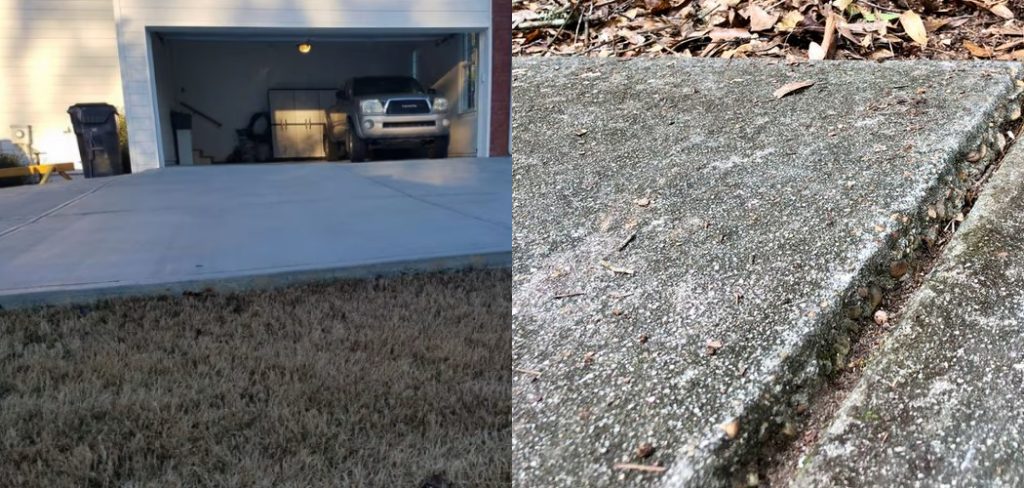
If you have a raised concrete driveway, you know that it can be a bit of a hassle to fix. If your concrete driveway has started to lift or crack, don’t worry. With the right tools and some know-how, it’s not too tricky to get the job done. Here are some methods on how to fix raised concrete driveway to repair your driveway in no time.
Summary: Fixing a raised concrete driveway is a common but difficult task. The first step is to remove all debris and dirt from the driveway, as well as any existing cracks or damage. Once the area is clear, use a pressure washer to clean the surface completely.
After that, patch or repair any cracks or damaged spots using patching material specifically made for concrete driveways. Finally, apply an epoxy sealer to protect the surface from future damage and wear.
What Would Cause Concrete to Lift?
Water is the most common cause of lifted concrete. If water is getting under your concrete and causing it to heave, you’ll need to find a way to divert the water away from the slab. This might involve regarding your yard so that water drains away from the concrete, installing a French drain, or adding gutters and downspouts to keep rainwater from pooling near the slab.
If tree roots are causing the problem, you may need to have the tree removed. If the roots are from a protected tree, you may be able to have them trimmed instead. Once the roots are gone, you can fill the void with soil and compact it to help prevent the concrete from lifting again.
If poor compaction is the problem, you’ll need to excavate the area around the concrete and compact the soil before filling in the excavated area and replicating the concrete. This process is called mud jacking, which can be done by a professional.
Once you’ve determined the cause of the lifted concrete, you can take steps to fix the problem and prevent it from happening again.
10 Steps on How to Fix Raised Concrete Driveway
Step 1: Measure the Damage
The first step is to measure the damage. How much of the concrete driveway is raised? This will help you determine how much material you need to level the surface. This step is very important because if you don’t have enough material, the job won’t be able to be completed. Once you complete this, you can move on to the next step.
Step 2: Prep the Area
The next step is to prep the area. You need to make sure that the concrete is clean and free of any debris. First, you need to sweep the driveway. This will remove any loose dirt and debris. Next, you need to wash the driveway with a power washer. This will remove any remaining dirt and debris. Once the area is clean, you can move on to the next step.
Step 3: Add the Material
The next step is to add the material. You will need to add a layer of sand over the concrete. The thickness of the sand should be about 1 inch. Once the sand is in place, you can begin to level the surface. This is very important because if you don’t level the surface, the job won’t be able to be completed. Ensure that the sand is level before you move on to the next step.
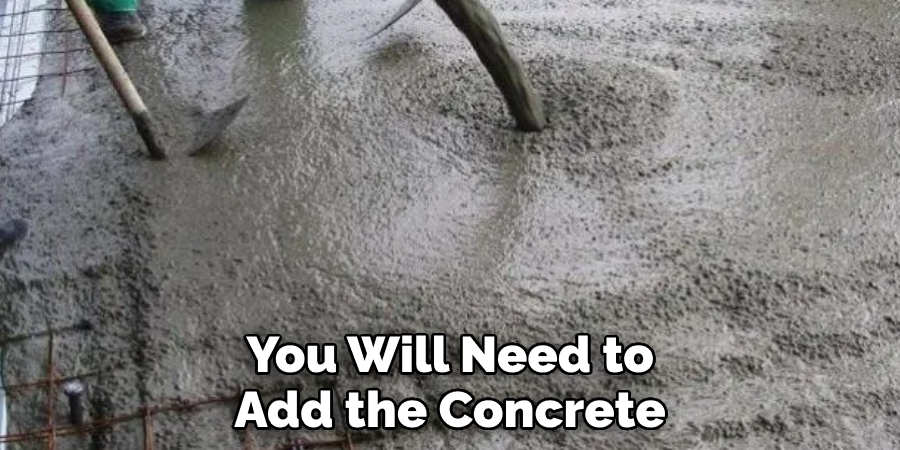
Step 4: Add the Concrete
In this step, you will be adding concrete to your driveway. You will need to add the concrete in two stages. The first stage is to add the concrete mix to the lower part of the driveway. The second stage is to add the concrete mix to the higher part of the driveway.
You will need a wheelbarrow and a shovel to add the concrete mix. First, mix the concrete in the wheelbarrow according to the instructions on the package. Then, use the shovel to pour the concrete mixture into the lower part of the driveway. Use as much concrete as you need to fill in all the cracks and holes in this area.
Once you have filled the lower part of the driveway, use the shovel to pour the concrete mix into the higher part of the driveway. Fill in all of the cracks and holes in this area as well.
Let the concrete dry for 24 hours before using your driveway.
Step 5: Add the Finishing Touches
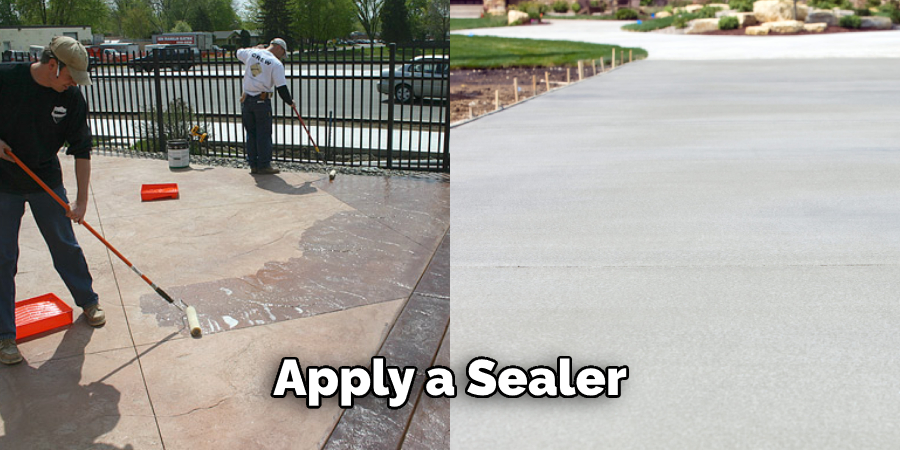
The next step is to add the finishing touches. You will need to add a layer of sealant over the concrete. This will protect the concrete from weathering and other damage. Once the sealant is in place, you can begin to use your driveway.
If you notice any cracks or other damage to the concrete, you can repair them with a concrete repair kit. These kits are available at most hardware stores. Follow the instructions carefully to ensure that the repairs are made correctly.
Step 6: Add a Layer of Gravel Over the Concrete
You must add some gravel to the driveway before adding the concrete layer. The gravel will help support the weight of the concrete and also provide drainage for any water that might accumulate on the surface. You should use a mix of two different sizes of gravel, with the larger pieces being no more than 2 inches in diameter.
You’ll need to spread a layer of gravel that’s at least 4 inches deep over the entire driveway. Start by spreading a 2-inch layer of the larger gravel over the area. Then, add a 2-inch layer of the smaller gravel on top of that. Use a shovel or rake to spread the gravel evenly over the surface.
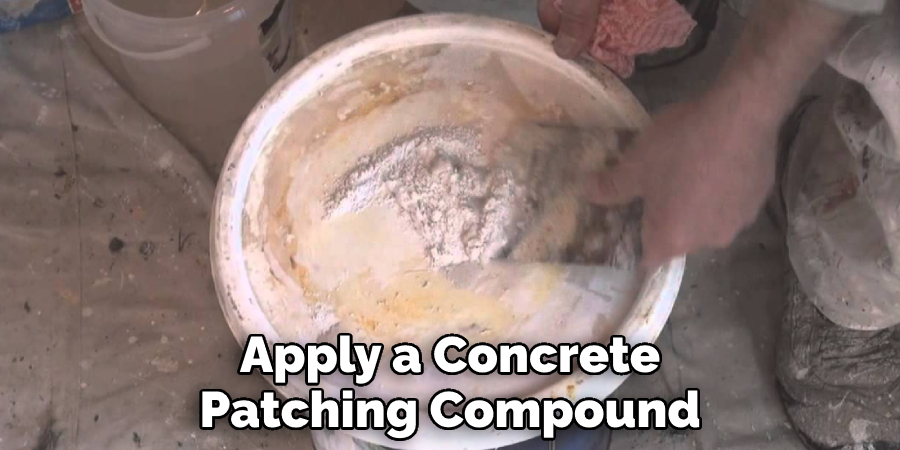
Step 7: Apply Patching Compound
You may need to apply a concrete patching compound to some areas of your driveway. This will help out any irregularities and give the driveway a smooth finish. Be sure to follow the instructions on the packaging carefully and apply the compound evenly. Otherwise, you may end up with an uneven surface.
Step 8: Sand It Down With a Fine-grit Sandpaper
After the patching compound has dried, you can use fine-grit sandpaper to smooth out the surface of your driveway. Once you’re finished sanding, sweep away any excess sanding dust before continuing. This is important to do because any sanding dust that’s left on the surface of your driveway can prevent the sealant from adhering properly.
Step 9: Sealing Your Driveway
Applying a sealant will help protect your driveway from weather damage and stains. When applying sealant, first, you need to repair any cracks or holes in the concrete. Check the weather forecast before starting this project, as you’ll need two consecutive days of dry weather to complete it. Otherwise, the sealant will not adhere properly.
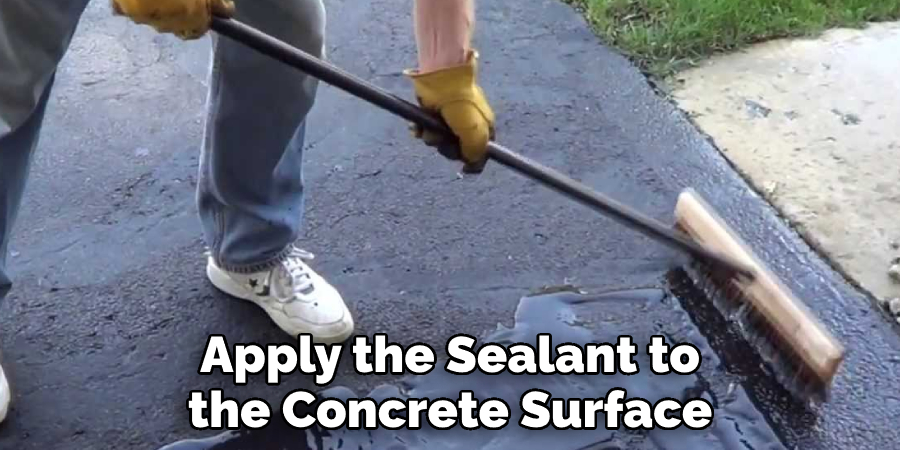
To seal your driveway, clean the concrete surface with a power washer or garden hose fitted with a spray nozzle attachment. Then, mix the sealant in a bucket according to the manufacturer’s instructions. After that, pour the sealant into a paint tray.
You apply the sealant to the concrete surface using a paint roller with an extension handle. Start at one end of the driveway and work your way to the other. Overlap each stroke by six inches.
Allow the sealant to dry for 24 hours before walking on it or driving your car over it.
Step 10: Use a Roller to Compact
This will help ensure the driveway is level with the rest of the concrete around your home. You can use a hand roller or a power roller to do this job. Be sure to go over the entire driveway surface to ensure level.
It’s important to keep an eye on your concrete driveway and to repair any cracks or damaged areas as soon as possible. By taking care of your driveway, you can help it last for many years. Thanks for reading!
Safety Precautions You Need to Know Before Fixing Raised Concrete Driveway
1. Always wear the proper safety gear when working with concrete. This includes gloves, eye protection, and a dust mask.
2. Be aware of your surroundings and ensure there is no traffic or other hazards nearby before beginning work.
3. Never try to fix concrete that is still wet or has water pooled on top of it. Wait for the concrete to dry completely before beginning any repairs.
4. Do not attempt to fix concrete that is cracked or otherwise damaged. This could make the problem worse and lead to further damage.
5. Always use a cold chisel and hammer when removing old concrete. Never use a power tool, as this could cause serious injury.
6. Be careful not to over-tighten the bolts or screws when securing the new concrete. This could damage the concrete and cause it to break.
7. Ensure the area around the repair is clean and debris-free before beginning work.
8. Do not use too much water when mixing the concrete. This could weaken the concrete and make it more likely to crack.
9. Never leave the concrete unattended while it is drying. Check on it regularly to make sure that there are no cracks or other problems.
10. Once the concrete has completely dried, apply a sealer to help protect it from weathering and staining.
If you have any questions or concerns about your ability to fix raised concrete driveway safely, always consult with a professional contractor before beginning any work. Trying to fix concrete can be dangerous if not done correctly. It is always better to be safe than sorry.
Conclusion
Raised concrete driveways can be a safety hazard. Fixing a raised concrete driveway is not difficult, but taking the necessary precautions is important.
If you read the post above on how to fix raised concrete driveway, you’ll know the importance of taking proper safety precautions when working with concrete. By following the steps in this post, you can help to ensure that your repair job is done safely and correctly. Thanks for reading!