As a boat owner, you know the importance of proper ventilation. A well-ventilated boat is important for the safety of the passengers and crew, as well as for the overall function of the vessel. Unfortunately, one common problem with boat ventilation is improper Prop ventilation. This article will discuss how to fix prop ventilation on your boat.
We will cover a few methods to fix prop ventilation. We will also provide tips on how to prevent prop ventilation from occurring in the first place. Follow these steps to ventilate your boat and keep everyone safe on board properly!
Summary: Fixing the ventilation in a prop is a difficult and time consuming process. There are many different factors that must be considered when fixing a prop ventilator, including the size, shape, and construction of the ventilator. Once the problem has been identified and the correct repairs made, the prop can be returned to service.
What Causes Propeller Ventilation?
One common cause of propeller ventilation is an improperly installed or damaged propeller. If the propeller is not installed correctly, air can be drawn into the boat through the propeller blades. This can happen if the propeller is too small for the boat or if it is not properly secured to the boat.
Another common cause of propeller ventilation is when the boat is moving too fast through the water, creating a vacuum behind the propeller blades which can cause air to be drawn into the boat. Finally, propeller ventilation can also be caused by waves taller than the propeller blades. When the waves hit the propeller they can create a vacuum, drawing air into the boat.
How to Fix Prop Ventilation: 12 Easy Steps
Step 1: Check the Propeller Size.
The first step is to check the size of your propeller. If the propeller is too small, it will not be able to create enough airflow to ventilate the boat properly. You must ensure that the propeller is the correct size for your boat. If you think the propeller is too small, consult a professional for help.

Step 2: Inspect the Propeller Blades.
The next step is to check the blades on the propeller. If they are bent or damaged, the boat won’t be able to get enough air to ventilate properly. So, you need to make sure the blades are okay before continuing. If they’re not, you’ll have to buy new ones at a hardware store.
Step 3: Adjust the Propeller Pitch.
The propeller’s pitch refers to the blades’ angle in relation to the centerline of the shaft. If the pitch is too low, the blades will not be able to generate enough airflow to ventilate the boat properly. If the pitch is too high, the propeller will be less efficient and use more power than necessary. Therefore, it’s important to ensure that the pitch is set correctly before proceeding. You can purchase a propeller pitch gauge at most hardware stores.
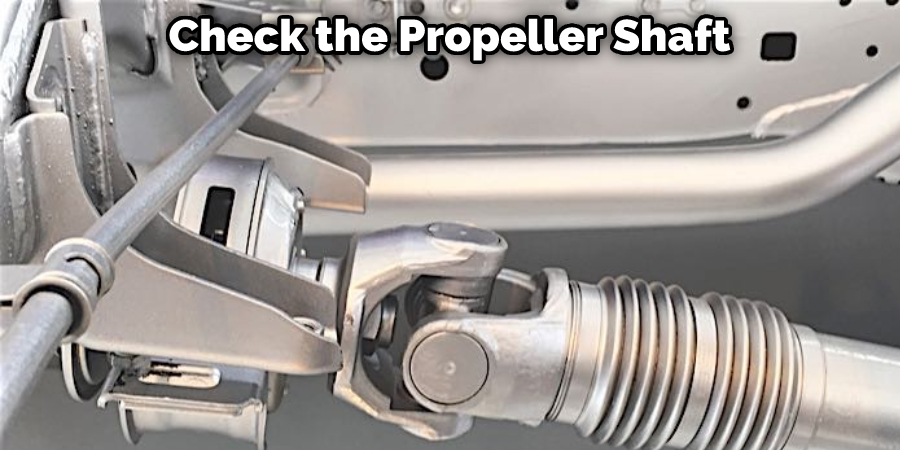
Step 4: Check the Propeller Shaft.
The next step is to check the propeller shaft. If the shaft is bent or damaged, it will not be able to spin the propeller properly. Therefore, you must ensure that the shaft is in good condition before proceeding. If the shaft is damaged, you will need to replace it. You can purchase a replacement shaft at most hardware stores.
Step 5: Inspect the Engine Mount.
The engine mount is responsible for securing the engine to the boat. If the mount is loose or damaged, it can cause the engine to move around, which can lead to propeller ventilation. Therefore, it is essential to check that the engine mount is secure and in good condition before proceeding. If the mount is damaged, it will need to be replaced.
Step 6: Check the Propeller Size and Pitch.
If the propeller is too small or has the wrong pitch, it can cause ventilation. The size and pitch of the propeller should be matched to the engine to ensure proper operation. You can consult your owner’s manual or a professional to find your engine’s correct propeller size and pitch. Ventilation can also occur when the water is too shallow for the propeller. The propeller needs at least 24 inches of water to function properly. Ventilation may also occur if you are running in a cove or near land.
Step 7: Adjust the Trim Tabs.
The trim tabs are what help keep the boat level in the water. If the trim tabs are set too low, it can cause ventilation. Therefore, you must ensure that the trim tabs are set correctly before proceeding. You can purchase a trim tab gauge at most hardware stores.
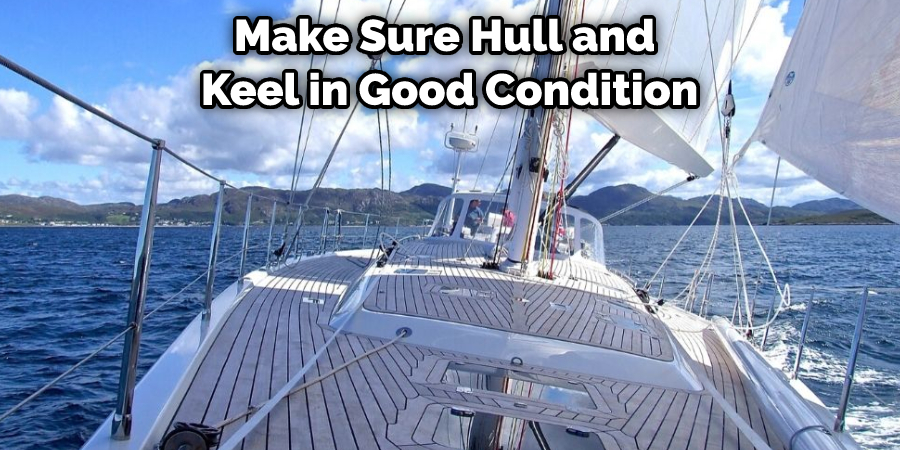
Step 8: Inspect the Hull and Keel.
If the hull or keel is damaged, it can cause ventilation. Before proceeding, you must ensure that the hull and keel are in good condition. You will need to have them repaired or replaced if they are damaged. If you think the hull or keel is damaged, consult a professional for help.
Step 9: Check the Engine Mounts.
If the engine mounts are loose or damaged, the engine will not be properly supported. This can cause the engine to vibrate, which can damage the propeller and cause it to become unbalanced. If the engine mounts are damaged, they will need to be replaced. If they are simply loose, they can be tightened with a wrench.
Step 10: Replace the Propeller.
If the propeller is damaged, it will need to be replaced. You can purchase a replacement propeller at most hardware stores. Make sure to get the correct size and pitch for your boat’s engine. When replacing the propeller, ensure the hub is properly aligned with the shaft. If it is not, the propeller will not work correctly and could cause damage to the engine.
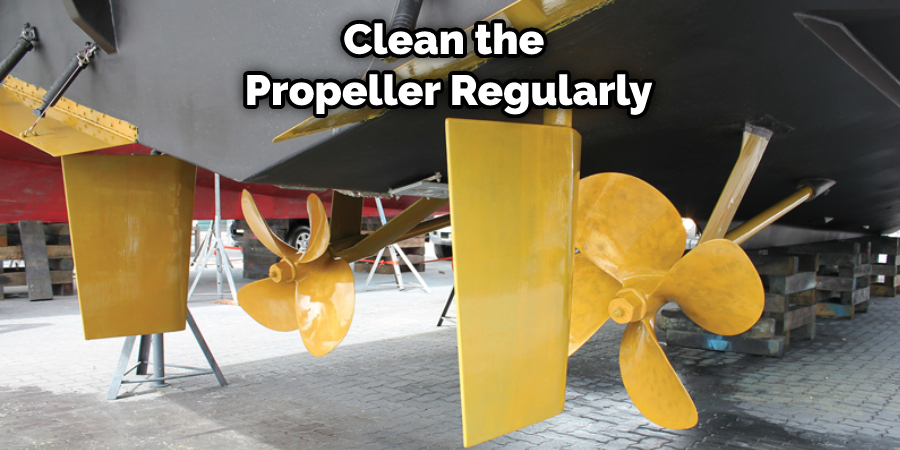
Step 11: Clean the Propeller Regularly.
It is important to clean the propeller regularly to ensure it is in good condition. You can use a brush or hose to remove any debris on the blades. It would help if you also inspected the propeller for any damage after each use. If you notice any damage, have the propeller repaired or replaced as soon as possible.
Step 12: Adjust the Propeller Ventilation.
If you still have problems with propeller ventilation, you may need to adjust the amount of ventilation. This can be done by adjusting the size of the opening in the bottom of the hull or adding more vents. If you think the propeller is still not getting enough air, you can try a bigger propeller. By following these steps, you should be able to fix the problem of propeller ventilation on your boat.
You Can Check It Out To Fix a Plumbing Venting Problem
Some Helpful Tips and Suggestions
Here we have given tips on how to fix prop ventilation.
- Check your owner’s manual for specific instructions on your boat.
- If you are unsure about anything, consult a professional for help.
- Regular maintenance is key to keeping your boat in good condition. Be sure to clean the propeller regularly and inspect it for damage after use.
- If you still have problems with propeller ventilation, try adjusting the size of the opening in the hull or adding more vents. You can also try a bigger propeller.
- When you think of propeller ventilation, also consider trim tabs. Trim tabs can help reduce propeller venting by allowing you to adjust the angle of the boat’s hull in the water.
- If you think the propeller is the problem, take it to a professional to have it checked or replaced.
- Remember, if you’re having trouble with propeller ventilation, there are many potential causes. So be sure to check all the possible causes before making any changes to your boat.
How Can Prop Cavitation Be Reduced?
Cavitation is the formation of bubbles in a liquid, and it can occur when the pressure in the liquid drops below the vapor pressure. When these bubbles collapse, they create a shock wave that can damage propellers and other underwater surfaces.
Cavitation can be reduced by designing propellers that minimize the formation of bubbles and by using anti-cavitation devices such as rudders and fairings. However, foreign objects in the water can also cause it, so keeping the area around your propeller clear is important.
How Do You Fix an Outboard Cavitation?
Cavitation is a condition that can occur when an outboard motor is operated at too high of a speed. When cavitation happens, it causes the propeller to stop spinning and can cause damage to the outboard motor. There are a few things that you can do to fix outboard cavitation. The first thing that you need to do is to check the prop. Make sure that the blades are not bent or damaged in any way. If the prop is damaged, it will need to be replaced.
The next thing you need to do is check the propeller’s alignment. The propeller must be aligned correctly to operate at its best. If the propeller is not aligned, it will cause the outboard motor to vibrate and can cause cavitation. The last thing you need to do is to check the engine’s cooling system. If the cooling system is not working properly, it can cause the outboard motor to overheat and cause cavitation.
Frequently Asked Questions
What Causes Propeller Ventilation?
Propeller ventilation is a system that uses the wind to move air through an enclosed space. This ventilation system is used in many different applications, including factories, warehouses, and data centers. The purpose of propeller ventilation is to remove harmful contaminants and fumes from the environment.
The most common type of propeller ventilation is fan-driven propeller ventilation. This type of propeller uses blades that spin to create wind movement. This wind movement pulls air through the system and removes contaminants and fumes from the environment.
What Does Prop Cavitation Sound Like?
When something is in a high-pressure state, it experiences cavitation. This is simply the formation of bubbles due to extreme pressure and rapid temperature change. These small bubbles can cause significant damage that may lead to leaks or ruptures.
One example of this would be when your car’s air conditioning system blows coolant onto the road surface instead of into the engine compartment. When these tiny bubbles are created, they form a path for water vapor and fuel spray to mix together, which then causes an intense burning sensation along with loud popping noises.
In medical settings, cavitation can also occur during surgery when liquid assets such as blood or biopsies are introduced under extremely high-pressure conditions (above 200 MPa). This may cause microvascular leakage and tissue destruction at harmful levels even below atmospheric pressure (1 atmosphere = 760 kPa), potentially leading to catastrophic results such as death or permanent disability.
Whats the Difference Between Cavitation and Ventilation?
Cavitation and ventilation are two mechanisms that plants use to extract water and nutrients from the soil. Cavitation occurs when a liquid is vaporized, or boiled, at high pressure. This vaporized liquid then expands rapidly and creates a bubble. This bubble then bursts, causing the liquid to be expelled from the plant.
Ventilation occurs when air is brought in contact with moist soil. Moisture is drawn out of the soil by the air and eventually leaves through the air vents.
What Causes Cavitation on an Outboard?
When something is in liquid forms, like water or oil, it can expand when the pressure inside the container becomes greater than the atmospheric pressure outside of the container. This phenomenon is known as cavitation and it occurs when small bubbles are created that quickly grow larger and burst.
Cavitation can have a number of negative consequences on an outboard engine, including damage to engine parts, loss of power output, reduced fuel efficiency, and even engine failure. To avoid these problems, be sure to keep your boat well-maintained by regularly cleaning hulls and engines with a high-quality cleaner designed specifically for this purpose.
And if you notice any unusual noise or vibration from your outboard motor’s propeller shafts or ports (where aquatic life typically attaches), then it may be time to take them into consideration for repairs/replacement.
Conclusion
The best way to fix prop ventilation is to ensure that the area around the vent is clear and free of any obstruction. Ensure adequate air supply is coming into the room and that the exhaust fan is working properly. We hope this guide on how to fix prop ventilation has been helpful.
As you can see, fixing prop ventilation is not as hard as it seems. With a few simple tips and some practice, you should be able to troubleshoot any problems that may arise. Have you tried these techniques? Let us know how they worked for you in the comments below!
You Can Check It Out to Fix Rotted Boat Floor