Pinholes in drywall mud can be a frustrating problem for anyone who has ever attempted to repair or finish a wall. These small holes are typically caused by air bubbles or insufficient application of joint compound during the finishing process.
If left untreated, pinholes can be noticeable and detract from the overall appearance of the finished wall.
The good news is that fixing pinholes in drywall mud is a relatively simple process that can be done by most DIYers. In this article, we will discuss some methods for how to fix pinholes in drywall mud, including how to properly prepare the surface, how to apply additional coats of joint compound, and how to sand and finish the surface for a smooth and professional look. With the right tools and techniques, you can fix pinholes in drywall mud and achieve a flawless finish.
Why Does My Drywall Mud Have Pinholes?
Pinholes in drywall mud can be a frustrating problem for homeowners and DIYers alike. The most common cause of pinholes is an uneven application of the mud. When applying mud, it’s important to make sure that each layer is spread evenly and correctly.
If there are areas of thicker or thinner application, this can create air pockets that will form pinholes when the mud dries. Another possible cause could be using low-quality materials. Cheaper drywall mud mixes tend to be less consistent, leading to more issues with pinholes forming after drying.
Finally, if the surface on which the drywall mud is being applied isn’t smooth enough (for example, if there are bumps or ridges left over from a previous repair), this can also cause pinholes in the mud.
Sanding down the surface before applying drywall mud can help to prevent these pinholes from forming. No matter what the cause may be, however, it’s important to know how to fix pinholes in drywall mud in order to get a smooth, even finish on your walls. Read on to learn some tips and techniques for repairing those pesky pinholes.
10 Methods How to Fix Pinholes in Drywall Mud
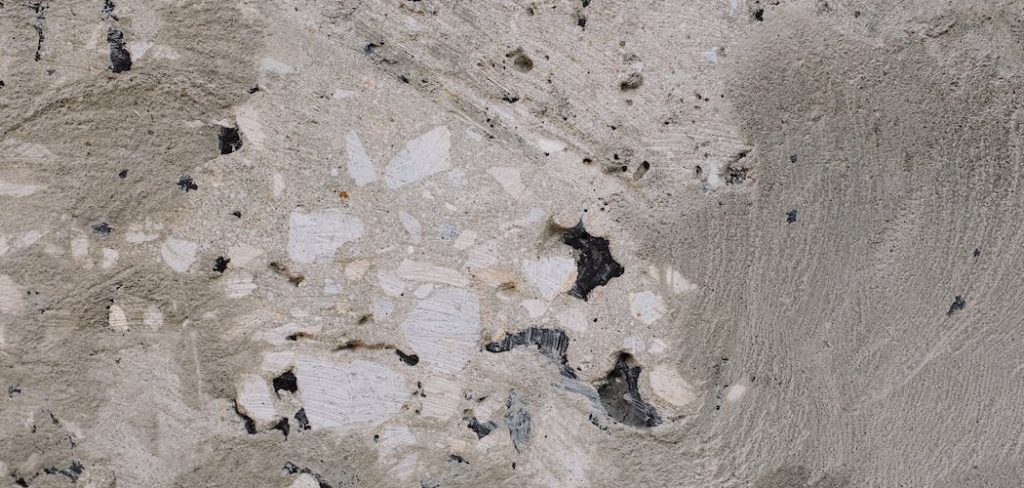
1. Properly Prepare the Surface
Before you can fix pinholes in drywall mud, you need to properly prepare the surface. This involves sanding down any rough spots and ensuring that the surface is clean and free of dust and debris. You should also make sure that the drywall mud is completely dry before attempting to fix any pinholes.
If the drywall mud is still wet, it will not be able to adhere properly and fill in the holes. However, if the drywall mud is already hardened, you can use a wire brush to help remove any debris. Though it may seem tedious, the preparation of the surface is key to a successful repair.
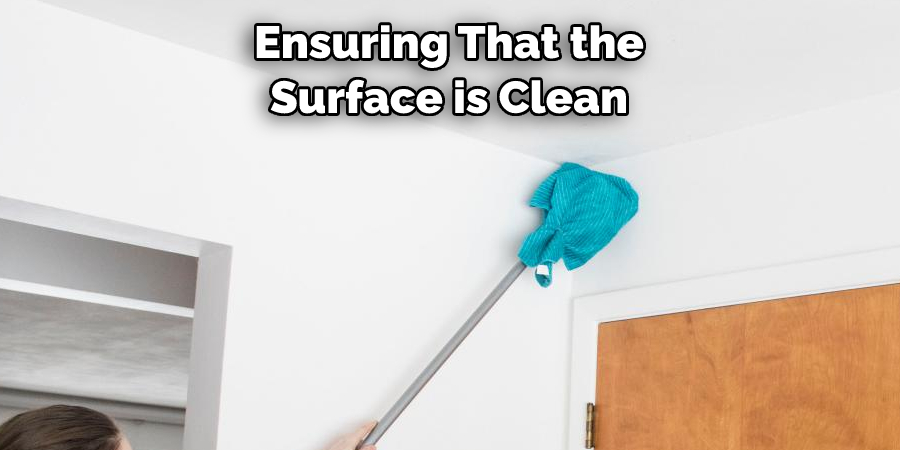
2. Apply Additional Coats of Joint Compound
One of the most common methods for fixing pinholes in drywall mud is to apply additional coats of joint compound. This involves applying a thin layer of joint compound over the surface of the drywall and allowing it to dry completely before sanding it down to a smooth finish. You may need to apply multiple coats of joint compound to completely fill in any pinholes.
When applying additional joint compounds, it’s important to spread the material out evenly and not use too much. It should be thick enough to completely cover the pinholes but not so thick that it forms a raised mound on the wall. If you’re using a paint roller, use light pressure to avoid applying too much material.
3. Use a Drywall Knife to Spread Joint Compound
When applying joint compound to fix pinholes in drywall mud, it is important to use a drywall knife to spread the compound evenly over the surface. This will help to ensure that the surface is smooth and free of any lumps or bumps.
Start by applying a thin layer of compound to the affected area.
Work in small circles with the knife, lightly feathering outwards until the entire surface is covered. Allow the compound to dry completely before continuing on to the next step. While you are waiting, clean your knife and gloves to prepare for the next round.
4. Sand the Surface
Once the joint compound has dried, you will need to sand the surface to create a smooth finish. Use fine-grit sandpaper and sand in a circular motion to avoid creating any additional rough spots. Be sure to sand the entire surface, not just the areas where you applied joint compound. When you have finished sanding, use a vacuum cleaner to remove any dust from the surface.
Finally, you can use a damp cloth to wipe away any excess dust. Depending on the size of your repair, you may need to sand the entire wall to ensure that everything is even and smooth. If the entire wall does not need to be sanded, you can use a small hand sander for the specific area.
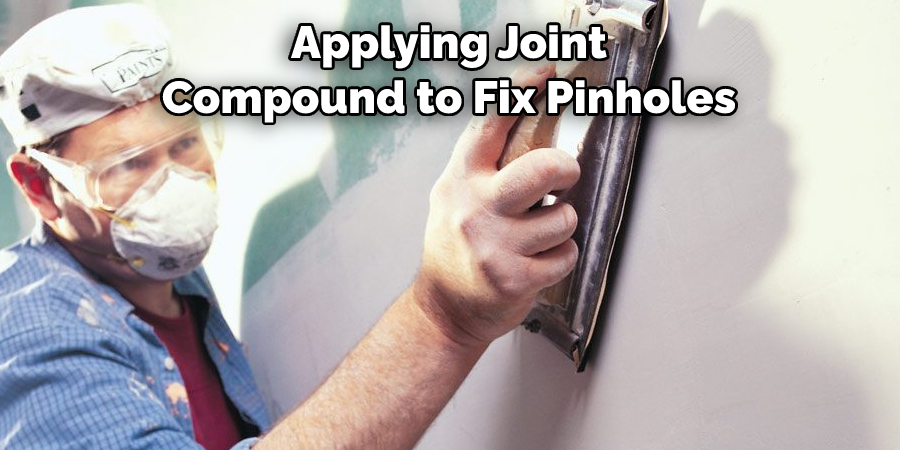
5. Apply a Skim Coat
If the pinholes in your drywall mud are particularly small, you may be able to use a skim coat to fill them in. A skim coat involves applying a thin layer of joint compound over the entire surface of the drywall to create a smooth finish. This method is best for minor imperfections in the surface of the drywall.
To begin, mix up a batch of drywall mud and stir it to a creamy consistency. Dip your taping knife in the mud and scrape off any excess. Begin applying the mud in a thin layer to the wall, smoothing it out with your knife, and covering all of the pinholes. Allow the mud to dry completely before painting it.
6. Use a Spray Texture
Another option for fixing pinholes in drywall mud is to use a spray texture. This involves using a spray gun to apply a fine mist of joint compound over the surface of the drywall. The texture will help to fill in any pinholes and create a smooth finish. Once the texture has been applied, it can be painted to match the rest of the wall.
This is a great option for larger areas and more difficult-to-fix pinholes. However, it may take some practice to get the texture just right. It’s best to use a professional spray texture service to ensure that the job is done correctly. While you will need to purchase a spray gun and the necessary supplies, it can save you time in the long run.
7. Use a Taping Knife to Smooth the Surface
After applying joint compound to the surface of the drywall, use a taping knife to smooth out any lumps or bumps. This will help to create a seamless finish and ensure that the surface is free of any imperfections.
If you are using a pre-mixed joint compound, apply the taping knife in one continuous motion for the most even results. Make sure that you do not over-spread the joint compound, as this can create more pinholes. When finished, allow the surface to dry before applying a second coat of joint compound.
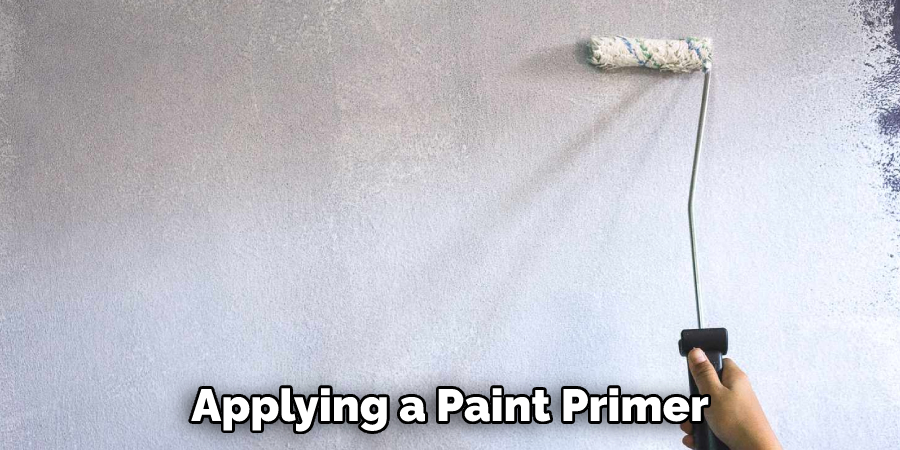
8. Apply a Paint Primer
Once the joint compound has dried and the surface has been sanded, you should apply a paint primer to the surface. This will help to ensure that the surface is properly prepared for painting and will help to hide any remaining imperfections.
Once the primer has been applied, you can move on to applying the paint. It is also important to apply a topcoat of paint which will give the wall a finished look and will protect it from further damage. With some patience, you can fix pinholes in drywall mud with ease. Once the area is finished, it should look just as good as any other area of your wall.
9. Apply Paint
After applying a paint primer, you can apply your chosen paint color to the surface of the drywall. Be sure to apply at least two coats of paint to ensure that the surface is properly covered and looks smooth and professional. Allow the paint to dry completely before taking any further steps.
10. Prevent Future Pinholes
To prevent future pinholes in drywall mud, be sure to use the proper techniques when applying joint compound and sanding the surface. Always make sure that the surface is clean and free of debris before applying joint compound, and use a fine-grit sandpaper to avoid creating additional rough spots. With the right techniques, you can prevent future pinholes and achieve a flawless finish on your drywall.
Conclusion
With a few simple steps and some patience, anyone can have their walls looking like new in no time! Knowing how to fix the pinhole problem is much easier than having to grab the sander and start all over! When using the techniques outlined in this blog post, always put safety first and use protective gear when sanding drywall mud. Take your time and be sure to apply multiple coats of mud as necessary.
This creative solution can help to eliminate those annoying little pinholes, so you can enjoy the newly evened out walls for many years to come. Fixing pinholes in drywall, doesn’t have to be hard or time-consuming — just follow these easy steps on how to fix pinholes in drywall mud and get ready to take your wall back from the holes! Good luck!