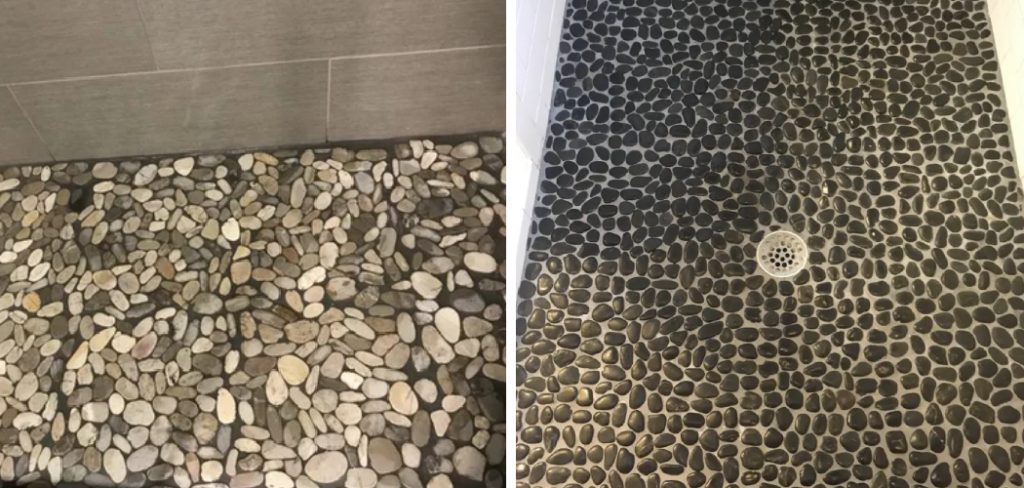
The Pebble Shower Floor is one of the most popular shower floors on the market. It is made of small, flat stones that are tightly fitted together to create a slip-resistant surface. While the Pebble Shower Floor is extremely durable and long-lasting, it can sometimes become stained or dirty over time.
If your Pebble Shower Floor looks a little worse for wear, don’t worry – there is an easy fix! All you need is a few common household items and a little bit of time. Follow these simple steps to have your Pebble Shower Floor looking good as new in no time.
This blog post will show you how to fix pebble shower floor.
Summary: Fixing a pebble shower floor is easy if you know the steps. Start by cleaning the affected area with a broom or vacuum to remove any dirt and debris. Next, apply a sealant to the floor using an applicator brush. After that, let the sealant dry for 24 hours. Lastly, add grout between the pebbles and let it cure overnight before using your newly repaired shower floor again!
What Can Make Problems in a Pebble Shower Floor?
A few different things can cause problems with a pebble shower floor. One of the most common problems is when the stones become loose and start to move around. This can create gaps between the rocks, which can then become filled with dirt and grime.
Another problem that can occur is when the sealant between the stones starts to break down. This can happen over time due to the constant exposure to water and soap. When the sealant breaks down, water and dirt can get into the cracks and crevices, leading to staining and discoloration.
Finally, if the stones are not properly sealed, they can absorb stains from things like soap scum and mildew. This can result in a pebble shower floor that is difficult to clean and looks dull and lifeless.
10 Steps on How to Fix Pebble Shower Floor
1. Clean the Floor:
The first step is to give the floor a good cleaning. Use mild soap and warm water to scrub away any dirt, grime, or soap scum. Be sure to rinse the floor well afterward to remove all traces of soap. Otherwise, the soap will just end up attracting more dirt and grime. This step is important because you need to start with a clean surface before moving on to the next steps.
2. Inspect the Floor:
Once the floor is cleaned, look at all the stones. Look for cracked, chipped or damaged stones that will need to be replaced. Because pebble shower floors are made of natural stone, it is important to match the new stones closely.

3. Remove Loose Stones:
Once the floor is clean, check for any loose stones. If you find any, simply remove them and set them aside. You may need to use a putty knife or another sharp object to pry them up. Make sure to clean the area underneath the loose stone before proceeding. This step is important because loose stones can cause the floor to become uneven.
4. Vacuum the Floor:
Use a vacuum cleaner with a soft brush attachment to vacuum the entire floor. This will remove any dirt, dust, or debris that you may have missed during the cleaning process. Be sure to get into all the cracks and crevices to ensure they are completely clean.
5. Apply Adhesive:
Once the floor is clean and vacuumed, it’s time to apply the adhesive. Be sure to follow the manufacturer’s instructions for the best results. In most cases, you will need to apply the adhesive to both the back of the stone and the floor itself.
6. Place the Stones:
Once the adhesive is applied, it’s time to place the stones back into position. Start in one corner and work your way outward. Be sure to press the stones to ensure a good bond firmly.
7. Apply Grout:
After all of the stones are in place, it’s time to apply the grout. Again, be sure to follow the manufacturer’s instructions for the best results. In most cases, you will need to mix the grout with water before applying it.
8. Smooth the Grout:
Use a putty knife or another sharp object to smooth the grout into all of the cracks and crevices. Be sure to remove any excess grout so that it doesn’t harden on the surface of the stones. Be careful when using putty knives because they can damage the stones if you’re not careful.
9. Apply Sealant:
After the grout has had a chance to dry, it’s time to apply the sealant. This step is important because it will help protect the floor from stains and other damage. Be sure to follow the manufacturer’s instructions for the best results. In most cases, you will need to apply the sealant with a brush or sponge.

10. Let It Dry:
After applying the sealant, let the floor dry for 24 hours before using it. This will give the sealant time to cure and harden properly. After that, you can enjoy your new pebble shower floor!
By following these simple steps, you can fix a pebble shower floor that is cracked, chipped, or otherwise damaged. You can also prevent future damage by properly sealing and protecting the floor. So don’t wait any longer. Get started today!
Additional Tips and Tricks
If you’re working with a pebble shower floor, you can do a few things to ensure that your tiles stay in place and look great. Here are some tips and tricks:
1. Make sure that the surface you’re working with is clean and debris-free. Pebble shower floors can be tricky to work with if there’s any dirt or grime on the surface.
2. When applying the tile adhesive, make sure you use a generous amount. This will help to ensure that the tiles stay in place and don’t come loose over time.
3. Once you’ve applied the adhesive, wait a few minutes before starting to place the pebble tiles. This will give the adhesive time to set and will help to ensure that the tiles stay in place.
4. When you’re placing the tiles, make sure that you press them firmly into place. This will help to create a strong bond between the tile and the adhesive.
5. Once you’ve placed all of the tiles, allow the adhesive to dry for at least 24 hours before using the shower. This will give the adhesive time to set and help ensure the tiles stay in place.
Following these tips and tricks, you can easily fix a pebble shower floor and ensure the tiles stay in place. By following these tips, you can ensure that your shower looks great for years to come.

Necessary Precaution You Need to Be Taken
1. Pebble shower floors are very slippery when they become wet. Make sure that you take the necessary precaution to prevent any accidents.
2. Always use mild soap or detergent when cleaning your pebble shower floor. Avoid using harsh chemicals as they can damage the pebbles.
3. Do not use abrasive materials such as scrub brushes or steel wool pads when cleaning your pebble shower floor. This can damage the surface of the pebbles.
4. Make sure that you rinse your pebble shower floor thoroughly after cleaning it. Any soap residue left on the surface can make the floor even more slippery.
5. Dry your pebble shower floor after each use. This will help to prevent the growth of mold and mildew.
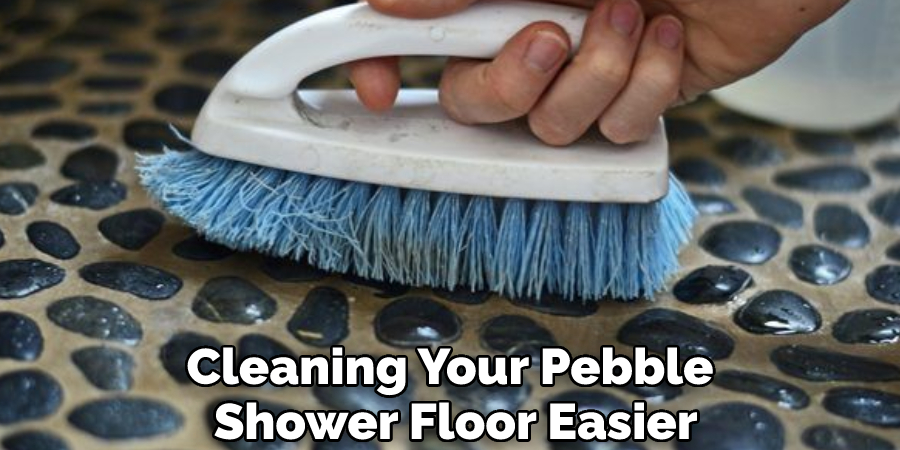
If you have a pebble shower floor, then you know how difficult it can be to keep it clean. The good news is that there are some things that you can do to make cleaning your pebble shower floor easier. Follow these tips, and you will be able to keep your pebble shower floor looking its best.
How Often Do You Need to Fix Pebble Shower Floor?
You should check your pebble shower floor regularly for any cracks or chips. If you notice any damage, then you should repair it as soon as possible. By repairing the damage, you can prevent it from getting worse and causing more damage to your shower.
When Should You Replace Your Pebble Shower Floor?
If the damage to your pebble shower floor is extensive, then you may need to replace the entire floor. Replacing the entire floor is a big project; it should only be done if the damage is too great to be repaired.
If you have a pebble shower floor, then you know how difficult it can be to keep it clean. The good news is that there are some things that you can do to make cleaning your pebble shower floor easier. Follow these tips and keep your pebble shower floor looking its best.
Conclusion
Pebble shower floors are a timeless and elegant option for your bathroom remodel, but they can be tricky to install correctly. By following our simple tips, you can ensure that your new floor looks beautiful and lasts for years to come.
We hope you found this blog post helpful in troubleshooting any problems you may be having with your pebble floor and that you will enjoy it for years to come.
In this blog post, we discussed how to fix pebble shower floor. We also discussed the necessary precaution you need to take and how often you should check your floor for any damage. Lastly, we talked about when you should replace your pebble shower floor. Thanks for reading!