Are you tired of looking at a crooked light fixture in your home? Don’t worry, you’re not alone. Many homeowners encounter this issue; luckily, it’s a relatively easy fix.

An off-center light fixture can disrupt a space’s harmony and visual appeal, making a room feel unbalanced and uncomfortable. Fortunately, correcting this issue is often a straightforward process, requiring only some essential tools and materials.
Whether you’re remodeling, redecorating, or just trying to improve the alignment of your fixtures, the following guide will provide clear, step-by-step instructions on how to fix off center light fixture.
With a little effort, you can enhance the aesthetics and functionality of your room, creating a more polished and cohesive look.
What Will You Need?
- Measuring tape
- Pencil
- Drywall anchor (if necessary)
- Screwdriver or drill
- Ladder or step stool
- New ceiling fixture mount (if needed)
Once you have gathered all the necessary materials, you can begin fixing your off-center light fixture.
10 Easy Steps on How to Fix Off Center Light Fixture:
Step 1. Turn Off the Power:
Safety should always be your top priority when dealing with electrical fixtures. To begin, locate your home’s breaker panel and turn off the power to the room where you’ll work. This will prevent any accidental electrical shock while you adjust the fixture.
Double-check the power is off by flipping the switch to ensure the light does not turn on. If you want to be extra cautious, use a non-contact voltage tester to confirm that no live current flows to the fixture before proceeding. With the power safely off, you can confidently move on to the next steps.
Step 2. Remove the Light Fixture:
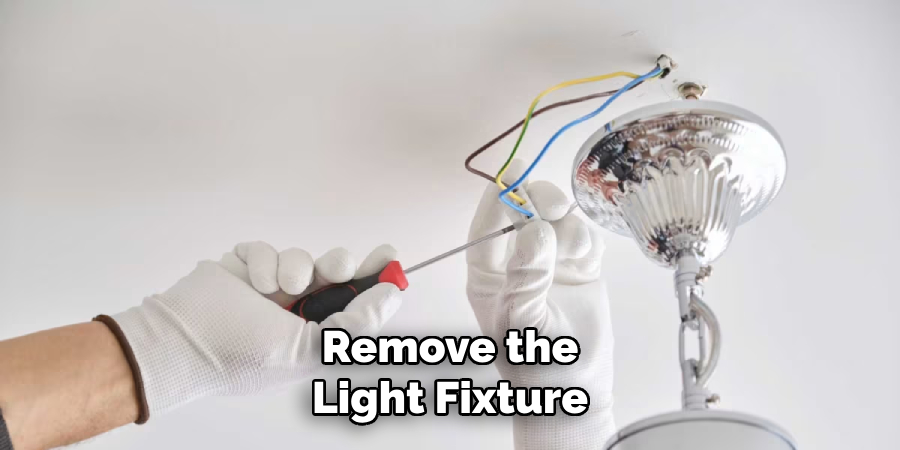
Once you have confirmed that the power is off, carefully remove the light fixture from the ceiling. This usually involves unscrewing any decorative components or covers to access the mounting hardware.
Keep all screws and parts in a safe place, as you will need them for reinstallation. Gently lower the fixture and disconnect wires by unscrewing the wire nuts counterclockwise.
Ensure that the fixture is entirely detached from the electrical box before proceeding. With the fixture removed, you can easily assess the current mounting position and plan for its realignment if necessary.
Step 3. Assess the Current Mounting Location:
Begin by examining the hole in the ceiling where the fixture was mounted. Check for any signs of wear, misalignment, or damage that may have caused the fixture to sit off-center.
Use a measuring tape to determine the distance from each wall to the mounting point. This will help you understand how off-center the fixture was and how much it needs to be moved for proper alignment.
Look at the surrounding ceiling area to ensure it is sturdy enough to support any adjustments — this may involve searching for ceiling joists that can offer solid anchorage points for remounting the fixture.
If the existing mounting box is misaligned or damaged, consider installing a new ceiling fixture mount for better support and more accurate positioning.
Step 4. Mark the New Center Point:
Using your measurements from the previous step, identify the exact center point where you want the light fixture to be positioned.
Use a pencil to mark this spot on the ceiling lightly. To ensure accuracy, consider using a laser level or a straight edge to draw reference lines between opposing walls. This can help visualize the alignment and confirm that the marked center point is indeed balanced within the room.
Taking a moment to double-check your measurements and markings will help avoid any unnecessary adjustments later in the process.
Step 5. Drill the New Mounting Hole:

With the new center point marked, your next task is to create a hole for the fixture’s mounting screws. Carefully drill into the ceiling at the marked spot, ensuring the hole is appropriately sized for the drywall anchor or mounting hardware you will use.
If your structure involves ceiling joists, use them as they provide a more stable base for securing the fixture.
When drilling, steady your hand to prevent any unnecessary damage to the ceiling. If a drywall anchor is required for the new hole, insert it following manufacturer instructions to ensure firm support.
Step 6. Reattach the Light Fixture:
With the new mounting hole drilled and secured, it’s time to reattach the light fixture. Begin by connecting the wires from the fixture to the corresponding wires in the ceiling box — typically connecting black to black, white to white, and the grounding wire to the bare copper or green wire.
Use wire nuts to safely secure these connections, and wrap each connection with electrical tape for added protection.
Once the cables are securely connected, carefully lift the fixture and attach it to the new mounting point using the screws and hardware kept aside earlier. Tighten the screws until the fixture sits flush against the ceiling, ensuring it is level and securely held in place.
This attention to detail will ensure that the light fixture is centered but also safe and stable for continued use.
Step 7. Restore Power and Test the Fixture:
Once the light fixture is securely attached and aligned, you can restore power to the room. Return to the breaker panel and switch the power to the circuit controlling the light fixture.
With the power restored, test the fixture by flipping the wall switch. Ensure that the light operates as expected without any flickering or signs of malfunction. This is also an excellent opportunity to check that the fixture is evenly balanced and provides the intended illumination across the room.
If there are any issues with the light functioning or alignment, turn off the power and make the necessary adjustments safely.
Step 8. Clean Up and Final Touches:
With the light fixture successfully installed and tested, the final step involves tidying up the workspace and making any aesthetic adjustments. Begin by removing any debris or dust that may have been created during the installation process.

Double-check that all screws are tightened and that the fixture is securely in place. If the fixture has any decorative components or additional coverings, reattach them carefully to complete the look.
Finally, take a moment to appreciate the new centering of the fixture within the room, adjusting the bulb orientation if necessary to achieve the optimal lighting effect.
This attention to detail enhances the fixture’s visual appeal and guarantees a safe and satisfying outcome. Your space is now ready to enjoy with improved lighting and ambiance.
Step 9. Enjoy the Enhanced Ambiance:
With the installation process completed and the light fixture perfectly centered, savor the improved lighting within your space. Notice how the evenly distributed light enhances the room’s aesthetics and functionality.
Take the opportunity to arrange furnishings or decor to take full advantage of the new illumination and achieve the desired atmosphere. Admire the transformation achieved with meticulous planning and execution, and enjoy the comfort of a well-lit environment.
If desired, consider installing dimmers or intelligent lighting controls to customize further and enhance your room’s lighting experience.
Step 10. Maintain Your New Lighting Setup:
Adopt a regular maintenance routine to ensure the longevity and performance of your newly installed light fixture. Periodically dust the fixture to prevent dirt buildup that can diminish its brightness.
Check the stability of the fixture and tighten any loose components to maintain its alignment and safety. Replace light bulbs as needed, selecting energy-efficient options to save on energy costs and reduce the environmental impact.
With these steps, you can confidently install and center a light fixture in any homeroom. Remember to take your time, pay attention to detail, and seek professional assistance.
5 Things You Should Avoid:
- Ignoring the Power Supply: Only attempt to fix an off-center light fixture by shutting off the power supply. This is crucial for ensuring safety and preventing electrical shocks.
- Overlooking Ceiling Damage: If you don’t examine the ceiling for potential damage or weak spots, your efforts to reposition the light might lead to further complications or even structural issues.
- Skipping Measurements: Avoid assuming the ideal placement for your fixture. Always take precise measurements to ensure the new position aligns correctly with the desired design and functionality.
- Using Inadequate Tools: Don’t use the wrong tools for the job, as this could result in inaccuracies or damage to both the fixture and the ceiling. Having the proper equipment is essential for a clean and safe installation.
- Refrain from discarding Fixture Weight: Ignoring the weight of the light fixture can lead to installing inadequate support, which might not sustain the fixture over time, posing a safety risk. Always ensure that the ceiling can handle the fixture’s weight.

Conclusion:
To fix an off-center light fixture effectively, it is essential to approach the task with preparation and precision.
Begin by carefully assessing the current position of the fixture and planning the new location, considering the room’s layout and lighting needs. Ensure all power is turned off before starting to prevent any electrical hazards.
With the power safely disconnected, disassemble the fixture and examine the ceiling for any damage or weaknesses that need to be addressed. Measure carefully to determine the exact placement and verify that the ceiling can support the fixture’s weight. Use the proper tools for the installation to maintain accuracy and avoid causing damage.
Finally, securely mount the fixture in its new position, ensuring all connections are sound and the fixture is stable. By following these steps on how to fix off center light fixture, the light fixture will not only be aesthetically pleasing but also function safely and effectively in its new location.