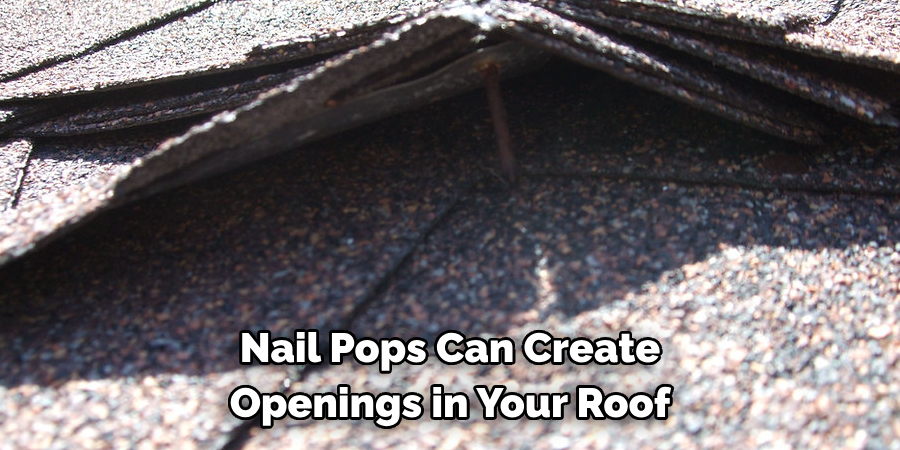
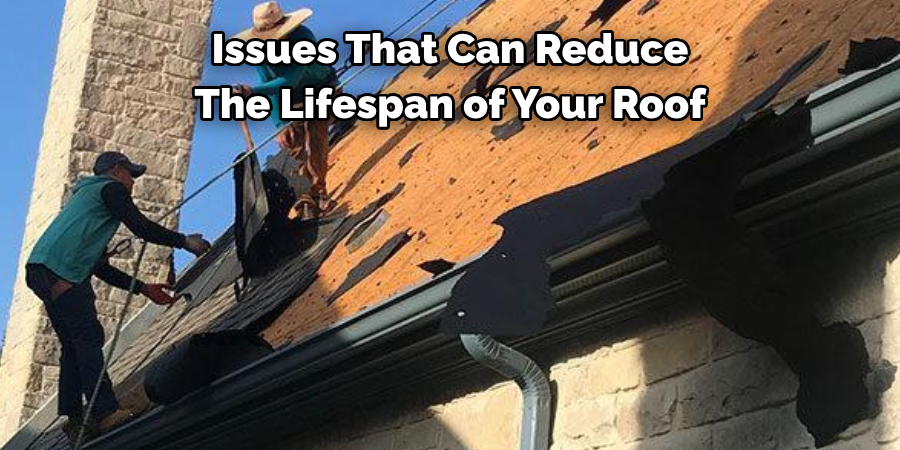
One common issue people face with their roofs is nail pops. A nail pop is when a roofing nail rises above the surface of the shingle or tile, creating a visible bump on the roof. Although this issue may not seem like a big deal at first, neglecting it can lead to much bigger problems over time. If left unfixed, a nail pop can cause a leak within the roof, which can then lead to water damage within the home. In this blog post, we’ll discuss how to fix nail pops on roof, so you can ensure your home stays protected.
Can You Fix Nail Pops on The Roof?
If you’re a homeowner, you know how frustrating it can be to see a nail pop up on your roof. The root of the problem is simple: temperature changes cause the wood to expand and contract. Over time, this can lead to the nails sticking out and eventually causing damage to your roof. But the good news is that you don’t always have to call a professional to fix the issue.
With a few simple tools and some basic DIY skills, you can easily fix nail pops on your roof. Keep in mind that safety should always come first, so make sure you have proper footing and take necessary precautions before getting started. But with a little effort, you’ll be able to tackle this problem and have your roof looking as good as new.
Why Should You Fix Nail Pops on The Roof?
You may have noticed some small bumps on your roof, commonly known as nail pops, and thought, “Eh, it’s just a small imperfection. It’s not a big deal.” However, neglecting to fix these seemingly minor issues can lead to major problems down the line.
Nail pops can create openings in your roof, allowing water to seep in and potentially cause damage to the structure of your home. Additionally, if left unattended, nail pops can continue to worsen and eventually become a safety hazard. Don’t wait until it’s too late – take care of these pesky nail pops as soon as possible to ensure the longevity and safety of your home.
How to Fix Nail Pops on Roof A Step-by-Step Guide
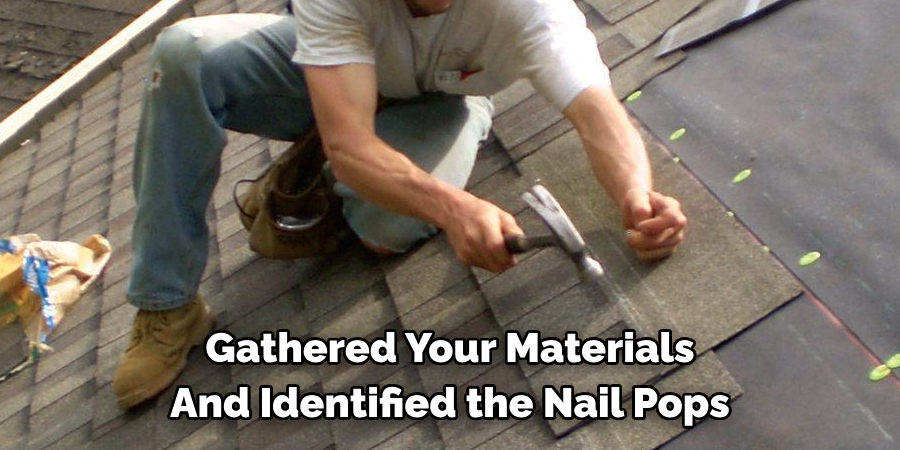
Step 1: Identify Nail Pops
The first step in fixing nail pops is to identify where they are on your roof. This can be done by visually inspecting the roof, looking for any bumps or inconsistencies on the surface. Once you’ve identified the nail pops, mark them with a small dot of paint or a piece of tape. This will make it easier to find them when it’s time to fix them.
Step 2: Gather Materials
To fix the nail pops, you’ll need a few materials including a hammer, roofing nails, a pry bar, and roofing cement. You’ll also want to make sure you have a ladder and safety gear, such as gloves and goggles. Make sure to purchase the right type of roofing nails for your specific roof type, as using the wrong nails can cause more damage.
Step 3: Fix the Nail Pops
Once you’ve gathered your materials and identified the nail pops, it’s time to fix them. Use the pry bar to lift the shingle or tile above the nail pop, then remove the existing nail. Replace the old nail with a new one, driving it in at an angle to prevent it from popping up again. Apply roofing cement around the nail to seal it in place.
Step 4: Check for Additional Nail Pops
After you’ve fixed the identified nail pops, it’s important to check for any additional ones that may be present. Inspect the entire roof, paying close attention to areas where there may be more stress placed on the shingles or tiles, such as near chimneys or vents. Fix any additional nail pops as needed.
Step 5: Monitor the Roof
Once you’ve fixed the nail pops, it’s important to monitor your roof to ensure that the issue has been fully resolved. Check the areas where the nail pops were fixed after the next rainfall to ensure no leaks. If you notice any leaks or additional nail pops, it’s important to address them as soon as possible to prevent further damage.
Step 6: Prevent Future Nail Pops
To prevent nail pops from occurring in the future, make sure to use the correct type and length of nails when installing your roof. It’s also important to properly maintain and inspect your roof regularly, as catching and fixing nail pops early can save you from bigger issues.
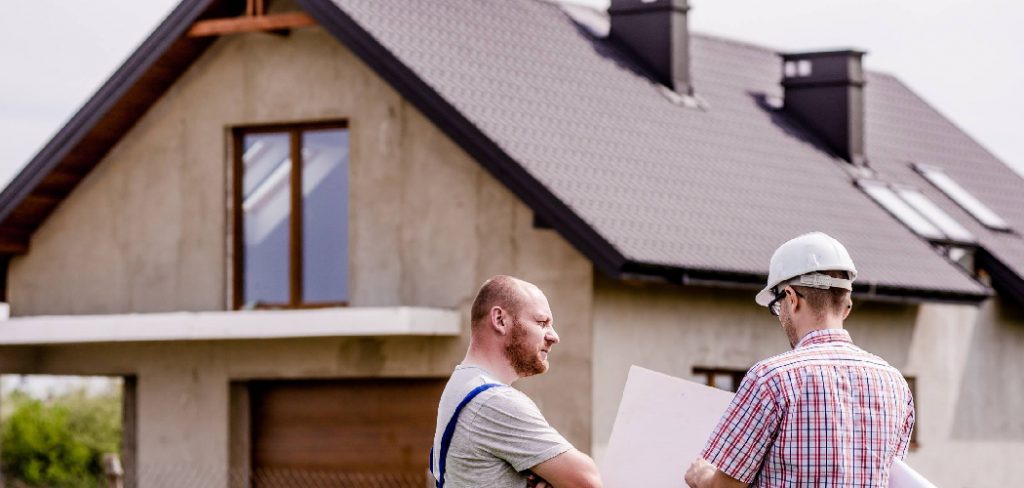
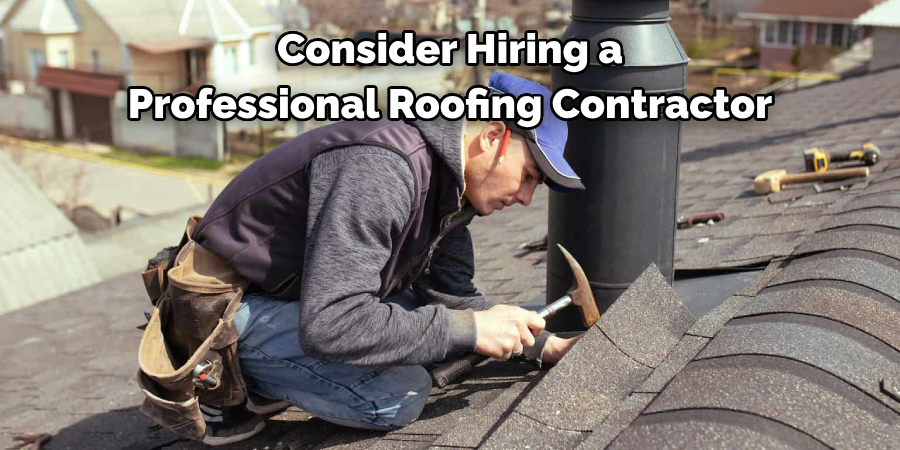
Step 7: Consider Professional Help
Fixing nail pops may seem like a simple task, but it can be dangerous if you’re not experienced with working on roofs. If you don’t feel comfortable or confident in fixing the nail pops yourself, consider hiring a professional roofing contractor to ensure the job is done correctly and safely. They will also have access to specialized tools and materials that may make the process easier and more effective. Remember, safety should always be a top priority when working on roofs. So, it’s better to consider professional help if needed.
That’s it! You’ve now learned how to fix nail pops on roof. By following these steps, you can ensure that your roof stays in top condition and avoid any potential damage or safety hazards. Remember to regularly inspect and maintain your roof to catch and fix any nail pops early on. And if you feel uncertain or unsafe with the process, don’t hesitate to seek professional help! Your home and your safety are worth it. So, take care of those pesky nail pops and keep your roof strong for years.
Some Considerations Things When You Need to Fix Nail Pops on a Roof
When fixing nail pops on your roof, there are a few important things to consider. First and foremost, you’ll want to ensure you have the right tools and materials for the job. This might include a hammer, roofing nails, and some roofing cement. Additionally, you’ll want to check the weather forecast before you get started. It’s best to avoid repairing nail pops during rainy or windy weather, as this can make the job more difficult and may compromise the integrity of the repair.
Finally, if you’re not comfortable working on your roof or if you’re unsure of the best way to fix nail pops, it’s best to consult a professional. They can help ensure the repair is done correctly and can help prevent further damage to your roof.
5 Benefits of Fix Nail Pops on Roof
1. Improved Aesthetics
Fixing nail pops on your roof can help to improve the overall aesthetics of your home. Nail pops are unsightly and can detract from the overall look of your roof. Fixing them can help to make your roof look more uniform and attractive, which can add to the curb appeal of your home.
2. Increased Durability
Fixing nail pops on your roof can also help to increase its durability. When nails pop out of place, they leave a hole in the roof that is exposed to the elements. This can cause water damage and other issues that can reduce the lifespan of your roof. Fixing nail pops helps to ensure that your roof is protected from water damage and other issues that could potentially harm it over time.
3. Reduced Risk of Leaks
Fixing nail pops on your roof also helps to reduce the risk of leaks. When nails pop out, they leave a hole in the roof that is not properly sealed off from the outside elements. This can cause water seepage into your home, which could lead to costly repairs if left unchecked for too long. Fixing nail pops helps to ensure that there are no holes in your roof where water could potentially enter and cause damage or leaks inside your home.
4. Improved Energy Efficiency
Fixing nail pops on your roof also helps to improve energy efficiency in your home by reducing air leakage through holes created by popped nails. Air leakage through these holes can cause drafts throughout the house, leading to higher energy bills as you try to keep it warm or cool during different seasons of the year. By fixing these holes, you will be able to keep air from escaping and save money on energy costs over time.
5. Improved Roof Longevity
Finally, fixing nail pops on your roof will help to improve its longevity by preventing further damage caused by popped nails or other issues such as mold growth due to moisture seeping into places it shouldn’t be able to reach through these holes in the roofing material itself
Some Common Mistakes People Make When Trying to Fix Nail Pops on a Roof
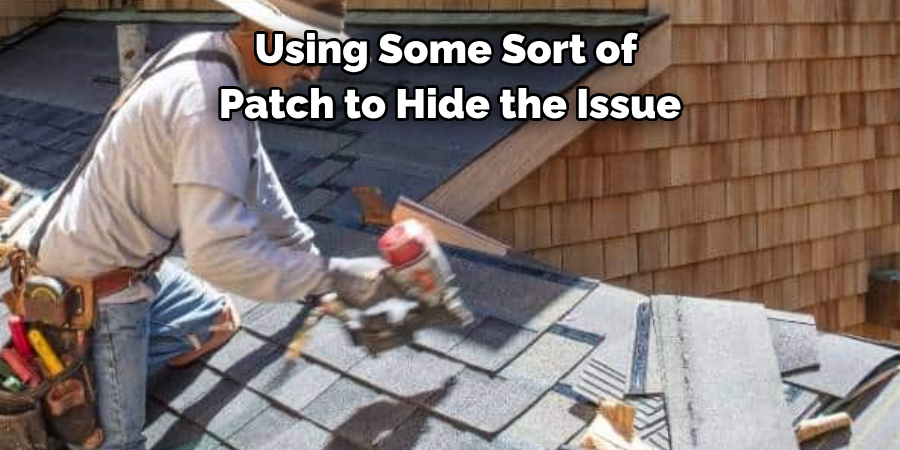
When it comes to fixing nail pops on a roof, it’s easy to make mistakes if you don’t know what you’re doing. One common mistake is covering up the problem instead of properly fixing it. This might involve placing a new nail over the old one or using some sort of patch to hide the issue. However, this will only provide a temporary solution that will lead to bigger problems. Another mistake is not using the proper tools or materials for the job. For example, using the wrong type of nail or adhesive could lead to the repair failing sooner than expected.
It’s important to take the time to do the job correctly so that the repair lasts as long as it should. Finally, failing to properly seal the nail pop after fixing it is another common mistake. This can leave the roof vulnerable to leaks and other issues. Overall, it’s important to take the time to do the job right when it comes to fixing nail pops on a roof.
Conclusion
Fixing nail pops on your roof may seem daunting, but with a bit of patience and know-how, it can be done relatively easily. By following these steps and taking the necessary precautions, you can protect your home from water damage and ensure that your roof stays in good condition for years to come. Thanks for reading our post about how to fix nail pops on roof.