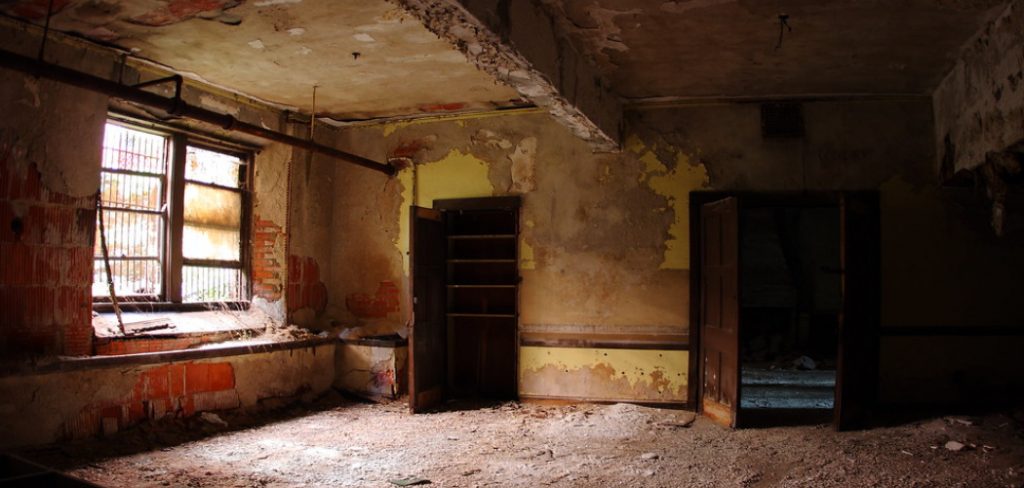
Are you dealing with crumbling or sagging limestone basement walls? You’re not alone. Many homeowners face this issue, especially in older homes. But don’t worry! There are steps you can take to fix the damaged walls and restore your home’s structural integrity.
In this blog post, we’ll give you a comprehensive guide on how to fix limestone basement walls that have been compromised by moisture or age. We’ll also provide helpful tips for preventing further damage and protecting the longevity of your foundation and building envelope. So if you’re looking for information on how to best tackle this challenge, read on!
What Kind of Mortar Do You Use for Limestone Foundation?
When repairing limestone foundation walls, the type of mortar that you use is important. The best mortar to use for limestone foundations is a Type S or N masonry cement, which will provide the right flexibility and durability needed for a lasting repair job. Be sure to mix the mortar according to manufacturer specifications; too much water can cause it to be weak and ineffective.
For best results when patching limestone foundation walls, make sure that the area is free from dirt, dust, and debris before beginning repair work. Be sure to remove any old mortar or sealers, as these can cause problems with adhesion if they are not properly removed first.
If you are using hydraulic cement to patch the limestone, be sure to mix it according to manufacturer instructions and leave it for a few minutes after mixing before applying it. This will allow time for the cement to expand slightly, which is important for achieving a good bond with the foundation wall.
When tuckpointing or repointing limestone walls, use a high-quality mortar that is compatible with the limestone material. This type of mortar should be mixed to a stiff consistency and allowed to be set for at least 24 hours before use. Use caution when applying the mortar, as too much pressure can damage the stone or cause it to crack.
No matter what kind of repair work you are doing on your limestone foundation walls, be sure to use the right materials and techniques. This will ensure that your repairs are done correctly and will last for years to come.
10 Methods How to Fix Limestone Basement Walls
1. Identify the Cause of the Problem
The first step in fixing a damaged limestone basement wall is to identify the cause of the problem. Some common causes include water damage, structural issues, and erosion. Once you identify the cause, you can begin to develop a plan for fixing the wall. If you are unsure of the cause, a qualified professional can help determine the source of the damage and provide advice on how to repair it.
While this step may be time-consuming and costly, it is essential for ensuring your wall is restored properly. Although limestone is a durable material, neglecting to identify the underlying issue can lead to further damage in the future.
2. Repair Cracks and Chips
Small cracks and chips in a limestone basement wall can be repaired with a limestone patching compound. This compound can be applied with a putty knife and smoothed over the damaged area.
Once the compound has dried, the wall can be sanded and painted to match the surrounding limestone. For larger cracks and chips, it may be necessary to use a trowel or chisel to scrape the damaged area before applying the patching compound.
In some cases, it may also be necessary to fill the crack or chip with a limestone-based mortar before applying the patching compound. However, it is important to ensure that the mortar and patching compound are compatible with the type of limestone used.
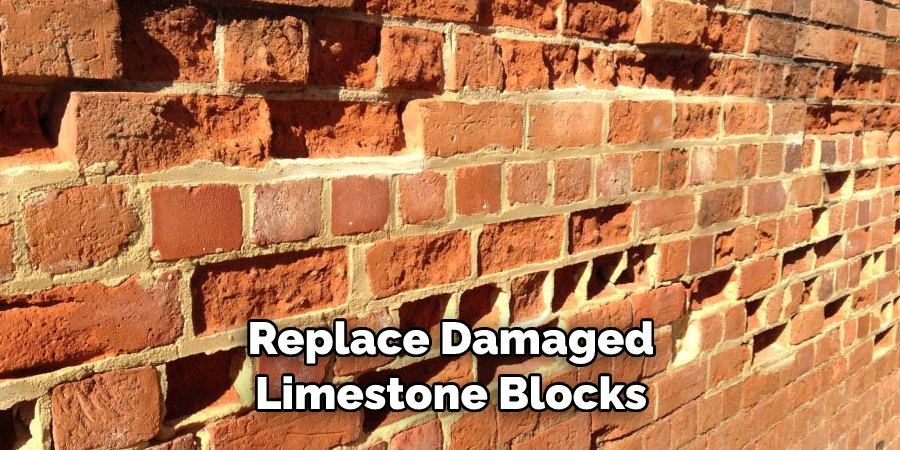
3. Replace Damaged Limestone Blocks
If the damage to the limestone wall is extensive, it may be necessary to replace some of the damaged blocks. This requires careful removal of the damaged block and replacement with a new block that matches the existing limestone.
This should be done by a professional stonemason to ensure that the replacement block is properly installed and aligned. Additionally, a professional stonemason will ensure that the correct type of adhesive or mortar is used to fill any gaps between the limestone blocks. It is important to use the right type of adhesive or mortar, as a wrong choice can cause further damage to the limestone wall.
4. Reinforce the Wall
If the damage to the limestone wall is due to structural issues or erosion, it may be necessary to reinforce the wall. This can be done with the installation of steel or carbon fiber reinforcement strips, which provide additional support to the wall and prevent further damage. Additionally, a waterproofing membrane can be applied to the wall prior to installing the reinforcement strips.
This helps to keep moisture out and prevent further erosion of the limestone. It is important to take into account the weight of any reinforcement systems when determining how much support the wall requires. Additionally, these reinforcements may need to be inspected regularly and maintained over time.
5. Apply a Sealant
If the damage to the limestone wall is due to water damage, applying a sealant can help prevent further damage. A clear water-repellent sealer can be applied to the surface of the limestone, which helps to prevent water from penetrating the surface and causing further damage.

It is important to remember that sealants must be reapplied periodically in order to keep the wall from becoming damaged again. If the sealant is not properly applied and maintained, the damage may worsen, leading to costly repairs.
While sealants may help prevent water from getting into the walls, they should not be used as a cure-all for damage caused by water. It is still important to identify where the water is coming from and address the source of the problem.
6. Install a Drainage System
If the damage to the limestone wall is due to water infiltration, installing a drainage system can help prevent further damage. A French drain or other drainage system can be installed around the perimeter of the foundation to redirect water away from the wall and prevent it from seeping into the basement.
This step can be done in conjunction with sealing the walls to prevent further water infiltration. Additionally, a sump pump system may need to be installed if the water is coming from a higher elevation. With this system, any surface or groundwater can be removed from the basement automatically.
7. Install a Waterproof Membrane
Another solution for preventing water damage to a limestone basement wall is to install a waterproof membrane. This involves applying a waterproofing material to the surface of the limestone, which helps to prevent water from penetrating the surface and causing further damage.
The membrane should be applied in a thin layer and allowed to dry completely before applying any additional layers. It is important to ensure that the waterproof membrane covers the entire surface of the limestone wall, as any gaps or crevices can cause water to seep in.

Additionally, it is important to ensure that the surface of the limestone is clean and free from dirt before applying the membrane.
8. Install a Vapor Barrier
If the damage to the limestone wall is due to moisture buildup, installing a vapor barrier can help prevent further damage. A vapor barrier is a type of insulation that is installed between the wall and the interior of the basement. This helps to prevent moisture from building up inside the wall and causing damage.
It is important to install the barrier correctly in order for it to be effective. Be sure to use a properly rated vapor barrier for your particular climate and type of wall. While a vapor barrier will not stop water from entering your basement, it can help to reduce the amount that gets in and prevent further damage.
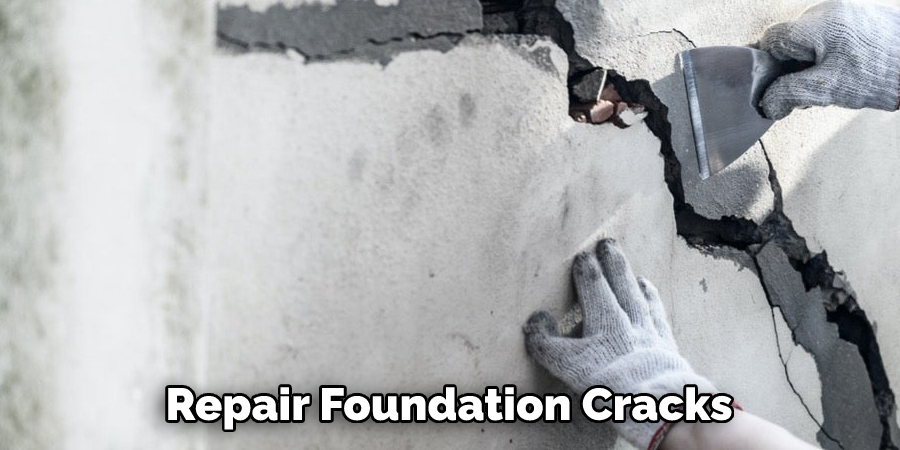
9. Repair Foundation Cracks
If the damage to the limestone wall is due to cracks in the foundation, it is important to repair these cracks before fixing the wall. This can be done by injecting epoxy into the cracks to seal them and prevent further water infiltration.
It is important to hire a professional to do this job since it requires specialized tools and expertise. Once the foundation cracks have been repaired, then you can move onto the next step in fixing your limestone basement walls. To ensure a long-lasting repair, make sure to use a quality epoxy injection system.
10. Consult a Professional
Fixing a damaged limestone basement wall can be a complex and potentially dangerous process. If you are unsure how to proceed, it is best to consult a professional. A stonemason, structural engineer, or foundation repair specialist can assess the situation and recommend the best course of action.
They can also provide advice on how to prevent future damage from occurring, such as installing drains or waterproofing systems. Professional assistance can ensure that any repairs are done correctly, avoiding further damage to the wall in the future.
Conclusion
Repairing limestone basement walls requires a certain level of skill; however, the results are worth it. If you feel up to the task, remember to inspect and prepare the walls with a soft bristle brush, apply a parge coat with a trowel and float, use a sealer or waterproof coating, and protect the wall from water damage. With these tips in mind, you can have a finished limestone basement wall that you can be proud of.
Furthermore, tackling this job yourself will also save you time and money! So why wait? Get started on your repairs today. Hopefully, this article gave you some helpful tips about how to fix limestone basement walls successfully, so now that you have the proper knowledge on how to get the job done, why not give it a try today?