Before you move out of your apartment or before you even sign a lease, it’s important to do a walk-through and inspect the walls for any major damage. Unfortunately, sometimes small holes can develop over time from normal wear and tear.
If you’re lucky, these holes are easy to fix with some simple supplies and a few minutes of your time. So read on for how to fix holes in apartment walls!
Summary: Fixing holes in the walls of your apartment can be intimidating – but with a few easy steps, you can patch them up like a pro. Start by spreading spackle over the entire hole to create a smooth surface. Let it dry, then sand down any ridges or bumps before painting.
To prevent future damage, use anchors or wall plugs to secure items to the wall. Patch up your walls like a pro! Start by spreading spackle over the entire hole and let it dry. Sand down any ridges or bumps before painting.
Why Should You Fix Holes in Apartment Walls?
A hole in the wall is not just an eyesore; it can also be a serious safety hazard. If the hole is left unrepaired, it could become big enough for a child or pet to fall through. In addition, a hole in the wall can provide an easy access point for insects and other pests.
You can help keep your home safe and pest-free by repairing the hole. In addition to safety concerns, holes in the walls can also lead to heating and cooling losses. Warm air can escape through gaps in the walls, leading to higher energy bills. By sealing up the hole, you can help to keep your home well insulated and improve your energy efficiency.
Whether for safety or financial reasons, it’s important to repair holes in apartment walls as soon as they are discovered.
How to Fix Holes in Apartment Walls Step-by-Step Guide
Step 1: Assess the Damage and Determine the Repair Method
Before you begin repairing holes in apartment walls, examine the size, depth, and location of the damage. The repair method will vary depending on the type of hole and the wall material (drywall, plaster, or concrete).
Step 2: Gather Necessary Tools and Materials
To fix holes in apartment walls, you will need various tools and materials, depending on the specific repair method. Common items include:
- Putty knife or scraper
- Sandpaper or sanding block
- Spackle, joint compound, or patching plaster
- Drywall or plaster repair patch (for larger holes)
- Paintbrush or roller
- Primer and paint (to match the existing wall color)
- Drop cloth or plastic sheeting (to protect floors and furniture)
Step 3: Prepare the Area
Remove any furniture or decorations near the hole, and lay down a drop cloth or plastic sheeting to protect the floor. Clean the area around the hole to remove dust, dirt, or grease that may interfere with the repair process.
Step 4: Remove Loose Debris and Rough Edges
Using a putty knife or scraper, carefully remove any loose debris, paint, or rough edges from around the hole. This will ensure a smooth surface for applying the patching material.
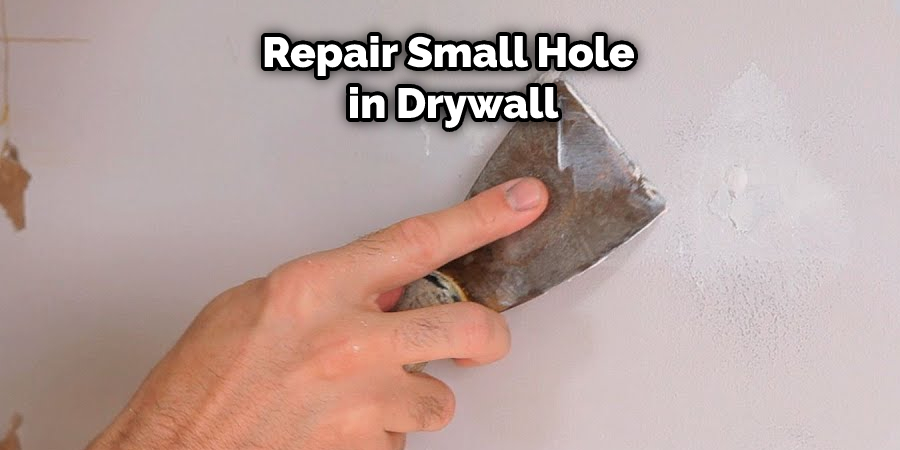
Step 5: Repair Small Holes (Nail or Screw Holes)
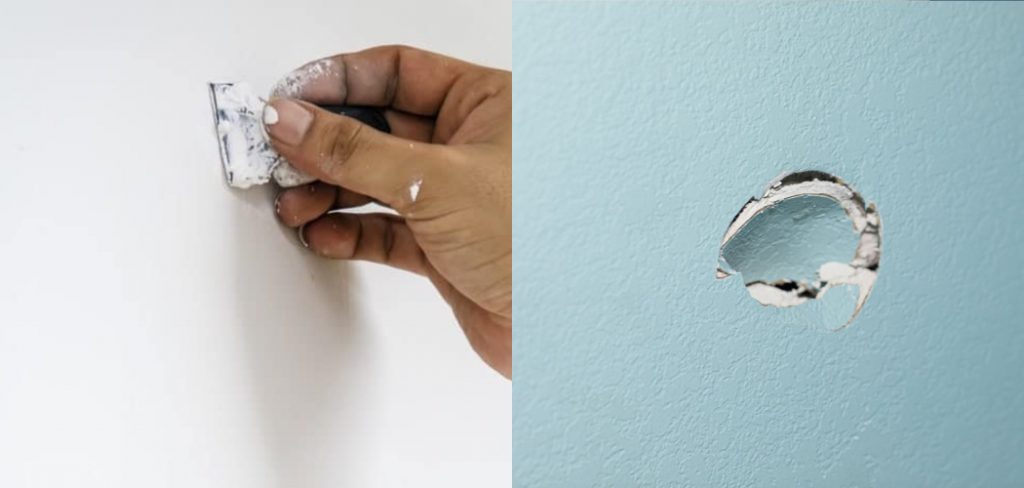
For small holes caused by nails or screws, use a putty knife to apply a small amount of spackle or joint compound to the hole. Press the material firmly into the hole, ensuring that it fills the entire cavity. Scrape away any excess material, leaving a smooth, even surface. Allow the spackle or joint compound to dry according to the manufacturer’s instructions.
Step 6: Repair Medium to Large Holes (Using a Repair Patch)
For medium to large holes, use a repair patch made from drywall or plaster. Measure the hole and cut a patch that is slightly larger than the hole. Apply a thin layer of joint compound or patching plaster to the back of the patch, then press the patch firmly onto the wall, covering the hole. Use a putty knife to smooth out the edges and remove any excess material. Allow the patch to dry according to the manufacturer’s instructions.
Step 7: Apply a Second Coat of Patching Material (If Necessary)
If the patching material has shrunk or is uneven after drying, apply a second coat to create a smooth, even surface. Use a putty knife to spread a thin layer of spackle, joint compound, or patching plaster over the patched area, extending slightly beyond the edges of the patch. Allow the material to dry according to the manufacturer’s instructions.
Step 8: Sand the Repaired Area
Once the patching material has dried, use sandpaper or a sanding block to gently smooth the surface of the repair. Be careful not to remove too much material or damage the surrounding wall surface.
Step 9: Prime and Paint the Repaired Area
To blend the repaired area with the rest of the wall, apply a coat of primer to the patched area, using a paintbrush or roller. Allow the primer to dry according to the manufacturer’s instructions. Once the primer is dry, apply a coat of paint that matches the existing wall color. You may need to apply multiple coats of paint to achieve a seamless finish.
Step 10: Clean Up
After the paint has dried, remove the drop cloth or plastic sheeting and clean up any debris or tools. Replace any furniture or decorations that were removed during the repair process.
Step 11: Inspect the Repair Periodically
Monitor the repaired area over time to ensure that the repair holds up and that no additional damage or issues arise.
Step 12: Follow Apartment Lease Guidelines
Before making any repairs, be sure to review your apartment lease agreement and follow any specific guidelines or restrictions related to wall repairs. Some landlords may require that you notify them of any damage or request permission before undertaking repairs. Failure to follow these guidelines could result in penalties or loss of your security deposit.
Step 13: Use Proper Anchors for Hanging Objects
To prevent future holes and damage to your apartment walls, use appropriate anchors when hanging heavy or large objects, such as picture frames, mirrors, or shelves. These anchors can distribute the weight more evenly, reducing the risk of damage to the wall.
Step 14: Communicate with Your Landlord
If you encounter a hole or other damage in your apartment that you are not comfortable repairing yourself, communicate with your landlord or property manager. They may be able to provide guidance on how to address the issue or arrange for professional repairs.
Step 15: Document Your Repair Work
Take photos of the damaged area before and after repairs, and keep a record of any materials or tools used in the process. This documentation can be helpful in the event of a dispute with your landlord or when moving out of the apartment.
Step 16: Learn from the Repair Experience
Use your experience repairing holes in your apartment walls as an opportunity to learn more about proper wall care and maintenance. This knowledge can help you prevent future damage and ensure that your living space remains in good condition.
By following these steps, you can effectively repair holes in your apartment walls and maintain the appearance and integrity of your living space. It is essential to follow your apartment lease guidelines, communicate with your landlord when necessary, and use proper hanging techniques to prevent future damage. Always exercise caution when working with tools and materials, and consult a professional if you are unsure about any aspect of the repair process.
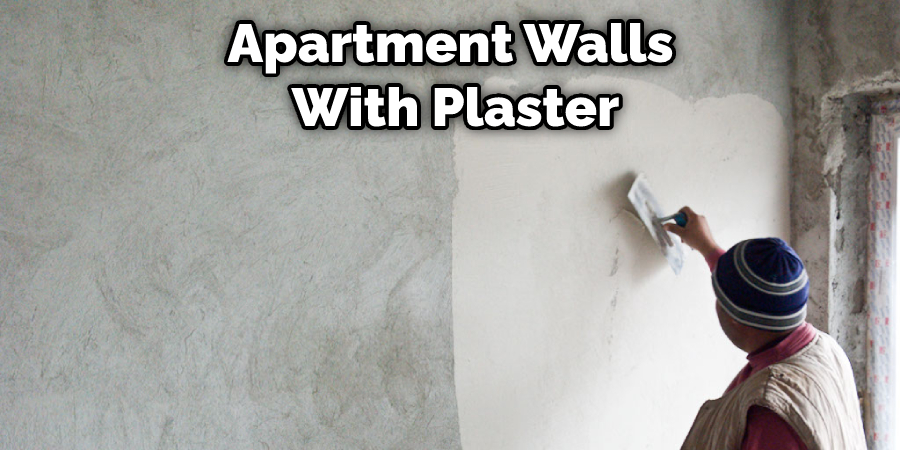
How to Patch a Hole in An Apartment Wall with Plaster
Drywall is a common material used in homes and businesses for walls and ceilings. It is made of panels of gypsum plaster pressed between two thick sheets of paper. While drywall is durable, it can be damaged easily. Holes often occur when something is dropped or pushed against the wall. Small holes in drywall are relatively easy to repair.
First, use a knife or screwdriver to widen the hole so that it is big enough to insert the end of a putty knife. Next, apply a layer of joint compound to the hole, using the putty knife to smooth it out. Be sure to feather the edges so that the patch is invisible. Finally, let the joint compound dry completely before painting over it.
With a little time and effort, small holes in drywall can be patched up, leaving your walls looking as good as new. Keep reading for more information about how to fix holes in apartment walls.
How to Patch a Hole in An Apartment Wall with Drywall
At some point, every tenant will likely need to patch a hole in their apartment wall. Whether it’s from a door handle slamming into the drywall or a picture falling off the wall, damage to your rental unit is inevitable.
While patching holes may seem daunting, repairing minor damage to your apartment walls is quite easy. All you need is a piece of drywall, some joint compound, and patience.
First, use a utility knife to cut out the damaged section of drywall. Be sure to cut slightly larger than the actual hole so that you have enough material to work with. Next, take your piece of drywall and fit it into the hole. Once it’s in place, use a joint compound to secure the drywall in place. Be sure to smooth out the compound, so it’s level with the rest of the wall.
Finally, allow the joint compound to dry overnight before painting over it to match the rest of the wall. With just a few simple steps, you can easily patch holes in your apartment walls and keep your rental unit looking its best.
How Do You Fix a Hole in An Apartment Wall That’s Been Patched Before?
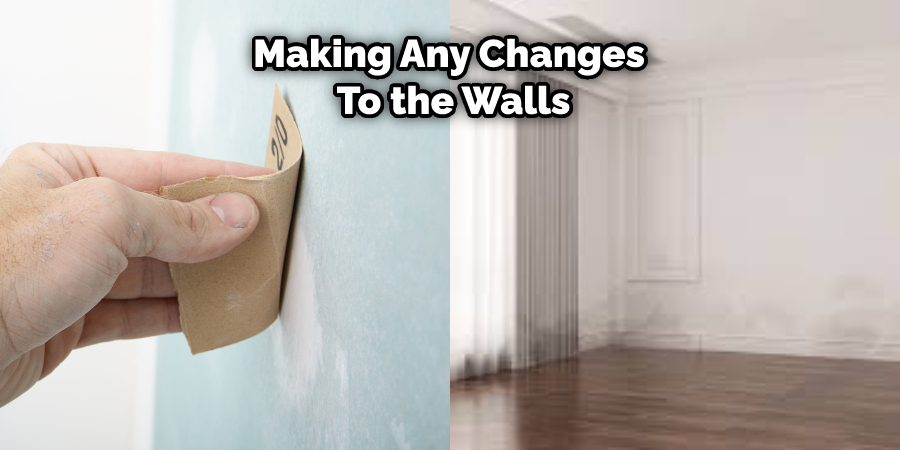
When living in an apartment, you must be careful about making any changes to the walls. Most landlords require that you get permission before making any alterations, and they often charge a fee for doing so. As a result, many tenants simply patch up holes with whatever materials they have on hand. However, this can often lead to an unsightly repair job.
If you find yourself in this situation, you can do a few things to make the repair more seamless. First, try to match the type of wall material as closely as possible. For example, if the hole is in drywall, use a spackle or joint compound to fill it in. For plaster walls, use a putty knife to apply a layer of joint compound. Once the compound is dry, sand it down until it is flush with the surrounding wall.
Then, repaint the area to match the rest of the wall. With a little effort, you can make even the most unsightly repair job look nearly invisible.
You Can Check It Out To Fix Dog Bites on Wall
How Do You Fix a Hole in An Apartment Wall That’s Been Painted Over?
If you move into a new apartment, you might notice some imperfections in the walls. Maybe there’s a hole that’s been painted over or a crack that’s been filled in but not sanded down. These small cosmetic defects are usually easy to fix, and they can make a big difference in the overall look of your place.
So how do you fix a hole in an apartment wall that’s been painted over? First, use a utility knife to score the paint around the hole. This will help the patching material to adhere better. Next, apply joint compound to the area and smooth it out with a putty knife.
Once it’s dry, sand it down, so it’s flush with the rest of the wall. Then, prime and paint over the area. With a little bit of work, you can make your rented apartment look like new.
Frequently Asked Questions
Can Holes in Walls Be Fixed?
Unfortunately, holes in walls can’t always be fixed. If the hole is large enough, or if the wall has been damaged significantly, then a new wall may need to be constructed. In some cases, patching up the hole may work well enough. However, if you are uncertain about how to proceed or if you don’t have any basic building skills handy, hiring an expert might be your best bet.
A qualified contractor will inspect the damage and determine whether a new wall is necessary. They will also provide an estimate for cost and schedule of completion. Once you have decided on a course of action, make sure to get written quotes from multiple contractors so that you can compare prices and quality levels accurately.
What to Do With Holes in Wall When Moving?
Holes in walls can be a nuisance when moving, as they can complicate the process of getting your belongings out. Here are a few tips on how to deal with them:
- Try to fill the holes as best as possible – This is probably the most common approach people take. If the hole is small and doesn’t obstruct anything important, you can simply cover it up with some pieces of furniture or wallpaper. If the hole is larger, you may need to hire a professional to do the job properly.
- Cover the hole with cardboard or plastic – Another option is to cover the hole with cardboard or plastic, which will help protect your belongings from moisture and dust. Make sure that you seal the edges well so that no moisture or dust escapes.
- Use packing tape to seal the edges – One final option is to use packing tape to seal the edges of the cardboard or plastic so that it’s impossible for anything to come loose. This may be necessary if the hole is large and inaccessible.
What Household Items Can I Use to Patch a Large Hole in the Wall?
If you have a large hole in the wall that needs to be patched, there are many household items that can be used as temporary repair solutions. Some of the most popular include:
Crazy Glue – This is an adhesive that can be used to stick things together including wallpaper, drywall, and wood. It’s easy to work with and dries quickly so it is ideal for emergencies.
painter’s tape – A strip of white masking tape can help isolate parts of the damage while painting repairs or restoration jobs. The tape also prevents dust from settling and obscuring any potential problems later on.
Plasterboard screws – When using plasterboard screws, make sure they are properly coated with joint compound or paint before attaching them to wooden surfaces.
Conclusion
So there you have it! Now that you know how to fix holes in apartment walls go forth and patch up those pesky little problems. Be sure to take your time and do a good job so the repair is less noticeable and won’t cause any additional damage down the road. And always remember, if in doubt, call a professional.
You Can Check It Out to Fix Paint Streaks on Walls