Are you having trouble fixing your fishing line? There’s no need to worry, as we have some solutions for you. Whether it’s a tangled line or a broken one, we’ve got you covered.
Fishing can be a relaxing and rewarding activity, but dealing with a damaged or tangled fishing line can quickly turn it into a frustrating experience. Whether it’s a snapped line, a troublesome knot, or general wear and tear, learning how to fix your fishing line is an essential skill for any angler. Properly maintaining and repairing your fishing line not only saves time but also ensures you’re ready to catch your next big fish.
This guide on how to fix fishing line will walk you through the basic steps to identify common issues and how to effectively fix them, so you can spend more time fishing and less time fumbling with your gear.
What Will You Need?
To effectively repair your fishing line, you will need to have a few essential items on hand. These include:
- Spare Fishing Line: It is always a good idea to carry spare fishing line with you on any fishing trip. This ensures that you can easily replace a broken line without having to cut your day of fishing short.
- Scissors or Line Cutters: These tools are necessary for cutting the damaged section of the line and for trimming any excess once the new line is attached.
- Fishing Line Connectors or Knot Tying Skills: Depending on the type of fishing line and technique you are using, you may need to use connectors or tie knots to attach the new line to your fishing rod. Make sure to practice tying different types of knots before your trip, so you are prepared for any scenario.
- Line Spooler: If you plan on changing out your fishing line frequently or have a large amount of line to spool, investing in a line spooler can make the process much easier and efficient.
- Sunscreen: Fishing trips often involve spending hours under the sun, so it is important to protect your skin from harmful UV rays by wearing sunscreen. Apply sunscreen before and during your trip, especially if you are near water, as it reflects sunlight and increases your exposure.
10 Easy Steps on How to Fix Fishing Line
Step 1. Inspect the Line for Damage
Begin by carefully examining the fishing line for any signs of wear and tear, such as fraying, nicks, or discoloration. These imperfections can weaken the line, making it more prone to snapping under tension. Check the entire length of the line, paying extra attention to areas near the knots or where it makes contact with guides and weights. If you spot any damaged sections, it’s best to trim and remove them to ensure optimal performance and to prevent future tangling or breaking during use. This step is crucial as it lays the foundation for resolving line issues and maintaining the integrity of your gear.
Step 2. Cut Out the Damaged Section
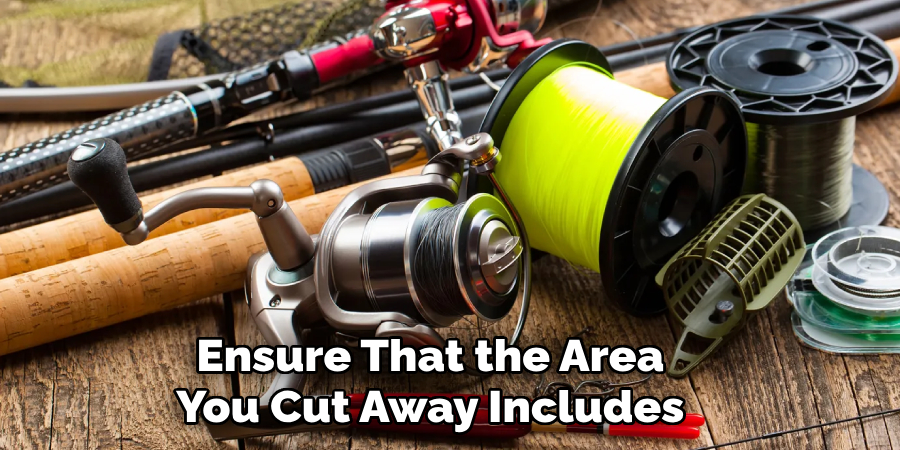
Using a sharp pair of scissors or a specialized fishing line cutter, carefully remove the damaged section you identified earlier. Make a clean, straight cut to avoid fraying or creating uneven edges, as these could compromise the line’s performance during use. Be sure to measure out sufficient extra line on either side of the damage to ensure that the area you cut away includes all weak or frayed spots.
This not only preserves the remaining strength of the line but also prevents any overlooked damage from causing issues later. Discard the removed section responsibly to keep your workspace clean and avoid littering, especially if you are outdoors. Properly cutting out damaged sections is a vital step in protecting your fishing gear and optimizing your overall fishing experience.
Step 3. Re-tie the Terminal Knot
To re-tie the terminal knot, start by selecting a knot that is both secure and suitable for the type of fishing you are doing. Common options include the improved clinch knot, Palomar knot, or loop knot, depending on your specific needs. Begin by threading the end of the fishing line through the eye of the hook, swivel, or lure. Follow the steps for your chosen knot carefully, making sure each loop or twist is precise and snug.
Once you have tightened the knot completely, trim the excess line close to the knot to avoid tangling or interference. Always give the knot a gentle pull to ensure it is tightened properly and can handle the strain of fishing. A well-tied terminal knot is essential for maintaining a secure connection and improving your success rate on the water.
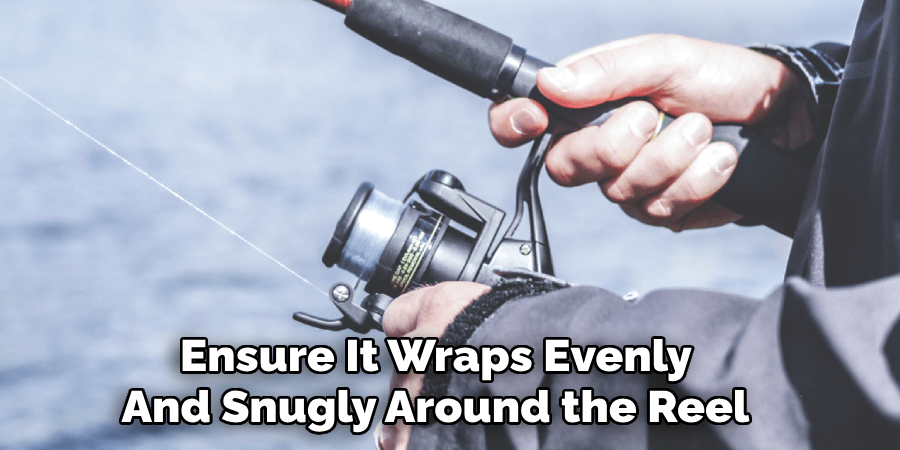
Step 4. Check for Proper Line Spooling
Proper line spooling is crucial for ensuring smooth casting and retrieval while fishing. Start by securing the line to the reel spool according to the manufacturer’s instructions. When spooling, make sure the line is coming off the filler spool in the same direction that it’s being wound onto the reel. This helps to reduce line twist, which can cause tangles and casting issues. Keep steady tension on the line as you spool it to ensure it wraps evenly and snugly around the reel. Fill the spool to the appropriate level—leaving about 1/8 inch of space from the edge of the spool for optimal performance.
Avoid overfilling or underfilling, as both can negatively impact your casting distance and accuracy. Once spooled, double-check the line to ensure it is neat and secure before heading out to fish.
Step 5. Untangle Knots Carefully
To untangle knots in your fishing line, patience is key. Begin by assessing the tangle and gently loosening the loops with your fingers or a small tool, such as a needle or safety pin. Avoid pulling too hard on the line, as this can tighten the knot further or cause damage to the line. Work slowly and methodically, focusing on one section at a time. If the knot is particularly stubborn, applying a small amount of water or lubricant can help make the line more pliable. Taking your time will help preserve the integrity of the line and ensure you’re ready for your next cast.
Step 6. Use a Line Conditioner
A line conditioner is a helpful product designed to reduce memory and friction in your fishing line, making it easier to cast and retrieve. To use it, spray a small amount of line conditioner evenly along the spool of your reel. Allow it to sit for a few minutes to fully absorb into the line. This will not only improve the line’s performance but also extend its lifespan by preventing wear and tear caused by repeated use. Incorporating a line conditioner into your routine ensures smoother casting and fewer tangles, giving you a better overall fishing experience.
Step 7. Replace the Line if Necessary
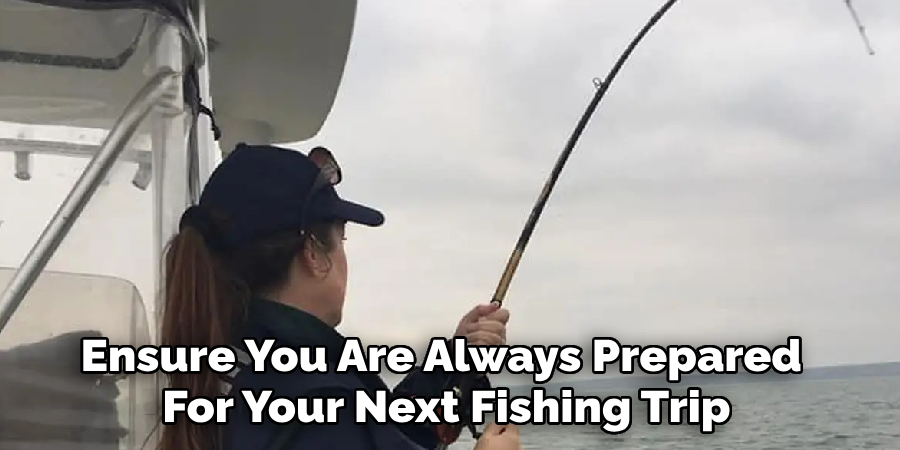
If your fishing line shows signs of damage, such as fraying, discoloration, or a loss of strength, it is essential to replace it. Over time, wear and exposure to elements like UV light and water can weaken the line, reducing its effectiveness and risking a snapped line during use. Start by removing the old line completely from the reel. Then, spool fresh line onto your reel, ensuring that it is evenly distributed to avoid tangles or uneven casting. Always choose a fishing line appropriate for the type of fishing you plan to do to maximize performance and reliability. Regularly replacing your line when needed will ensure you are always prepared for your next fishing trip.
Step 8. Test the Line Strength
Testing the line strength is a critical step to ensure it can handle the weight and fight of your target fish. Begin by securing the line to a stable anchor point, such as a heavy object or a tying hook. Gradually apply pressure by pulling on the line, simulating the tension it might experience during a catch. Look out for any signs of fraying or weakness, as these could indicate that the line may fail under stress. If the line breaks or shows significant wear, replace it immediately to avoid losing gear or fish. Always ensure your line meets the necessary strength specifications for your fishing environment and target species.
Step 9. Adjust the Reel’s Drag System
The drag system on your reel plays a crucial role in controlling the amount of resistance a fish feels when it pulls on the line. To adjust the drag, start by referring to the recommended drag setting for your target species. A general rule of thumb is to set the drag to about one-third of the line’s breaking strength. Gently turn the drag knob — typically located on the top or side of the reel — to either increase or decrease the resistance. Test the drag by pulling the line manually to ensure it provides enough tension to tire the fish without risking a line break. Proper drag adjustment increases your chances of landing a catch while preserving your equipment.
Step 10. Perform a Final Inspection
Performing a final inspection is a crucial step to ensure your fishing gear is properly prepared for use. Start by examining the reel to confirm the line is spooled correctly and free of tangles. Check the knots securing your hook, lure, or other terminal tackle to verify their tightness and reliability. Ensure your rod is free of cracks or other damage and that all guides are aligned and intact. Test that the reel operates smoothly, with no unusual resistance or grinding. Taking a few minutes for this final check can prevent issues on the water and ensure a more enjoyable and successful fishing experience.
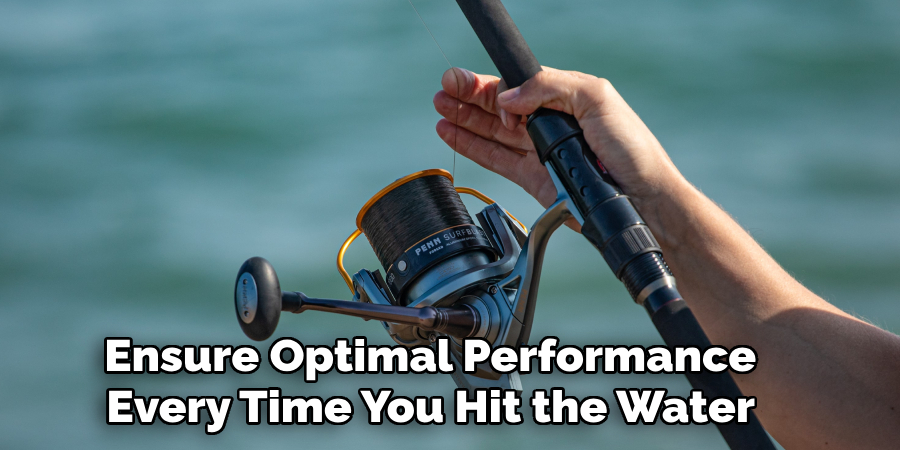
By following these simple steps and regularly maintaining your fishing equipment, you can prolong its lifespan and ensure optimal performance every time you hit the water.
Conclusion
How to fix fishing line requires patience, attention to detail, and the right tools. Start by identifying the issue, whether it’s tangles, knots, or a broken line.
For tangles, carefully unwind the line without pulling excessively to prevent further snarling. If dealing with knots, use a pair of needle-nose pliers or a knot picker to gently loosen and untie them. For a broken fishing line, cut out the damaged section and properly join the line using a strong knot, such as a double uni knot or a blood knot. Finally, re-spool the repaired line, ensuring it is evenly wound and free of twists.
Taking the time to address these problems correctly will restore your gear and get you back to fishing efficiently in no time.