Drummy floor tiles can be a real eyesore. But if you have dummy floor tiles in your home, don’t worry – you’re not alone. Many people have this type of tile in their homes, but many people don’t know how to fix it if they start to break. This blog post will show you how to fix drummy floor tiles and make them look new again. Read on for tips and tricks!
Summary: Fixing Drummy Floor Tiles can be a bit of a challenge, but with a little patience and some ingenuity, you’ll be able to get them looking their best in no time.
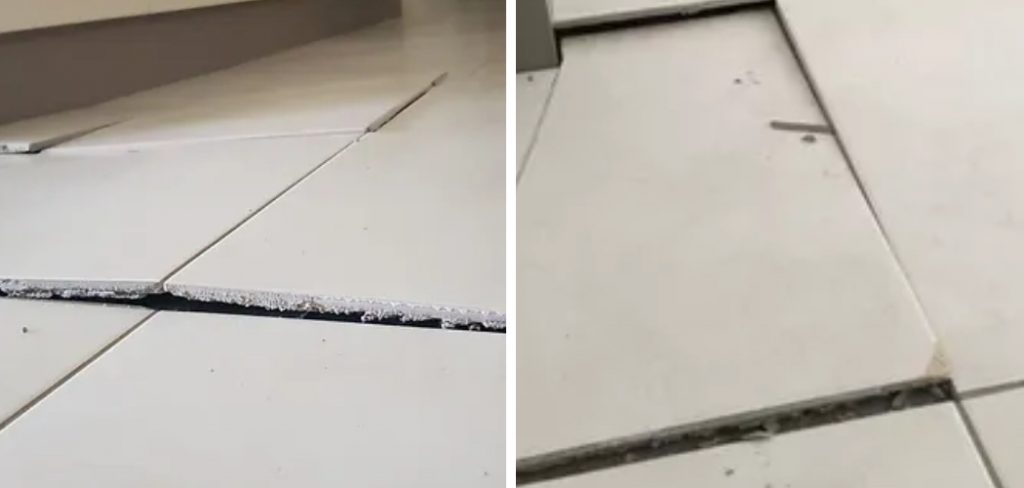
What Causes Dummy Floor Tiles to Break?
There are a few different things that can cause dummy floor tiles to break. The most common cause is moisture. If your home has high humidity levels, this can cause the tiles to expand and break. Another common cause is wear and tear. This is because dummy floor tiles are made of a soft material, which can easily be damaged by heavy foot traffic. Over time, the tiles can become weak and start to chip or break.
Additionally, if you have pets, their nails can also cause damage to the tiles. The other main cause of dummy floor tiles breaking is improper installation. If the tiles are not installed correctly, they can become loose and start to break. Lastly, if the subfloor is not level, this can also cause the tiles to break.
Why Do I Need to Fix My Dummy Floor Tiles?
There are a few reasons why you might want to fix your dummy floor tiles. First, if the tiles start to break, they can be a trip hazard. If someone in your home trips on a broken tile, they could seriously injure themselves. Additionally, broken tiles can also be unsightly. If you have guests over, they might not want to walk on your floor if it is covered in broken tiles.
Another reason to fix your tiles is for resale value. If you plan on selling your home, potential buyers might be turned off by a floor needing repair. Finally, fixing broken tiles can give your home a fresh, new look if you don’t like the look of broken tiles.
Some Easy Ways How to Fix Drummy Floor Tiles
1. Use Super Glue
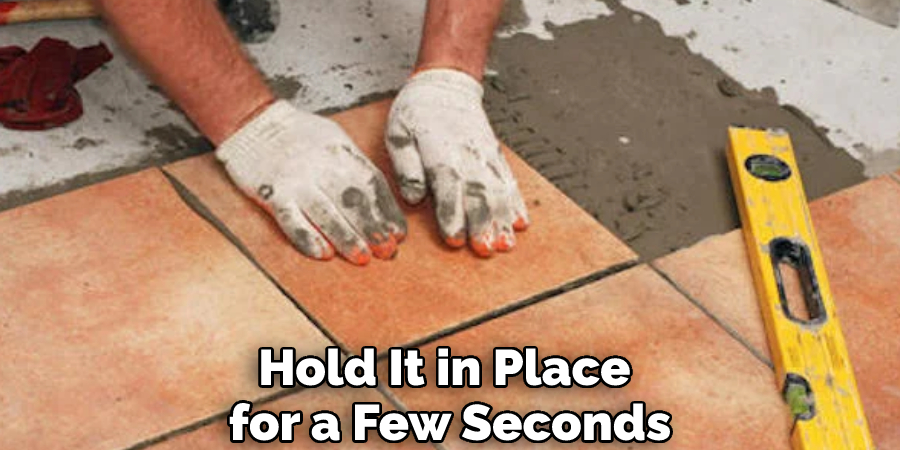
If your dummy floor tiles are made of ceramic, porcelain, or glass, you can use super glue to fix them. This is because these materials are non-porous, so the glue will adhere to the tile and create a strong bond. First, clean the tile with a damp cloth using super glue. Then, apply the glue to the tile and hold it in place for a few seconds. You can then apply more glue to the cracks or chips in the tile.
Allow the glue to dry for 24 hours before walking on the tile. If the tile is in a high-traffic area, you might want to apply a second layer of glue for added strength. Avoid using super glue on tiles made of natural stone, as it can damage the material.
2. Use Epoxy
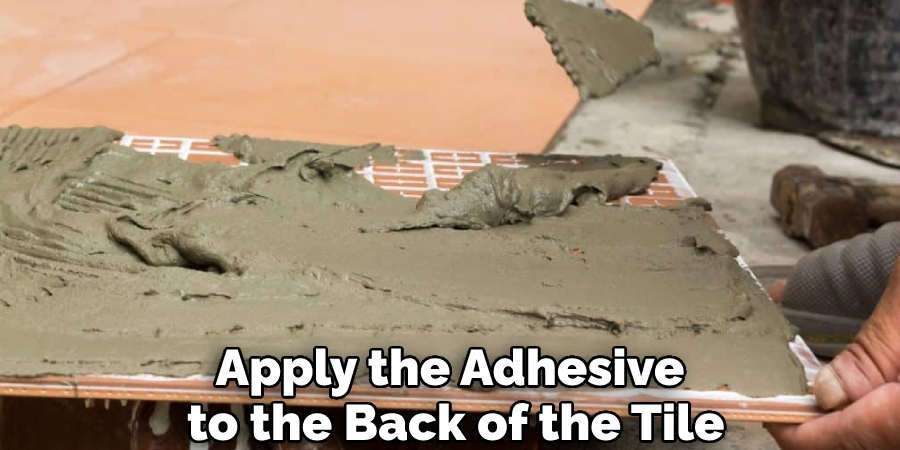
If you have ceramic or porcelain tiles, you can also use epoxy to fix them. Epoxy is a strong adhesive that will bond the tiles back together. First, you will need to mix the epoxy according to the instructions on the package. Then, apply it to the back of the tile and press it into place. Allow the epoxy to dry according to the package directions. Once it is dry, you can apply the grout to the seams between the tiles.
Try to match the grout color to the tile to be less noticeable. Avoid using epoxy on natural stone tiles, as it can damage the material.
3. Use a Two-part Putty
If your dummy floor tiles are made of wood, you can use a two-part putty to fix them. This type of putty is designed to fill in gaps and cracks, so it will work well to fix your dummy floor tiles. To use a two-part putty, first, mix the two parts together according to the instructions on the packaging. Then, use a putty knife to apply the putty to the cracks in your dummy floor tiles. Once the putty is dry, sand it down until it is flush with the rest of the tile.
If necessary, you can paint or stain the putty to match the color of your dummy floor tiles. Avoid using a two-part putty on ceramic or porcelain tiles, as it may not adhere well to these materials.
4. Use a Resin-based Adhesive
If your dummy floor tiles are made of natural stone, you can use a resin-based adhesive to fix them. This type of adhesive is designed specifically for use with natural stone, creating a strong bond that will hold the tiles in place. To use a resin-based adhesive, clean the area around the tile with a damp cloth to remove any dirt or debris. Then, apply the adhesive to the back of the tile using a putty knife.
Once the adhesive is in place, press the tile into the desired location and use a level to ensure it is even. Allow the adhesive to dry for 24 hours before walking on the tile. If you are concerned about the adhesive drying out too quickly, you can mist it with water from a spray bottle. Avoid getting water on the tile’s surface, as this can cause the adhesive to become less effective.
5. Use a Hot Glue Gun
If your dummy floor tiles are made of ceramic, porcelain, or glass, you can use a hot glue gun to fix them. This method is also good for fixing small cracks. First, clean the surface of the tile with alcohol. Then, apply a generous amount of hot glue to the back of the tile. Press the tile firmly into place and hold it for a few seconds. The hot glue will harden and secure the tile.
Avoid getting hot glue on the tile’s surface, as this can make cleaning difficult. Allow the glue to dry for 24 hours before walking on the tile. If the tile is in a high-traffic area, you might want to apply a second layer of hot glue for added strength.
6. Use Nail Polish
Another option for fixing ceramic, porcelain, or glass tiles is to use nail polish. This is a great option if your tiles have small chips or cracks. First, clean the area around the tile. Then, apply a thin layer of nail polish over the crack or chip. Allow it to dry completely before adding a second layer. Try to match the color of the nail polish to the tile as closely as possible.
You can also use clear nail polish to seal the area and prevent further damage. Avoid using this method on natural stone tiles, as the nail polish can stain the surface.
7. Use Masking Tape
If your dummy floor tiles are loose but intact, you can use masking tape to hold them in place. This temporary fix will buy you some time until you can replace the tiles. To use this method, clean the surface of the tile and the surrounding area. Then, apply a strip of masking tape over the loose tile. Be sure to press the tape down firmly so that it adheres well.
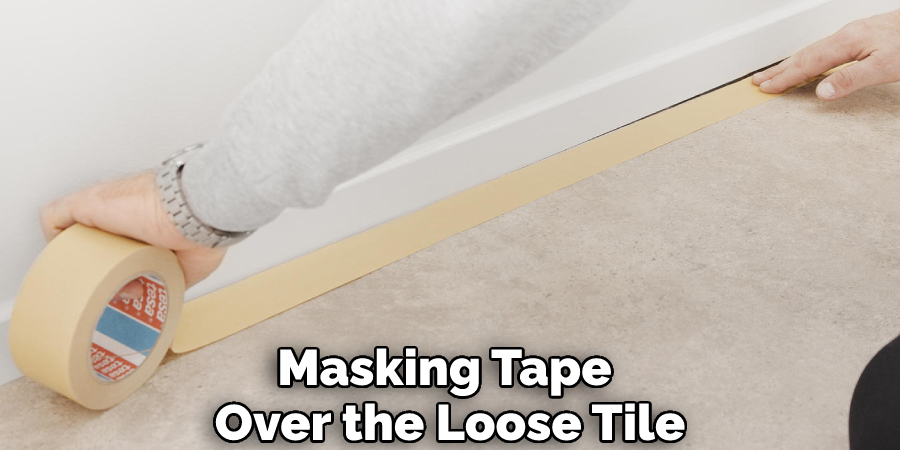
This fix is not permanent, but it will temporarily hold the tile in place until you can replace it. Avoid using this method if the tile is cracked, as the tape will not be able to hold it together.
8. Hire a Professional
If you are not comfortable attempting to fix your dummy floor tiles on your own, you can hire a professional. A professional can assess the damage and recommend the best course of action. They will also have the tools and experience necessary to fix the tiles properly. This is usually the best option if the damage is extensive or if you are unsure of how to fix the tiles yourself. Try to find a reputable professional who has experience fixing floor tiles.
Tips and Warnings on How to Fix Drummy Floor Tiles
Tips:
- Make sure the floor is clean before starting to work.
- Use a putty knife to remove any old adhesive or grout from the tile’s surface.
- Apply a new layer of adhesive or grout to the back of the tile.
- Press the tile firmly into place and allow it to dry.
- Use a hammer and chisel to remove any excess adhesive or grout from the tile’s surface.
Warnings:
- Always wear gloves and eye protection when working with adhesives or grout.
- Follow the manufacturer’s instructions carefully when mixing or applying adhesives or grout.
- Adhesives and grouts can be harmful to your skin and eyes, so be sure to wash them off immediately if they come into contact with your skin or eyes.
- Do not use adhesives or grouts near open flames or in well-ventilated areas.
- Do not allow children or pets near the work area while you are working with adhesives or grouts.
Conclusion
So there you have it. Now you know how to fix drummy floor tiles. Choose the method that best suits your needs and get to work! With a little time and effort, you can have your floor look as good as new. Thanks for reading!