Although your dorm room may seem like a small, cramped space, it’s still important to make it feel like home. It is important to know how to fix dorm room wall paint. While there are many perks to living in a dorm, one downside is that often the walls are painted in a drab color that can quickly make your room feel small and cramped.
Luckily, there are ways to fix this issue and make your dorm room feel more like home. In this blog post, we’ll discuss some tips for fixing up your dorm room’s walls. So read on for some inspiration!
Tools Requirement
- Paint roller
- Paint tray
- Masking tape
- Drop cloths
- Primer
- Paint of your choice
How to Choose the Right Paint Color for Your Dorm Room?
Picking the right paint color for your dorm room can seem like a daunting task. After all, you’ll be spending a lot of time in your room, and you want it to be a space that feels comfortable and inviting.
The good news is that there are a few simple tips you can follow to help you choose the perfect color for your space. First, take into account the amount of natural light your room gets. If you have a lot of windows, you’ll want to choose a lighter color to help brighten up the space.
On the other hand, if your room is on the darker side, a bolder color will help create a cozy feel. Second, think about the overall vibe you want for your room. Are you looking for something calm and serene? Or are you going for a more energetic feel? Once you’ve considered these factors, you’ll be well on your way to choosing the perfect paint color for your dorm room!
7 Easy Steps Guide on How to Fix Dorm Room Wall Paint
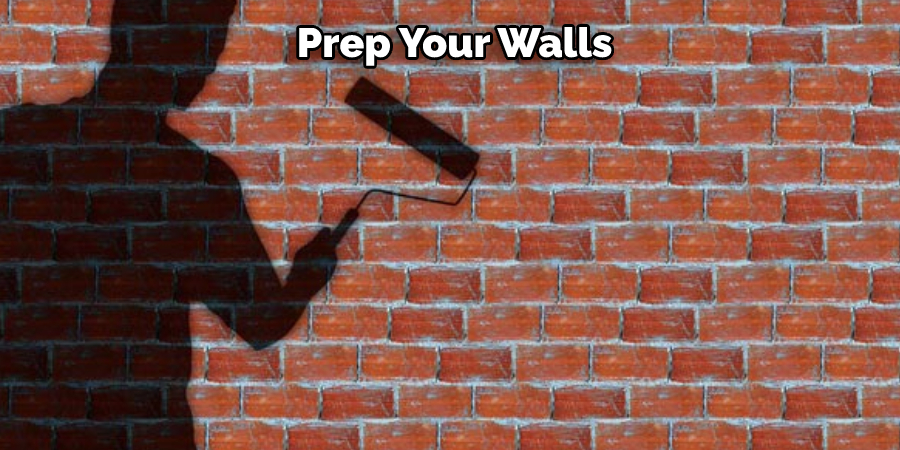
Step 1: Prepare the Walls
It’s finally time to paint your dorm room and give it a fresh new look. But before you start painting, there are a few things you need to do first to prep your walls. Start by using a dry cloth to remove any dirt or dust from the walls. Then use masking tape and drop cloths to protect any items you don’t want to be covered in paint.
Once your walls are prepped and ready to go, you can start painting. Use a roller for large areas and a brush for smaller areas. And don’t forget to paint the trim! When you’re finished, step back and admire your handiwork. With a little bit of prep work, you’ve transformed your drab dorm room into a stylish space that feels like home.
Step 2: Prime Your Walls
Now that your walls are prepped and ready to go, it’s time to prime them. Primer helps make sure the paint sticks and prevents fading over time. Plus, it can also help to correct any imperfections on the surface of your walls.
For best results, use a high-quality primer that is designed for use on walls. Apply the primer evenly with a brush or roller, and then allow it to dry fully before proceeding with painting. By taking the time to prime your walls properly, you can ensure that your paint job will look its best for years to come.
Step 3: Choose Your Paint Color
Now that you’ve prepped and primed your walls, it’s time to choose a paint color. Take some time to consider what kind of look you want for your room before selecting a color. If you want a warm and inviting space, opt for earth tones or jewel tones. If you’re looking for a bright and cheery space, go for pastels. Once you’ve decided on the overall feel of the room, pick out a few paint chips to take home with you.
Hold the chips up to the light and look at them in different parts of the room to see how they change throughout the day. Once you’ve found a color you love, purchase a small can of paint so you can test it out on one wall before painting the entire room. This will help you make sure you love the color before making a larger investment. With a little prep work and care, you can easily transform your room with a can of paint.

Step 4: Buy Your Paint
After you’ve chosen the perfect paint color for your dorm room walls, it’s time to buy your supplies. Make sure to get enough paint for the size of your room, plus any extra supplies you may need to fix up any imperfections in the walls. When you’re choosing your paint, be sure to read the label carefully. Some paints are specially formulated for use on walls, while others are better suited for trim or other surfaces.
Paint a small section of the wall to test the color and make sure you like it. Once you’re happy with the color, continue painting the rest of the wall until it is completely covered. Be sure to follow the manufacturer’s instructions for the best results. Allow the paint to dry completely before moving on to the next step.
Step 5: Prepare Your Paint
As anyone who has ever tried to paint a room knows, getting the perfect color can be a challenge. Even if you mix the paint carefully, you may find that the color is not quite what you wanted once it is applied to the wall. To avoid this problem, it is important to prepare your paint properly before you start painting.
First, mix the paint with the right amount of water (following the instructions on the paint can). Then, pour it into a paint tray and make sure to stir it up well to get an even color. By taking these simple steps, you can be sure that your wall paint will turn out exactly as you wanted.

Step 6: Start Painting
Now that you’ve chosen the perfect color for your dorm room walls, it’s time to start painting! Using a roller, apply your paint in small sections at a time, and make sure to use even strokes. To avoid any visible lines, try to paint in a “W” pattern.
When you’re finished with one section, immediately move on to the next so that the paint doesn’t have a chance to dry. Once you’ve finished painting the entire room, stand back and admire your handiwork! A fresh coat of paint can transform a space, and now your dorm room is one step closer to feeling like home.
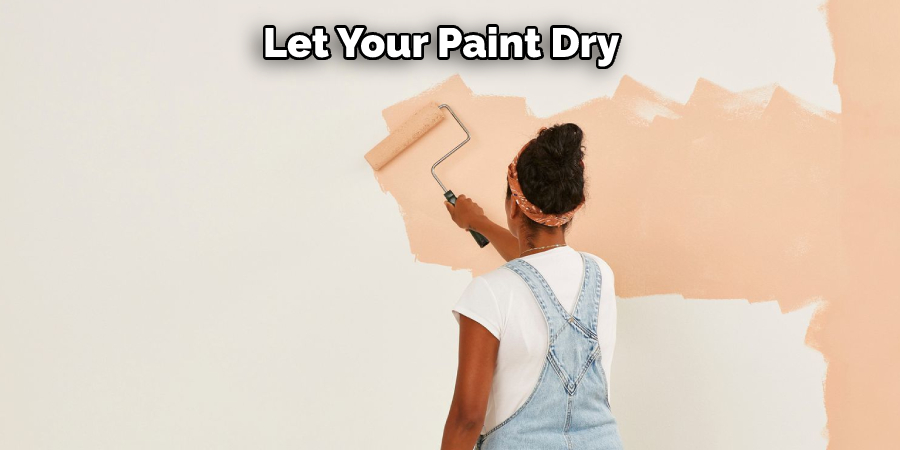
Step 7: Let Dry
You’ve finished painting your dorm room and are ready to move on to the next step in fixing up your new home away from home. But before you start putting up posters or adding any other decorations, it’s important to let your paint dry first. Most paints need at least 24 hours to fully cure, so resist the urge to start decorating right away.
Once your paint is dry, you can go ahead and add all the finishing touches to make your dorm room feel like your own personal oasis. From photos and artwork to wall tapestries and light strings, there are endless ways to make your space feel cozy and inviting. So take your time, let the paint dry, and enjoy making your dorm room into a space that truly reflects your personality.
Enjoy your new look! After you’ve given your paint plenty of time to dry, you can sit back and enjoy the fresh new look in your dorm room. All that’s left is to accessorize and make it your own!
Following these steps will help you fix up your dorm room walls and give you a fresh new look. With the right materials and some patience, you can easily revamp your space into something that feels more like home. Good luck!
Preparing Walls for Painting in a Dorm Room
Moving into a dorm room is an exciting time for any college student. It’s a chance to start fresh and create a space that feels like home. One of the first things many students want to do is personalize their dorm room with a coat of paint. But before you get started, there are a few preparations you need to make.
First, clean the walls with a mild detergent or sugar soap. This will remove any dirt and grease that could prevent the paint from adhering properly. Next, fill any holes or cracks with spackling compound, and sand the area smoothly once it’s dry. Once the walls are prepped, you’re ready to start painting!
How to Fix Peeling and Chipping Paint in a Dorm Room?
One of the best ways to add personality to a dorm room is with a fresh coat of paint. However, after a few months of living in close quarters, it’s not uncommon for the paint to start peeling or chipping. If you’re faced with this situation, don’t panic! There are a few easy steps you can take to fix the problem. First, use a putty knife or sandpaper to remove any loose paint. Next, apply a fresh coat of primer and allow it to dry completely. Finally, once the primer is dry, apply a new layer of paint in your desired color. With just a bit of effort, you can have your dorm room looking like new in no time!
You Can Check It Out Fix Curtain Rod Pulled Out of Drywall
How to Freshen Up Your Dorm Room Walls on a Budget
If you’re looking for a way to freshen up your dorm room walls without breaking the bank, there are a few easy and affordable options. One option is to create your artwork. This can be as simple as printing out some photos or using craft supplies to make a collage. Another option is to use removable wall decals. These come in a variety of designs and can be found at most home goods stores.
You can also use washi tape to create interesting patterns or borders on your walls. And if you want to go all out, you can paint an accent wall. Choose a color that complements your bedding and furniture, and add some personal touches with wall decals or stencils. With a little creativity, you can easily transform your drab dorm room into a stylish space that reflects your personality.
You Can Check It Out Repair Walls in Rust
Conclusion
You have a few options when it comes to fixing your wall paint. You should determine carefully how to fix dorm room wall paint. You can either try to cover up the existing paint or you can remove the paint completely and start from scratch.
If you decide to cover up the paint, make sure that you use primer so that the new paint will adhere properly. If you want to remove the paint, sanding is the best way to do it. Just be careful not to damage the drywall underneath. Once you’ve removed all of the paint, you can apply new paint or wallpaper as desired. Thanks for reading!