A pool is a great way to relax during Summer, and it’s a great way to keep your body and mind healthy. However, owning a pool comes with its maintenance responsibilities. One of the most common problems pool owners face is grout cracks. Cracked grout can allow water to seep beneath the tiles, leading to further damage. While hiring a professional might be the safest option, fixing the cracks in pool tile grout can also be a DIY project. In this blog post, we’ll show you a step-by-step guide on how to fix cracks in pool tile grout. So, let’s dive in!
Can You Fix Cracks in The Pool Tile Grout?
Are you tired of staring at unsightly cracks in the tile grout of your pool? Don’t worry, you’re not alone. Cracks in pool tile grout can not only ruin the aesthetic appeal of your oasis but they can also cause damage to the pool structure if left unattended. The good news is that fixing these pesky cracks is not as daunting as it might seem.
Depending on the severity of the damage, there are several methods and products available to fix cracked pool tile grout. From simple patch-up jobs to complete re-grouting, a professional pool service can help restore the beauty and integrity of your swimming pool. So don’t wait any longer; start enjoying your pool again with newly repaired tile grout.
Why Should You Fix Cracks in Pool Tile Grout?
When it comes to pool maintenance, homeowners may focus on big-picture items like cleaning the water and maintaining proper chemical balances. However, it’s just as important to pay attention to small details, such as cracks in pool tile grout. Not only do they look unsightly, but they can also lead to more serious problems if left unaddressed. Cracks in pool tile grout allow water to seep into the walls and floor of the pool, causing damage to the structure.
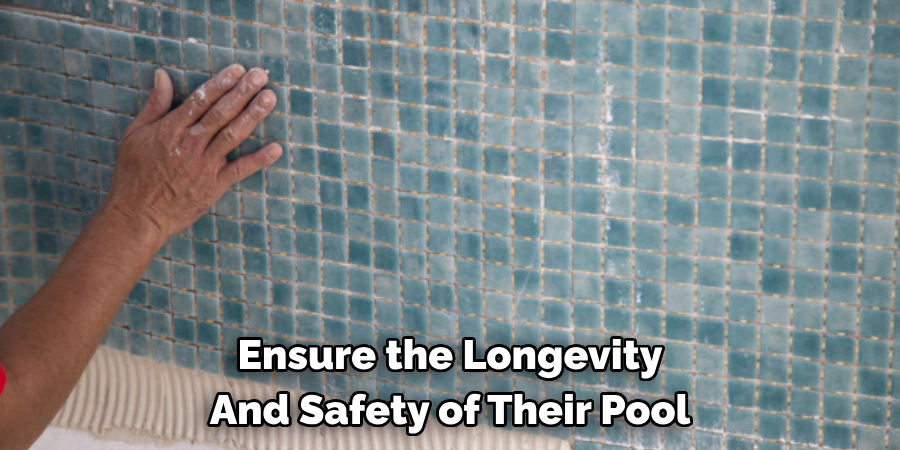
Additionally, if the grout is not repaired in a timely manner, it can lead to mold growth, which could pose health hazards to swimmers. By fixing cracks in pool tile grout, homeowners can ensure the longevity and safety of their pool.
6 Steps to Follow on How to Fix Cracks in Pool Tile Grout
Step 1: Assess the Damage
The first step is to assess the damage. If you see water coming through the grout, it could be a sign of more significant damage, and you should call a professional. However, if the damage is minor, you can fix it yourself. Start by removing the cracked grout. Use a hammer and chisel to remove any damaged grout. While doing so, avoid damaging the tiles. Once you’ve removed the grout, clean the area with water, dry it off, and ensure no debris remains.
Step 2: Re-Grout the Area
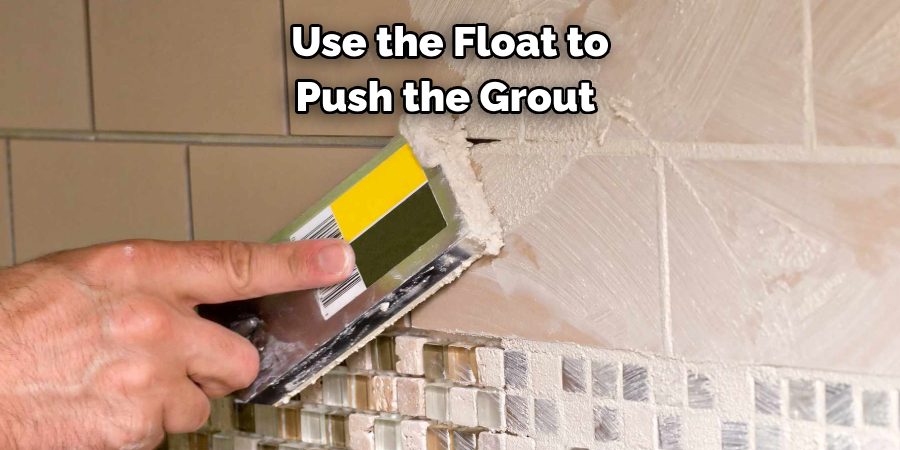
The next step is to re-grout the area. When selecting your grout, choose a waterproof product specific for pool usage. Follow the manufacturer’s instructions on the package. Typically, you’ll need a trowel and a float to spread the grout. Use the float to push the grout onto the exposed areas. Ensure you press it into the gaps between the tiles tightly. Once you’ve filled the damaged area, use a wet sponge to remove any excess grout and smooth the surface.
Step 3: Sealing the Grout
Sealing the grout is an optional step, but it can extend the life of your repair work. A sealer will help keep water and debris from getting into the grout, which is where the majority of damage occurs. When choosing a grout sealer, select one with waterproof properties and use it according to the manufacturer’s instructions. Typically, you’ll apply the sealer with a brush and let it dry. The sealing will also make it easier to clean the area.
Step 4: Maintaining the Repair
Once you’ve completed the repair, it’s essential to maintain it to ensure its longevity. Regularly check the area for any cracks or damage and reseal if necessary. Also, clean the grout regularly with a mild cleaner, as harsh chemicals can cause further damage.
Step 5: Preventing Future Cracks
To prevent future cracks in your pool tile grout, there are some preventive measures you can take. One of them is keeping your pool water balanced. Unbalanced water can cause calcium deposits, leading to cracking and discoloration of the grout. Additionally, avoid using sharp objects near the tiles that could potentially chip or scratch them.
Step 6: Calling a Professional
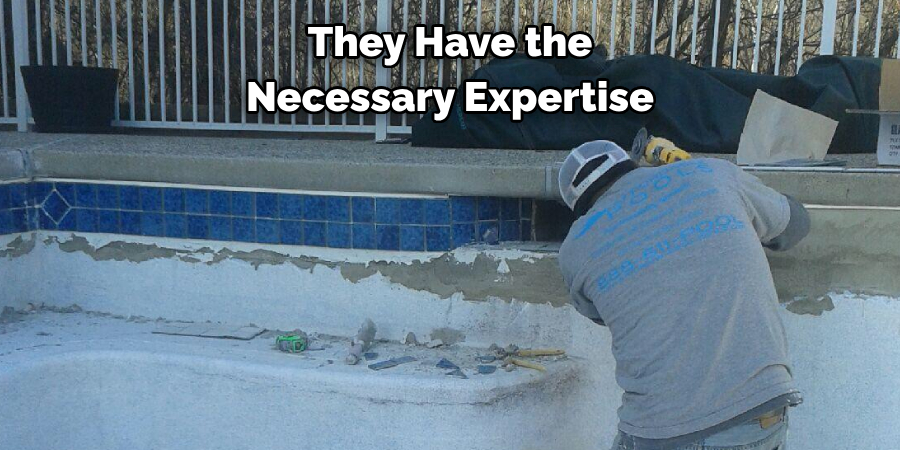
If the damage is significant or you’re not confident in fixing it yourself, it’s always best to call a professional. They have the necessary expertise and tools to fix any cracks in your pool tile grout effectively.
That’s it! You’ve now learned the steps to fix cracks in pool tile grout. By following these steps and taking preventive measures, you can keep your pool area looking clean and well-maintained for years to come. Remember, regular maintenance is crucial in preventing more significant issues down the road.
5 Benefits of Fixing Cracks in Pool Tile Grout
1. Improved Water Quality
One of the primary benefits of fixing cracks in pool tile grout is improved water quality. Cracks in the grout can allow dirt and debris to seep into the pool, leading to cloudy or murky water. By repairing the cracks, you can help ensure your pool water remains clean and clear for swimming. Additionally, fixing any cracks in the grout can also help to reduce algae growth, as algae need organic matter from dirt and debris to grow.
2. Reduced Risk of Leaks
Another benefit of fixing cracks in pool tile grout is a reduced risk of leaks. Over time, cracks in the grout can become larger and cause structural damage to the pool. If left unrepaired, these cracks can eventually lead to leaks that could require costly repairs or even the replacement of your entire pool liner. By repairing them promptly, you can help prevent further damage and avoid expensive repairs.
3. Improved Aesthetics
Fixing cracked grout also helps to improve the aesthetics of your pool area. Cracked grout looks unsightly and can detract from the overall look of your pool deck or patio area. By repairing any existing cracks, you can help make your outdoor space look more attractive and inviting for guests and family members alike.
4. Increased Durability
Repairing cracked grout also helps to increase the durability of your pool tile installation over time. When properly sealed with a waterproof sealant after being repaired, cracked grout will be better able to withstand wear and tear from foot traffic or exposure to chemicals such as chlorine or salt water from a saltwater system. This will help ensure that your tile installation lasts longer without expensive repairs or replacements.

5. Cost Savings
Finally, fixing cracked grout can save time by helping you avoid costly repairs that may be needed if left unrepaired for too long. As mentioned, larger cracks in the grout may eventually lead to structural damage that could require extensive repairs or even replacement of your entire pool liner if not addressed promptly.
4 Common Mistakes People Make When Trying to Fix Cracks in Pool Tile Grout
1. Not Cleaning the Area Properly
One of the most common mistakes people make when fixing cracks in pool tile grout is not cleaning the area properly. It is important to remove any dirt, debris, and mildew from the surface of the tile and grout before attempting to repair it. This will ensure that the repair materials adhere properly and last longer. Use a mixture of warm water and mild soap to clean the area thoroughly before proceeding with the repair.
2. Using the Wrong Type of Grout
Another mistake people often make when repairing cracked pool tile grout is using the wrong type of grout. There are several different types of grouts available on the market, each designed for specific applications. Make sure you choose a grout specifically designed for use in swimming pools, as this will be more resistant to water and chemicals.
3. Not Applying Enough Pressure
When applying new grout to fill in cracks in pool tile grout, it is important to apply enough pressure to stick firmly to both sides of the crack. If you do not apply enough pressure while smoothing out the new grout, it may not adhere properly and could eventually come loose over time. Use a rubber float or trowel to press down firmly on both sides of the crack while smoothing out the new material.
4. Not Sealing The Grout
Once you have filled in any cracks in your pool tile grout, it is important to seal it with an appropriate sealer or waterproofing agent. This will help protect against future damage from moisture and chemicals and ensure that your repair job lasts for years. Make sure you choose a sealer specifically designed for use on swimming pool surfaces for best results.
Conclusion
Taking care of and maintaining your pool is necessary for enjoying throughout Summer and keeping your pool damage-free. Fixing cracks in pool tile grout might appear to be an overwhelming task, but it can be manageable with proper tools and techniques. Remember to start with assessing the damage and selecting waterproof products specific to pool usage. Also, keep in mind that sealing the grout is an optional step that can save you headaches in the long run. By following these steps and tips, you can fix cracks in pool tile grout and keep your pool in great condition. Thanks for reading our post about how to fix cracks in pool tile grout.