There is nothing more frustrating than a leaky bathtub. Not only does it create a mess, but it can also be extremely dangerous. If you’re dealing with cracks in your bathtub, don’t worry – there is a solution!
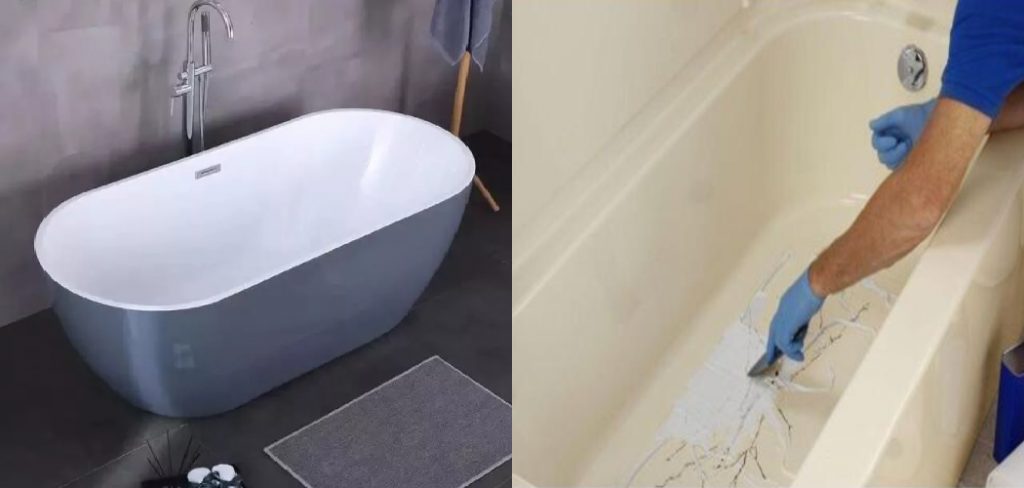
In this blog post, we will discuss how to fix cracks in a bathtub. We’ll also provide some tips on how to prevent them from happening again. So read on to learn more!
Summary: If you see a crack in your bathtub, don’t panic. There are a few things you can do to fix the problem without having to replace the entire tub. First, try using a sealant to fill in the crack. This will keep water from leaking and make the tub more resistant to chips and cracks. If that doesn’t work, you can install a patch kit to fix small cracks. These kits come with all the materials you need to fix the crack, so you won’t have to go shopping for anything else.
What Causes Cracks in a Bathtub?
Bathtubs are one of the most commonly used fixtures in any home, so it’s no wonder they often suffer wear and tear over time. Cracks are one of the most common problems that can occur, and they can happen for various reasons. The most common cause of cracks is thermal expansion.
This happens when the tub is exposed to drastic changes in temperature, making the material expand and contract. Sometimes, this can result in small cracks on the tub’s surface. Over time, these cracks can become bigger as they are subjected to more wear and tear.
One of the most common causes of cracks is impact damage. This can happen if something heavy is dropped into the tub, or if it’s hit by a hard object. Impact damage can also occur if the tub is installed on an uneven surface. If the tub isn’t properly supported, it can shift and settle over time, which can cause cracks to form.
Regardless of the cause, it’s important to repair any cracks in your bathtub as soon as possible. Left unrepaired, these cracks can lead to larger problems, such as leaks and water damage.
Why It’s Important to Fix Cracks in A Bathtub?
Cracks in bathtubs are not only unsightly, but they can also lead to major problems if left unrepaired. Water can seep through cracks and cause extensive damage to the surrounding area, including mold and mildew growth.
In addition, cracks can provide a hiding place for bacteria and other harmful organisms. By taking the time to repair cracks as soon as they appear, you can help safeguard your health and extend the life of your bathtub.
How to Fix Cracks in A Bathtub Step-by-Step Guide
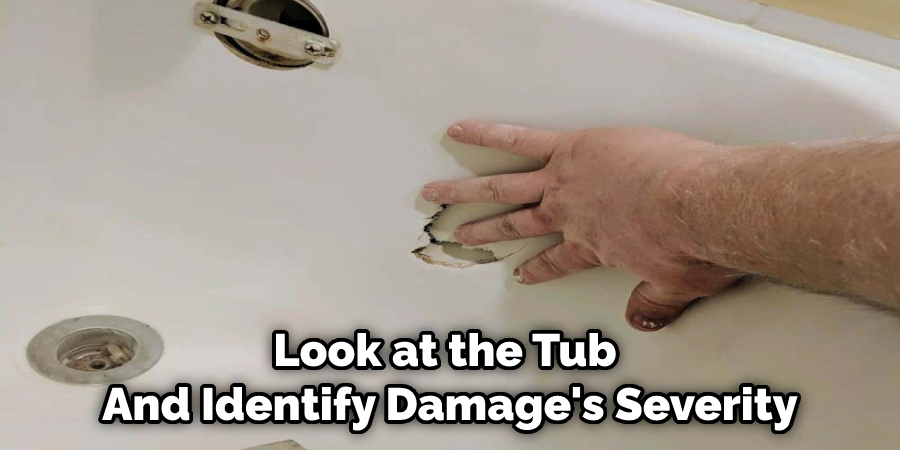
Step 1: Identify the Damage
The first step is to look at the tub and identify the damage’s severity. If there are only small cracks, then you may be able to repair them relatively easily. However, if the cracks are large or there is significant damage, you will need to replace the tub.
Step 2: Clean the Tub
Once you have determined the extent of the damage, it is time to clean the tub. This will help you remove any dirt, soap scum, or other debris that may be present. To begin, use a soft cloth and warm water to wipe down the tub’s surface. If there are any stubborn spots, you can use a mild cleaning agent and a non-abrasive scrubber.
Step 3: Dry the Tub
After cleaning the tub, it is important to dry it completely. Any present moisture can make the cracks worse or cause new ones to form. So instead, use a soft towel to dry the tub’s surface, taking care to dry any cracks. Then, follow up by wiping the entire surface with a clean and dry cloth.
Step 4: Apply Epoxy
The next step is to apply epoxy to the cracks. This will help to fill them in and prevent further damage. Begin by mixing the epoxy according to the manufacturer’s instructions. Once mixed, use a putty knife or other similar tool to apply it to the cracks. Be sure to smooth it out so that it is level with the tub’s surface.
Step 5: Let the Epoxy Dry
Once you have applied the epoxy, it is important to let it dry completely. This can take several hours or even a day, so be patient. Once it is dry, you can use the tub as normal.
Step 6: Sand the Area
If the epoxy is not completely smooth, you can sand the area to even it out. Begin by using medium-grit sandpaper to sand the surface lightly. If there are any rough spots, you can use finer-grit sandpaper. Once you are finished, wipe down the area with a damp cloth to remove dust.
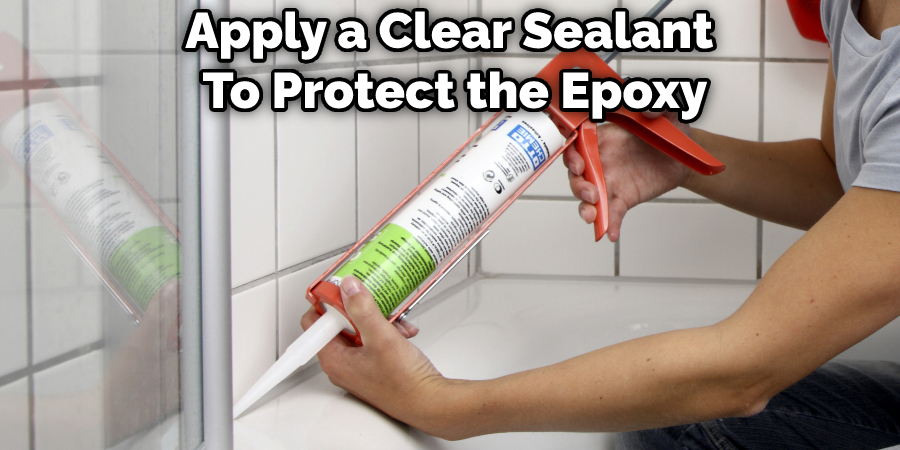
Step 7: Apply a Sealant
You can apply a clear sealant to protect the epoxy and help it last longer. Begin by applying the sealant to a small area to test it first. If it goes on smoothly, you can continue. If not, you may need to try a different brand. Once you have applied the sealant, let it dry completely before using the tub.
Step 8: Repeat as Needed
It is important to inspect the tub regularly for new cracks or damage. If you find any, repeat the above process until the problem is resolved. By taking these steps, you can keep your bathtub in good condition for many years.
That’s it! You’ve now learned how to fix cracks in a bathtub. We hope this guide has been helpful. If you have any questions, feel free to contact us, and we’ll be happy to help.
What Kind of Caulking is Best for a Bathtub?
There are a few things to consider when selecting caulk for a bathtub. First, think about the material of the tub. If it is made of porcelain, enamel, or another smooth surface, you will want to use a silicone-based caulk. On the other hand, you can use silicone or latex caulk if the tub is made of fiberglass or another textured surface.
You will also want to consider the color of the caulk. While white is the most popular color, it can also be more difficult to match your bathroom’s décor. Clear caulk is a good option if you want something that will blend in. Once you have decided on the caulk type, clean and dry the area around the tub before applying the caulk, this will help ensure a tight seal.
How to Prevent your Bathtub From Cracking in the Future
No one likes dealing with a cracked bathtub. Not only is it unsightly, but it can also lead to leaks and other damage. Fortunately, you can take a few simple steps to help prevent your bathtub from cracking in the future. First, make sure that the tub is properly supported. This means ensuring that the floor is level and that the tub is not installed on a wobbly surface.
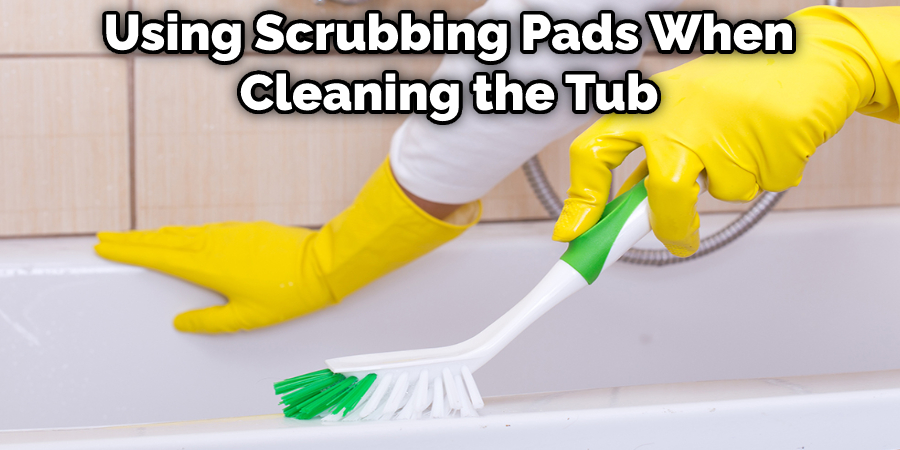
Second, avoid using harsh chemicals or scrubbing pads when cleaning the tub. These can damage the finish and make the tub more susceptible to cracking. Finally, don’t forget to use a soft mat or pad when bathing to protect the tub from scratches and scrapes.
Following these simple tips can help keep your bathtub looking good for years to come. Keep reading for more information about how to fix cracks in a bathtub.
How Can I Fix a Hairline Crack in My Bathtub?
If you have a hairline crack in your bathtub, there is no need to replace the entire tub. In most cases, the crack can be easily repaired with a few simple tools and materials. The first step is cleaning the area around the crack and removing debris or soap scum. Next, apply a generous amount of epoxy resin to the crack, using a putty knife to spread it evenly.
Once the epoxy has had time to set, use sandpaper to smooth the surface and apply a layer of paint or primer. With some basic DIY skills and a little elbow grease, you can fix a hairline crack in your bathtub quickly and easily.
What Are Some Temporary Solutions for Fixing a Cracked Bathtub?
A cracked bathtub can be a major inconvenience. Not only is it unsightly, but it can also lead to water damage and mold growth. While replacing the bathtub may be the best long-term solution, a few temporary fixes can help mitigate the problem.
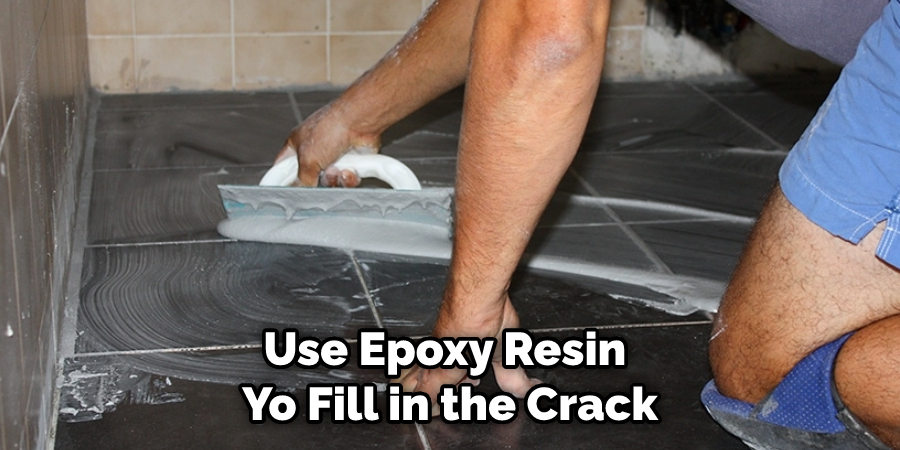
One option is to use epoxy resin to fill in the crack. This material is strong, waterproof, and can be easily applied with a putty knife. Another option is to use duct tape. This may not be the most attractive solution, but it will create a barrier that will prevent water from seeping through the crack.
Of course, these solutions are only temporary, and it is important to consult with a professional before taking any permanent measures.
Frequently Asked Question
How Much Does it Cost to Fix a Crack in a Bathtub?
The average cost to fix a crack in a bathtub is around $100. However, this may vary depending on the severity of the crack and the materials needed to repair it.
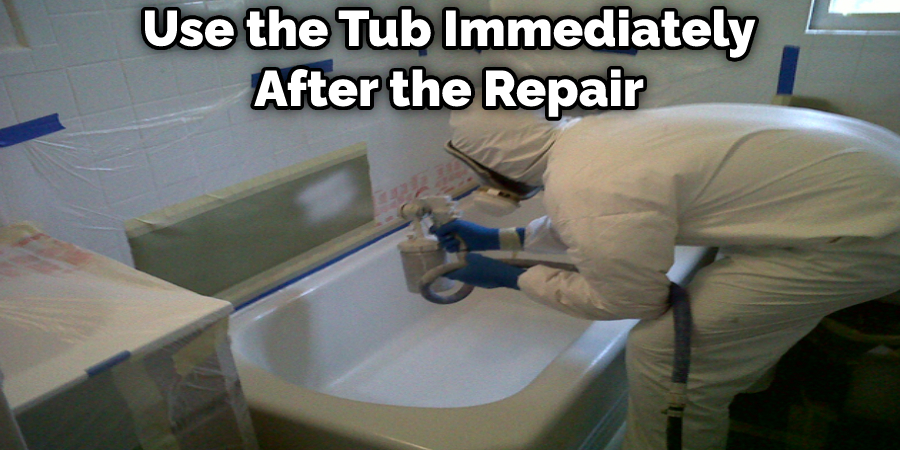
How Long Will it Take to Fix a Crack in the Tub?
This is dependent on the size of the crack. A small crack may only take a few minutes to repair, while a larger one may take up to an hour. In most cases, you can use the tub immediately after the repair.
Conclusion
Bathtub refinishing is a great way to fix cracks in your bathtub without replacing them. Using a professional refinisher, you can get your tub to look new again for a fraction of the cost of replacing it.
If you’re considering fixing your bathtub yourself, follow the proper safety precautions and use quality products to avoid damaging your tub further. Thanks for reading our post about how to fix cracks in a bathtub.
You Can Check It Out Fix a Peeling Bathtub