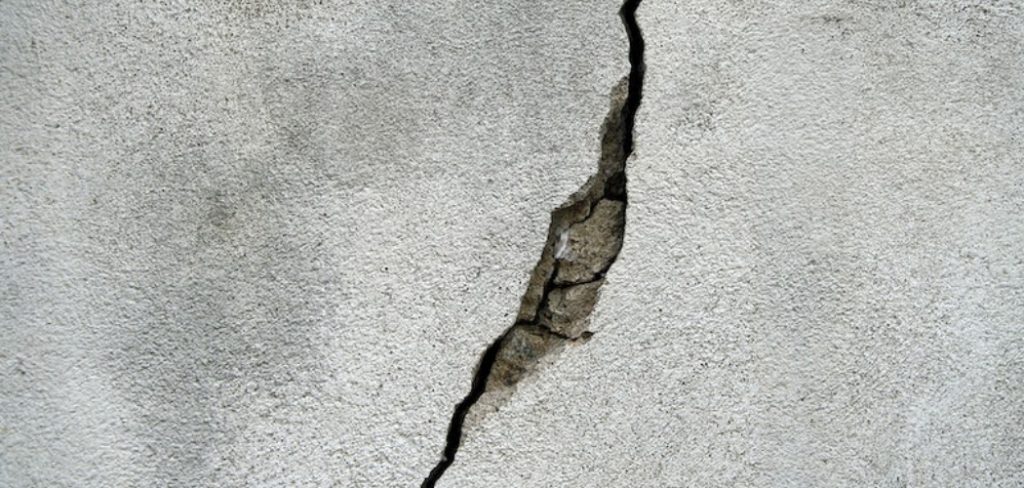
Cracks in your walls can occur for various reasons—settlement, poor construction, changes in temperature, or humidity. No matter the cause, dealing with cracks is an important part of being a homeowner. Not only are cracks unsightly, but if left unaddressed, they can lead to bigger problems down the road.
Fortunately, repairing cracks in your walls is a pretty simple process that most people can do on their own. Keep reading to learn how to fix cracked wall edges in three steps.
Summary: If you have a cracked wall edge, there are a few things you can do to fix it. You can try to fill the crack with a plaster or spackling compound, but this may not be permanent and may not look very good. Another option is to use a metal frame to reinforce the crack and make it less visible.
What Are the Causes of Cracking Walls?
Cracks in walls are common but can be unsightly. While some cracks are harmless, others could indicate a structural problem. The most common cause of cracks in walls is a settlement.
As a house settles, the foundation shifts and the walls adjust to accommodate the change. This process is usually gradual and results in small hairline cracks. However, if the foundation settles unevenly, it can cause larger cracks.
Another common cause of cracks is thermal expansion and contraction. As the temperature outside fluctuates, the materials in the walls expand and contract. This can cause the paint to crack or even cause the wall to buckle.
In some cases, this can be prevented by using flexible caulking or by installing expansion joints. Additionally, poor construction can also lead to cracking walls. For example, if the framing is not properly supported or if the wallboard is not installed correctly, it can cause cracking.
Improper windows and doors installation can also stress the walls and lead to cracking. Thankfully, hiring a qualified contractor can remedy most of these problems.
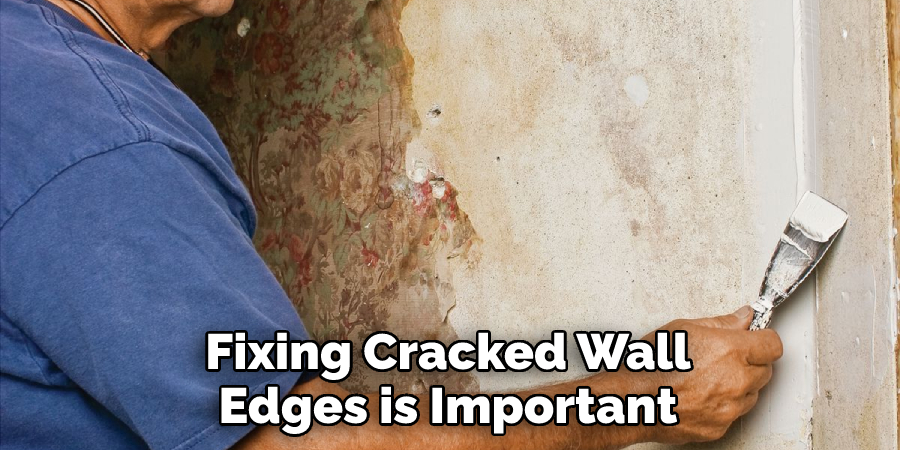
Why Should You Fix Cracked Wall Edges?
Homeowners often overlook cracked wall edges, but these small cracks can quickly become larger problems. For example, wall cracks can allow moisture to seep into the home, leading to mold and mildew growth. In addition, cracks can provide a way for insects and other pests to enter the home.
By repairing cracked wall edges, homeowners can help to prevent these issues before they become serious problems. In most cases, repairing cracks is a relatively simple process that can be completed with a few tools and materials from the hardware store.
However, if the cracks are large or located in a difficult-to-reach area, it may be best to hire a professional repairman. Either way, fixing cracked wall edges is important to maintaining a healthy and structurally sound home.
Supplies You’ll Need
Before we get started, let’s run through the supplies you’ll need to complete this repair:
- Spackle
- Caulk
- Paint
- Sandpaper
- Painter’s Tape
If you don’t have all of these supplies on hand, don’t worry—they’re all readily available at your local hardware store. Most likely, you already have some of them around the house. Now that we have all of our supplies gathered, we can move on to the repair itself.
7 Steps to Follow on How to Fix Cracked Wall Edges
Step One: Clean the Crack
The first step is to clean the crack. Use a vacuum cleaner with a soft brush attachment to remove any dust or debris from the crack. If any old caulk or spackle is present, use a putty knife to scrape it away.
Once the crack is clean and free of debris, use painter’s tape to tape off each side of the crack so that you don’t accidentally get spackle or paint on the surrounding surfaces.
Step Two: Apply Spackle or Caulk
Next, you will need to apply spackle or caulk to the crack. If the crack is very small, you can use a tube of caulk. Simply cut the tip of the tube at a 45-degree angle and then apply the caulk to the crack, using a smooth, even motion.
If the crack is larger, you will need to use spackle. First, apply the spackle with a putty knife to the crack, using even strokes. Once the crack is filled, use your finger or a wet sponge to smooth out the surface.
Step Three: Allow the Spackle or Caulk to Dry
After you have applied the spackle or caulk, it is important to allow it to dry completely. Depending on your product type, this can take anywhere from a few hours to a day. Once the spackle or caulk is dry, you can proceed to the next step.
Step Four: Sand the Surface
Once the spackle or caulk is dry, you will need to sand the surface to create a smooth finish. Use a piece of fine-grit sandpaper and sand the area until it is smooth. If there are any irregularities, you can use a putty knife to scrape them away.

Step Five: Prime the Area
Once you have sanded the area, you will need to prime it. This step is important because it will help the paint to adhere to the surface. Use a brush or a roller to apply an even layer of primer to the surface. Allow the primer to dry completely before proceeding to the next step.
Step Six: Paint the Area
Once the primer is dry, you can paint the area. Use a brush or roller to apply an even layer of paint to the surface. If you are using a dark paint color, you may need to apply two coats of paint. Allow the paint to dry completely before removing the painter’s tape.
Step Seven: Remove the Painter’s Tape
Once the paint is dry, you can remove the painter’s tape. Be careful not to pull off any paint as you remove the tape. If everything looks good, you’re finished! These steps should help you fix any cracked wall edges in your home.
That’s it! You’ve now learned how to fix cracked wall edges. Just follow these simple steps, and your walls will look good as new in no time.
How to Repair a Cracked Wall with Joint Compound
A joint compound is a versatile material that can be used for various repair projects around the home. For example, it can be used to fill cracks in walls, level uneven surfaces, and even patch holes. While the joint compound is fairly easy to apply, there are a few things to keep in mind to ensure a successful repair.
First, cleaning the wall’s surface before applying the joint compound is important. This will help the joint compound adhere better and produce a smoother finish. Once the surface is clean, use a putty knife to apply the joint compound to the crack. Be sure to smooth it out as much as possible.
Finally, allow the joint compound to dry completely before painting or to sand it. Then, with a little bit of patience and effort, you can use a joint compound to repair cracks in walls and create an invisible repair.
How Much Does It Cost to Fix a Cracked Wall
Any homeowner knows that the costs of maintaining a property can quickly add up. For example, one unexpected repair that can often cause a major financial strain is fixing a cracked wall. Depending on the extent of the damage, repairing a cracked wall can cost anywhere from a few hundred to several thousand dollars.
Sometimes, the damage may be cosmetic and can be fixed with a simple patch job. However, more serious cracks may require the replacement of an entire section of the wall. In addition, cracks can often be an indication of more serious structural problems, which can end up costing even more to fix.
As a result, it is always important to consult with a professional before attempting any repairs. Otherwise, you may spend more than necessary to fix the problem.

How Long Does It Take to Fix a Cracked Wall
Most minor cracks in walls can be easily repaired with a little bit of spackling compound and some elbow grease. However, more serious cracks may require a more substantial repair. Depending on the size and severity of the crack, it can take anywhere from a few hours to a few days to fix a cracked wall.
The first step is cleaning the area around the crack and removing loose debris. Next, apply the spackling compound to the crack, using a putty knife to smooth it out.
Once the compound is dry, sand it down until the surface is smooth. Finally, paint over the repair to match the rest of the wall. Even the most serious cracks can be repaired with little time and effort.
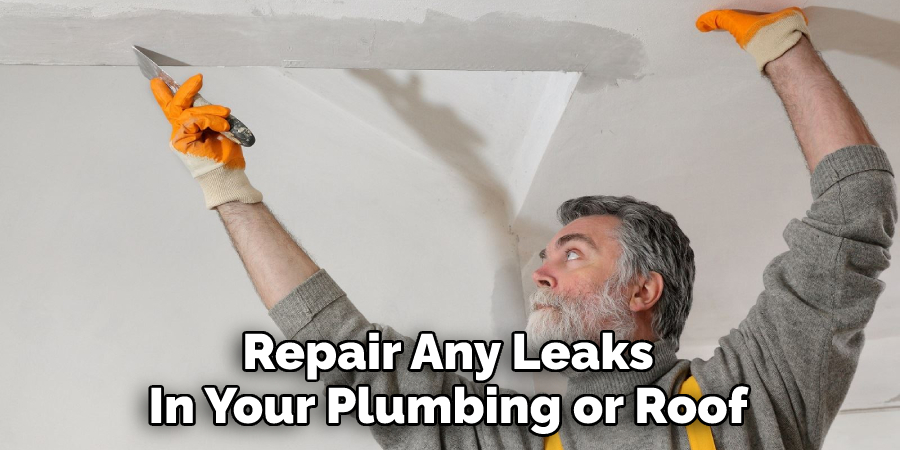
How to Stop Moisture Infiltration Through Cracks in Walls
Cracks in walls are often the result of structural settlement, expansion, and contraction due to temperature changes. However, they can also be caused by poor construction or inferior materials. Whatever the cause, cracks in walls can allow moisture to enter your home, leading to mold growth and other problems.
To prevent moisture infiltration, filling or sealing any cracks in your walls is important. Depending on the size and location of the crack, this can be done with caulk, epoxy, hydraulic cement, or another type of sealant. It is also important to repair any leaks in your plumbing or roof so that water does not have a chance to enter through the cracks.
By taking these simple steps, you can help to keep your home dry and free from moisture-related damage.
Conclusion
There are a few different ways that you can go about fixing cracked wall edges. For example, you can use caulk or spackle to fill in the cracks or tape to reinforce the edges.
Whichever method you choose, make sure that you follow the instructions carefully and take your time so that the repairs will last. Thanks for reading our post about how to fix cracked wall edges.