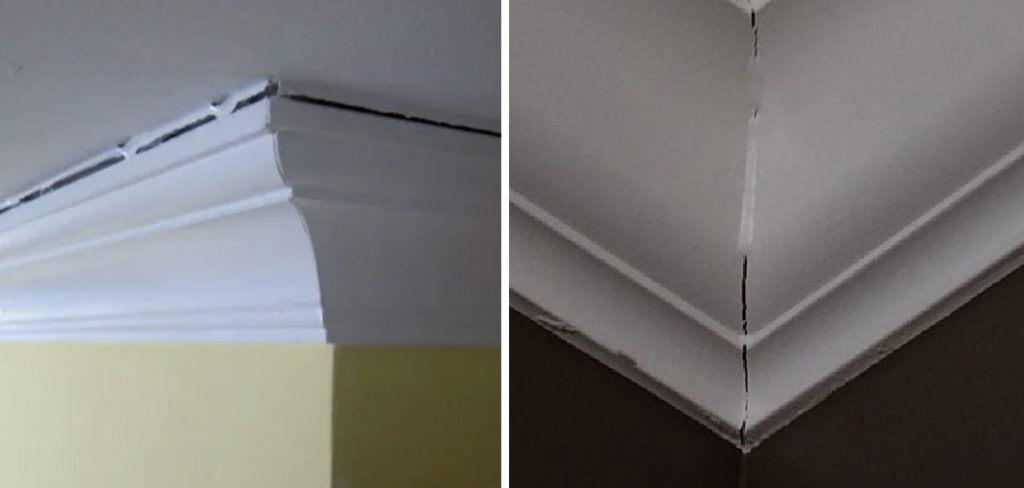
Crown molding is a popular and elegant addition to any home. It adds a touch of sophistication and charm to your walls and ceilings, making them look more visually appealing. However, due to its placement at the intersection of walls and ceilings, crown molding can often become cracked or damaged.
The main advantage of fixing cracked crown molding is the ability to save money. Crown molding can be expensive, particularly if it is cbustom-made or requires professional installation. By learning how to repair cracked crown molding, you can avoid the cost of purchasing new pieces and hiring someone to install them for you. In this blog post, You will learn in detail how to fix cracked crown molding.
Tools You Will Need
- Putty knife
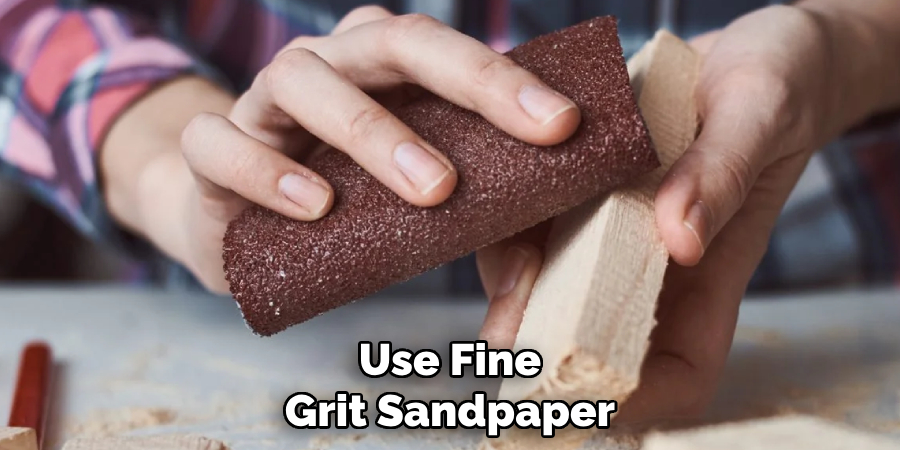
- Fine grit sandpaper
- Wood filler
- Clamps
- Hammer
- Chisel
- Crown molding adhesive
- Caulk gun
- Paint or stain matching the crown moldings color and finish
- Fine tooth saw
Step by Step Processes for How to Fix Cracked Crown Molding
Step 1: Inspect the Damage
Before you begin fixing your cracked crown molding, it’s important to accurately assess the extent of the damage. Look for any visible cracks or gaps in the molding and take note of their location and size. Next, gather all of the materials you will need for the repair. This may include wood filler, sandpaper, a putty knife, caulk, paint or stain (if desired), and a caulking gun.
Step 2: Prepare the Area
Clean off any dust or debris from around the damaged area using a damp cloth. If there is any loose paint or finish on the molding, sand it down with fine-grit sandpaper. This will ensure a smooth surface for the repair. Using wood filler, fill in the cracks in the molding. Use a putty knife to work the filler into the cracks and smooth out any excess. Let it dry completely according to the manufacturer’s instructions.
Step 3: Sand down the Filler
Once the filler is dry, use fine-grit sandpaper to smooth out any rough spots or excess filler. This will help create an even surface for painting or staining later on. If there are any gaps between the molding and adjacent surfaces, use caulk to fill them in. Be sure to use paintable caulk if you plan on painting the molding.
Step 4: Sand the Caulk
Use fine-grit sandpaper to smooth out any excess caulk and create a seamless transition between the molding and adjacent surfaces. If you plan on painting the repaired area, it’s important to prime it first. This will help create a strong bond between the paint and the repaired surface.
Step 5: Paint or Stain
Apply a coat of paint or stain to match the color of your existing crown molding. Let it dry completely before moving on to the next step. Depending on how well your chosen paint or stain covers, you may need to apply a second coat for optimal results. Allow it to dry completely before moving on.
Step 6: Seal and Protect
To ensure that your repaired crown molding stays in good condition, apply a clear coat of sealant over the painted or stained area. This will protect it from future damage and keep it looking new. Remember to properly maintain your crown molding in the future to prevent any further damage. Keep these steps in mind for any future repairs that may be needed.
Safety Tips for How to Fix Cracked Crown Molding
- When working with ladders, always make sure it is secure and balanced to avoid falls.
- Wear safety goggles and gloves to protect yourself from any debris or sharp edges.
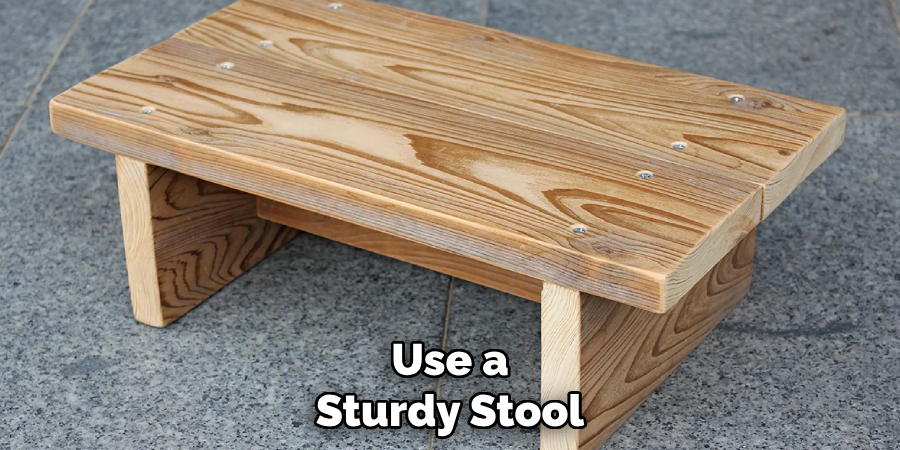
- Use a sturdy stool or ladder instead of standing on furniture.
- If using power tools, make sure they are unplugged when not in use and keep power cords away from water sources.
- Keep pets and children away from the work area.
- Always follow manufacturer’s instructions when using sealants or adhesives. Make sure to ventilate the room properly as well.
- Be cautious of any electrical wires that may be hidden behind the molding.
By following these simple safety tips, you can avoid any potential accidents and ensure a successful repair of your cracked crown molding. Now let’s take a look at some steps on fixing cracked crown molding.
Are There Any Special Techniques for Repairing Intricate or Decorative Crown Molding Designs?
If you have intricate or decorative crown molding designs, repairing a crack may seem like a daunting task. However, there are special techniques that can help make the process easier and more successful. One technique is to use wood glue and clamps. This method works best for small cracks in straight sections of crown molding.
First, clean the area around the crack with a damp cloth and allow it to dry completely. Next, apply a thin layer of wood glue to both sides of the crack and carefully align them together. Secure the two pieces with clamps and let it dry overnight before removing the clamps.
Another technique is to use epoxy putty. Epoxy putty is a strong adhesive that can fill larger gaps or missing sections in your crown molding. To use this method, first sand down the area around the crack to create a rough surface for the putty to adhere to. Then mix equal parts of the epoxy putty and apply it to the crack, smoothing it out with your fingers or a putty knife. Once dry, you can sand and paint over the repair for a seamless finish.
What Are Some Common Mistakes People Make When Trying to Fix a Cracked Crown Molding?
When it comes to repairing cracked crown molding, there are a few key points to keep in mind. One of the most important considerations is the design and intricacy of the molding itself. Depending on the style and complexity of your crown molding, there may be special techniques or tools needed for proper repair.

Intricate or decorative crown moldings can pose a challenge when it comes to fixing cracks or damage. These types of moldings often have delicate details and unique shapes that require careful attention during the repair process.
Another potential issue with intricate crown moldings is matching the existing design and finish after repairs have been made. If the molding has an intricate pattern or unique color, it may be difficult to recreate an exact match. This is where the expertise of a professional handyman or contractor can come in handy.
But even with simpler crown molding designs, there are common mistakes that people make when attempting to fix cracks. These include using incorrect materials, improper application techniques, and not properly addressing the underlying cause of the damage.
How Often Should You Inspect Your Crown Molding for Potential Cracks?
Regular maintenance and inspection of your crown molding is crucial for preventing and catching any potential cracks early on. Experts recommend inspecting your crown molding at least once a year, but it may be beneficial to do so more frequently, especially if you live in an older home or notice any signs of damage. Look for any visible cracks, warping, or discoloration as these can all be indicators of underlying issues with your crown molding.
Additionally, keep an eye out for any changes in the surrounding walls or ceiling, as this could also be a sign of potential damage to your molding. By regularly checking and addressing any issues promptly, you can avoid bigger problems down the line and potentially save yourself time and money on repairs.
Is There Any Specific Maintenance Required for a Repaired Cracked Crown Molding?
Once you have successfully repaired a cracked crown molding, it is important to follow some maintenance tips to ensure its longevity. Firstly, make sure that the repaired area is completely dry and free of any excess glue or filler. Sand down any rough edges and wipe the surface clean with a damp cloth.
Next, paint over the repaired area using a high-quality paint that matches the color of your crown molding. This will not only make the repair less noticeable but also protect it from further damage.

Regular cleaning and dusting are essential for maintaining all types of crown molding, including repaired ones. Use a soft cloth or brush to remove any dust or debris that may accumulate on the surface. If you notice any signs of cracking or damage in the future, make sure to address it immediately before it worsens.
It is much easier to fix a small crack than a large one. In addition, be mindful of any changes in temperature or humidity levels in your home, as these can cause the crown molding to expand or contract and potentially lead to cracks. Consider using a dehumidifier or humidifier, if necessary, to maintain stable conditions.
Conclusion
In conclusion, repairing cracked crown molding may seem like a daunting task, but with the right tools and techniques, it is possible to restore your crown molding back to its original condition. By following the steps outlined in this blog post, you can save yourself time and money by fixing the crack yourself instead of hiring a professional. Remember to first assess the extent of the damage and determine if a simple repair or replacement is needed.
Start by cleaning out any debris or dust from the crack using a vacuum cleaner or compressed air. Then, apply wood glue or adhesive filler into the crack, making sure to fill it completely. Use clamps or tape to hold the pieces together while the glue dries. I hope this article has been beneficial for learning how to fix cracked crown molding. Make Sure the precautionary measures are followed chronologically.