You just moved into your new home, and everything is perfect…except for the baseboards. They’re old, scuffed, and some of them are even chipped. But you don’t have time (or money) to replace them all right now. So, what’s a quick and easy way to fix those chipped baseboards? We’ve got you covered with this step-by-step guide. So keep reading to learn more about how to fix chipped baseboards.
Summary: If you’ve noticed your baseboards slowly chipping away due to wear and tear, it’s time to fix them! This blog post will teach you how to repair chipped baseboards quickly and easily. From gathering the necessary supplies to prepping the area and applying filler, putty, and new paint or stain – we’ll provide step-by-step instructions on fixing those chipped baseboards in no time!
What Are Chipped Baseboards?
Baseboards are an important part of any home’s interior design. They help create a finished look and protect walls from scuffs and damage. One type of baseboard that is becoming increasingly popular is the chipped baseboard. As the name suggests, these baseboards feature a unique “chipped” finish that creates a textured look.
Chipped baseboards are typically made from wood or plaster, and the “chips” are created by hand-carving or machine-cutting the material. This baseboard can add visual interest to any room and is also very durable and easy to clean. If you are considering adding chipped baseboards to your home, be sure to consult with a professional to ensure that they are installed properly.
Why Should You Fix Chipped Baseboards?
Homeowners love baseboards for their comprehensive design, which pulls a room together while protecting the wall from furniture and other potential damages. Baseboards are generally made of MDF or hardwood wood, which can be easily dinged and chipped over time—and not just by moving furniture around.
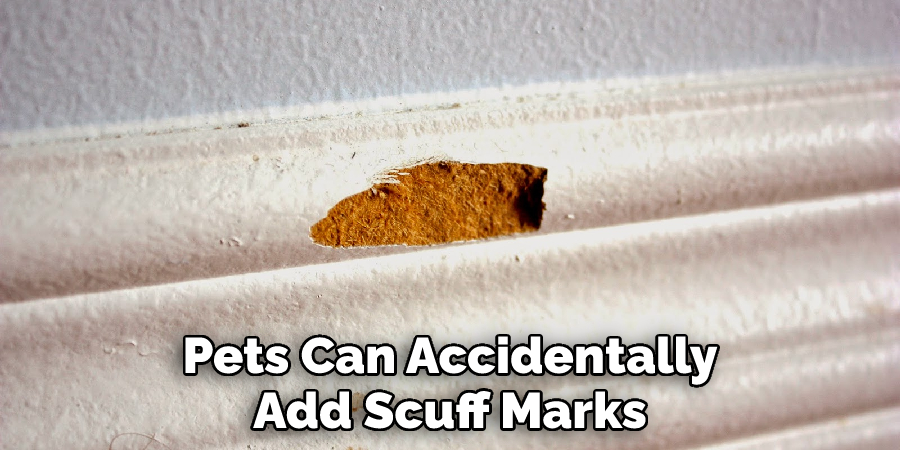
Kids love to use baseboards as toy race tracks for miniature cars, unaware of the flaking paint and wood they leave behind. Even your pets can accidentally add scuff marks while running around the house. All these little accidents add up, and before you know it, your beautiful baseboards are in dire need of repair.
But why should you take the time to fix them? For one, damaged baseboards make your entire home look unkempt and neglected. This first impression can discourage prospective buyers if you ever decide to sell your house. But, even if you’re not planning on selling anytime soon, fixing chipped baseboards is a great way to increase your home’s value.
Additionally, well-maintained baseboards can help improve your home’s insulation by acting as a barrier between the wall and the floor. You can save money on your energy bills throughout the year by keeping warm and cold air in. So whether you’re looking to boost your home’s value or improve its energy efficiency, taking the time to repair your damaged baseboards is a smart investment.
7 Steps to Follow on How to Fix Chipped Baseboards
Step 1: Gather Your Supplies
First, you’ll need to gather all the supplies you’ll need for this project. You’ll need putty knives, sandpaper, wood filler, a small paintbrush, and paint that matches your baseboards. If your baseboards are stained (rather than painted), you’ll also need a staining pen or rag.
Step 2: Prep the Area
Once you have everything you need, it’s time to prep the area. Start by using the putty knife to scrape away any loose paint or wood chips around the chip’s edges. Then, use sandpaper to rough up the surface of the wood so that the filler will stick better.
Step 3: Apply the Filler & Paint
Now it’s time to apply the wood filler to the chipped area using either your putty knife or a small paintbrush. Once the filler is dry, sand down any excess so that it’s flush with the rest of the baseboard; finally, apply a fresh coat of paint (or stain) to the entire baseboard so that it looks good as new!
Step 4: Let the Paint Dry
Once you’ve applied the paint (or stain), let it dry completely before moving on to the next step. This usually takes about an hour, but it may take longer, depending on the type of paint or stain you use.
Step 5: Apply the Putty
Now it’s time to apply the putty. Start by adding a small amount to the end of your putty knife. Then, use the knife to spread the putty over the entire chipped area. Make sure to smooth it out so that it’s level with the rest of the baseboard.
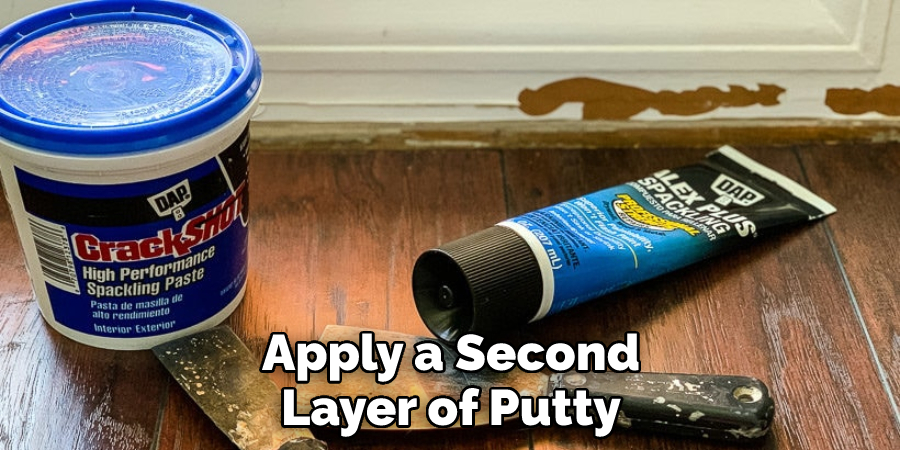
Step 6: Let the Putty Dry
Once you’ve applied the putty, let it dry for 24 hours so that it can set. You may need to apply a second layer of putty if the first layer doesn’t fully cover the chips. Let the second layer dry for another 24 hours before painting.
Step 7: Sand & Paint (or Stain)
After the putty has dried, sand down any excess so that it’s flush with the rest of the baseboard. Then, apply a fresh coat of paint (or stain) to the entire baseboard. Let the paint (or stain) dry completely before moving on to the next step.
That’s it! You’ve now learned how to fix chipped baseboards. Follow these steps, and your baseboards will look good as new in no time.
You Can Check It Out To Fix Brown Well Water
The 5 Most Common Causes of Chipped Baseboards and How to Fix Them
Baseboards are an essential component of any home, providing both a finished look and valuable protection for walls. However, baseboards are also vulnerable to damage, and chips are among the most common problems. There are several reasons why chips may occur, but some of the most common include gaps in the wood, loose nails, and impact damage. Fortunately, a few simple steps can be taken to repair chips and prevent future damage.
One of the most effective ways to repair chips is to use wood filler. Wood filler can be purchased at any hardware store and is relatively easy to apply. Simply fill the chip with the filler and allow it to dry completely. Once dry, the filler can be sanded down to create a smooth surface. In some cases, it may also be necessary to repaint the baseboard to match the surrounding area.
Gaps in the wood are another common cause of chips. These gaps can be caused by expansion and contraction due to changes in temperature or humidity levels. To address this issue, simply apply a bead of caulk around the perimeter of the baseboard. This will help to seal the gaps and prevent further damage.
Loose nails can also cause chips, allowing the board to move slightly when impact occurs. To prevent this problem, simply check the nails periodically and drive them back into place as needed. In addition, it may be helpful to use larger nails or screws when attaching the baseboard to the wall.
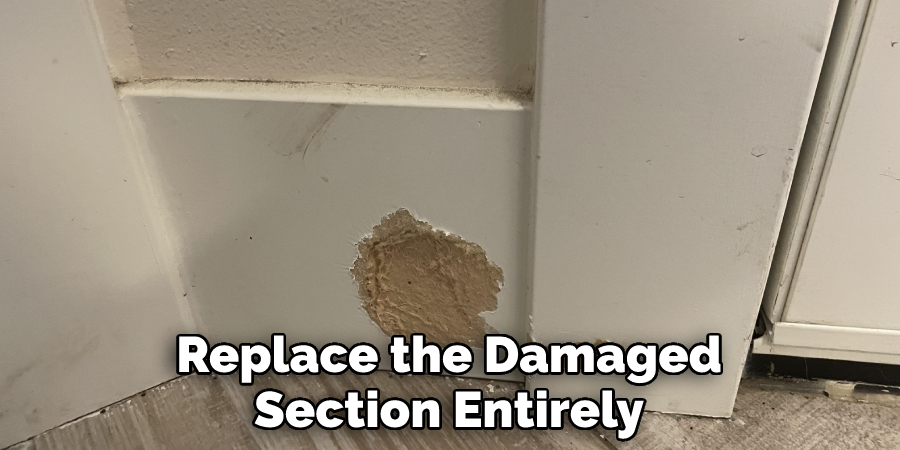
Finally, impact damage is perhaps the most common type of chip. This can occur when furniture accidentally bumps into the wall or something falls and hits the baseboard directly. In most cases, these types of chips can be repaired using wood filler or caulk, as described above. However, in some cases, it may be necessary to replace the damaged section entirely. Damaged boards can usually be found at local home improvement stores.
With a little bit of care and attention, chipped baseboards can easily be repaired. By taking these simple steps, you can prevent further damage and keep your home looking its best. Keep reading for more information about how to fix chipped baseboards.
How to Prevent Baseboard Chips
Ever come home to find your vacuum knocked over and a small pile of dirt and dust bunnies in its wake? As you tidy up the mess, you notice a large chip removed from your otherwise perfect baseboard. Here are four ways to prevent this from happening again in the future.
One way to prevent chips in your baseboard is to train your pet to stay away from them. If your furry friend is the culprit, try using a pet gate or Keeping them in a designated area when you can’t supervise them. You can also put double-sided tape or plastic sheeting on the bottom of the baseboard to create a barrier.
Another way to keep your baseboards chip-free is to move furniture away from the wall slightly. This will create a buffer zone between heavy pieces and your walls, giving you some extra protection. You can also add felt pads or floor mats under furniture legs to reduce the risk of damage further.
Sometimes, chips happen despite all our best efforts. In these cases, it’s important to know how to fix them properly. Start by cleaning the area around the chip with a damp cloth. Then, use epoxy glue or wood filler to fill in the chip, taking care not to overfill it. Once the glue or filler has dried, sand it down until it’s level with the rest of the baseboard. Finally, repaint or reattach any trim that may have come loose during the repair process.
Following these simple tips can help keep your baseboards looking like new for years to come.
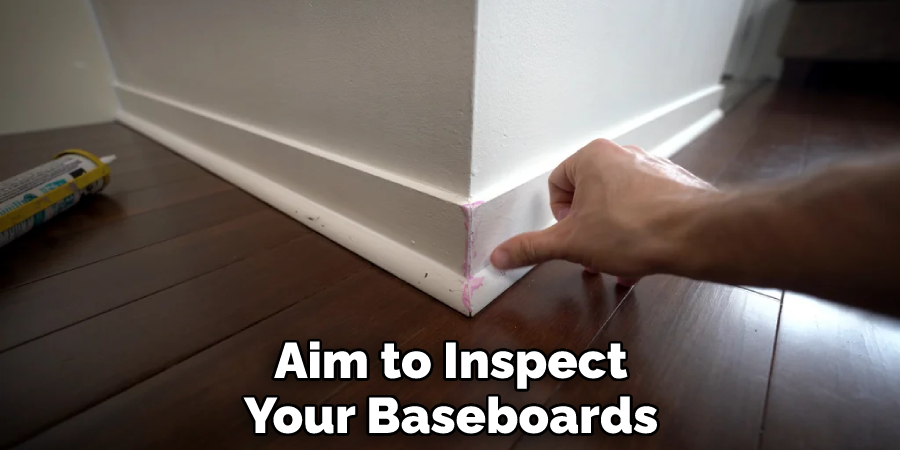
How Often Should You Inspect Your Baseboards for Damage?
Baseboards are an important part of any home, serving both a functional and aesthetic purpose. They protect your walls from scuffs and scratches while also providing a finished look. However, because they are constantly exposed to wear and tear, baseboards can quickly become damaged. To keep them looking their best, it’s important to inspect them regularly for signs of wear.
Depending on your home’s traffic, you should aim to inspect your baseboards at least once a month. You may need to inspect them more frequently if you have small children or pets. To properly inspect your baseboards, start by closely examining the paint. Look for any chips or cracks, and touch up any areas that need it.
Then, check the wood for any signs of damage, such as Splintering or cracking. If you notice any damage, make sure to repair it as soon as possible to prevent further deterioration. By regularly inspecting your baseboards, you can keep them looking like new for years to come.
Frequently Asked Questions
Can You Touch up Baseboards?
Yes, you can touch up baseboards. Baseboard touch-up is a quick and cost-effective way to restore the look and feel of your walls without having to tear down entire sections or ceilings.
The best part? You don’t need any special tools or experience – just a dust cloth and some patience! Simply remove any dirt, grime, or scratches with a dust cloth, then use paint or stains as needed. For particularly stubborn areas, we recommend using a wood filler like E6000 before applying the final finish touches.
Can I Paint over Chipping Paint?
Unfortunately, you may need to replace your entire door if you decide to paint over chipping paint. While it is possible to cover small areas with a spray can or brush, large areas will probably require replacement. Additionally, the new paint won’t be as durable and may start peeling after a few years. In most cases, this would mean replacing the whole door rather than just painting over the chipped area.
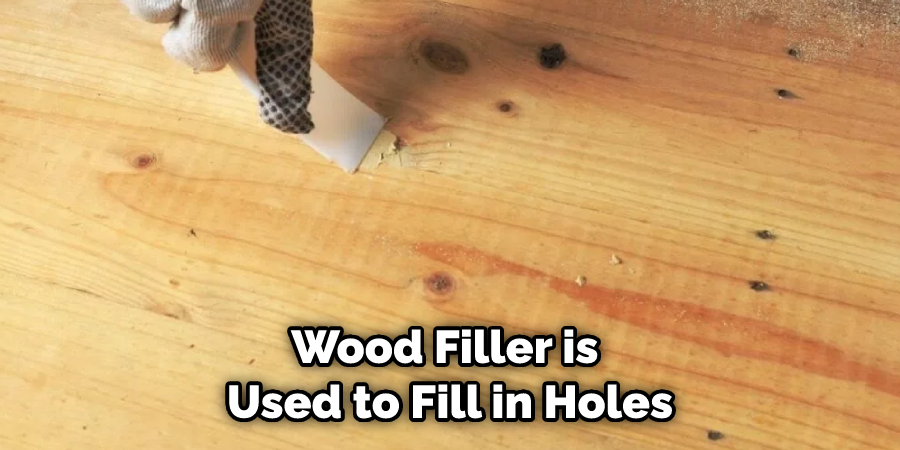
What’s the Difference between Wood Filler and Wood Putty?
Wood filler is a product that is used to fill in holes or cracks in the wood. It is a combination of putty and adhesive, and it is often used to repair drywall, doors, and other wooden surfaces. Wood putty is also sometimes used to fill in holes or cracks in wood, but it is generally less viscous than wood filler and is less likely to cause damage to the surrounding wood.
Do You Use Wood Filler before or after Sanding?
Before sanding, you might use wood filler to fill in any small holes or cracks that exist in the wood. This will help to ensure that the surface is smooth and has a uniform finish. After sanding, it’s often necessary to clean the pores of the finish so that it can resist moisture and decay. To do this, you may apply a sealant like Minwax Wood Finish Zinsser Primer & Sealant or 203 Waterproof Polish.
Conclusion
And there you have it! In just three easy steps, you can have your baseboards looking good as new—no replacement necessary. So next time one of your baseboards takes a beating, don’t stress. Instead, just grab some wood filler and putty knife and follow this guide. Thanks for reading our post about how to fix chipped baseboards.