When dealing with a vehicle’s bumper, broken tabs can be a common issue caused by minor collisions, wear and tear, or improper handling during maintenance.
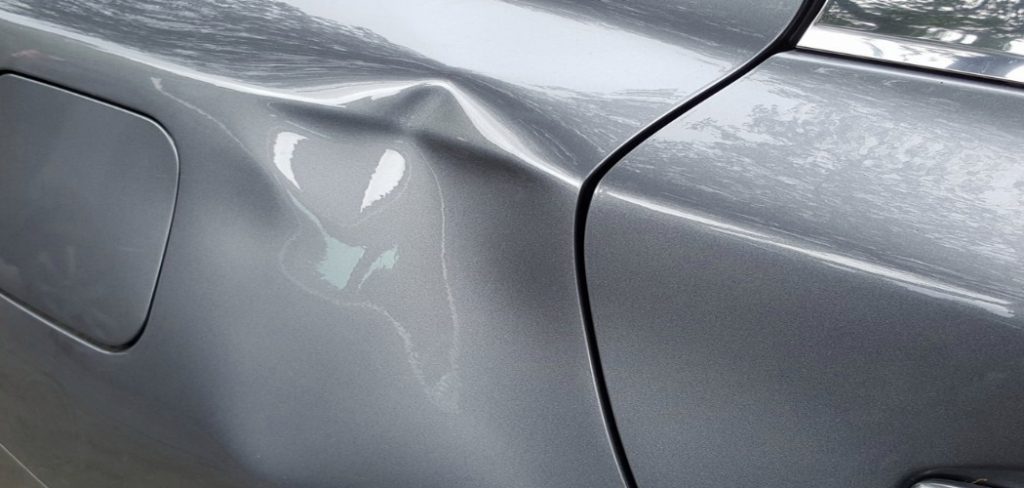
These tabs are essential for securely attaching the bumper to the car’s frame, and when they break, it can result in a loose or misaligned bumper. Fortunately, fixing broken bumper tabs can often be a straightforward process that saves you the cost of a full bumper replacement.
This guide on how to fix broken bumper tabs will walk you through the steps to repair broken bumper tabs efficiently and effectively.
Why Do Bumper Tabs Break?
Before we dive into the steps to fix broken bumper tabs, it’s essential to understand why they break in the first place.
One common reason is due to minor collisions or impacts. Even a low-speed accident can put enough pressure on the bumper to cause the tabs to snap. Another reason could be wear and tear over time, especially if your vehicle frequently navigates rough roads or is exposed to extreme weather conditions. Lastly, improper handling during maintenance, such as using excessive force when removing the bumper, can also result in broken tabs.
Materials Needed
To successfully repair broken bumper tabs, you’ll need a few materials on hand:
Epoxy Glue or Adhesive:
This will be used to securely bond the broken tabs back to the bumper. Make sure to choose a strong adhesive designed for automotive use.
Sandpaper or File:
Before applying the adhesive, you may need to sand or file down any rough edges on the broken tabs for a smoother and more secure bonding surface.
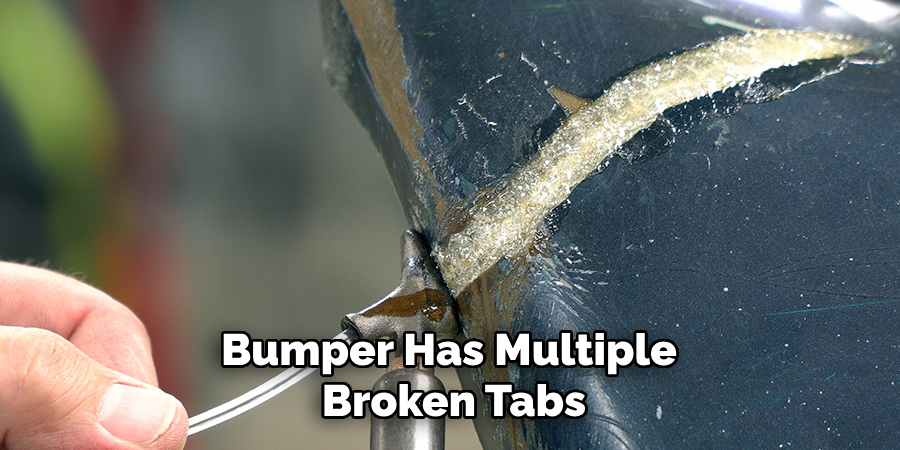
Clamps (Optional):
If your bumper has multiple broken tabs, using clamps can help hold them in place while the adhesive dries.
9 Steps on How to Fix Broken Bumper Tabs
Step 1: Prepare Your Workspace
Start by ensuring you have a clean, well-lit, and organized workspace to carry out the repair. Park your vehicle on a level surface and engage the parking brake for safety. Clean the area around the bumper to remove any dirt, grime, or debris that could interfere with the repair process.
Having all your materials—adhesive, sandpaper, and clamps—within reach will make the task more efficient. If possible, use protective gloves to keep your hands clean and avoid skin contact with the adhesive. This preparation will set the foundation for a successful repair.
Step 2: Assess the Damage
Examine the broken tabs to determine the extent of the damage. If there are any remaining pieces, carefully remove them using pliers or a flathead screwdriver. Next, inspect the bumper itself for any cracks or breaks that may need to be addressed before repairing the tabs.
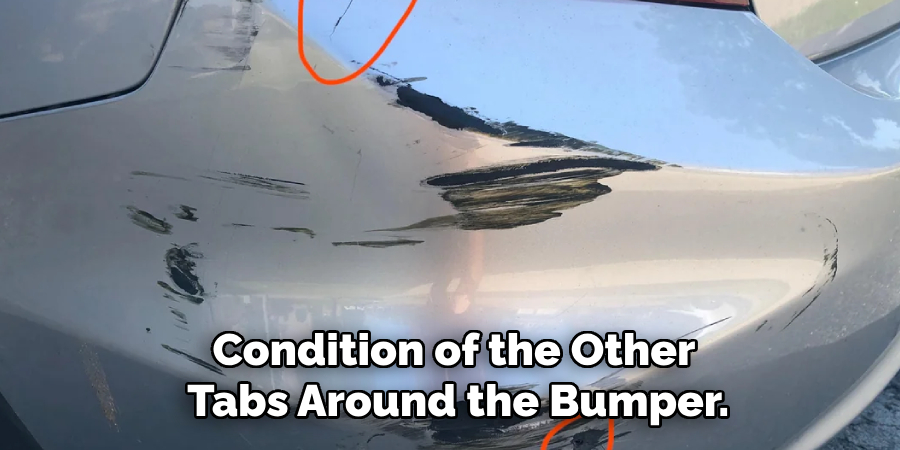
It’s also a good idea to check the condition of the other tabs around the bumper. If they are loose or show signs of wear and tear, consider reinforcing them as a preventive measure.
Step 3: Sand or File Down Rough Edges
Before applying any adhesive, it’s crucial to prepare the broken tabs by smoothing out rough edges. Use sandpaper or a file to gently sand down the surfaces of the broken tabs and the corresponding attachment points on the bumper.
This step ensures a clean, even surface, allowing the adhesive to bond more effectively. Be careful not to over-sand, as this could weaken the tabs further. Once sanded, wipe away any dust or debris with a clean cloth to leave the area ready for adhesion.
Step 4: Apply Adhesive
Now, it’s time to apply the adhesive. Following the manufacturer’s instructions, apply a generous amount of adhesive to both the tab and the bumper surface. Make sure to cover the entire bonding area for maximum strength.
Some adhesives may require mixing two compounds before application, so be sure to follow all directions carefully.
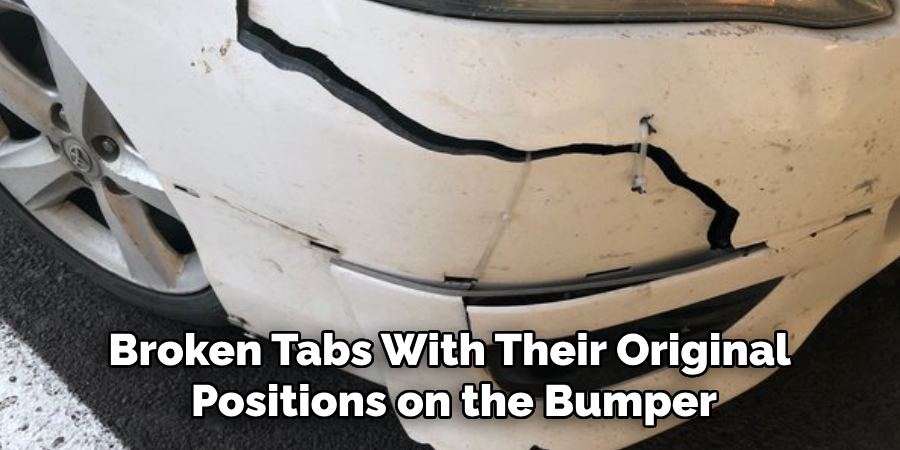
Step 5: Press Broken Tabs Back in Place
Carefully align the broken tabs with their original positions on the bumper. Once aligned, press the tabs firmly into place, ensuring full contact between the adhesive and both surfaces. Apply steady pressure to secure the bond and avoid any gaps. If available, use clamps to hold the tabs in place while the adhesive sets.
This will help maintain alignment and strengthen the bond. Follow the drying time recommended by the adhesive manufacturer before moving on to the next step. Patience is key to achieving a durable repair.
Step 6: Remove Excess Adhesive
Once the adhesive has partially set but is not fully hardened, carefully remove any excess adhesive that may have squeezed out around the repaired tabs. Use a plastic scraper, a small knife, or even a damp cloth, depending on the type of adhesive used, to clean up the area. Be cautious not to disturb the alignment of the tabs or weaken the bond during this process.
Removing the excess adhesive ensures a cleaner, more professional finish and prevents unnecessary build-up that could interfere with the bumper’s reinstallation. Allow the adhesive to fully cure as per the manufacturer’s instructions before moving forward.
Step 7: Reinforce with a Mesh Patch
If your bumper has multiple broken tabs or you want to reinforce the repair for added strength, consider using a mesh patch. Cut the patch to size and place it over the repaired area while the adhesive is still set. Press gently into place, making sure not to disturb the bond. The mesh will act as an additional layer of support for the adhesive and add durability to the repair.
It’s essential to make sure the mesh patch is fully covered by the adhesive and does not protrude from the bumper’s surface. If needed, use a file or sandpaper to smooth out any rough edges of the mesh before it dries.
Step 8: Let Adhesive Fully Cure
Once all repairs are complete, allow the adhesive to fully cure as per the manufacturer’s instructions. This could take anywhere from a few hours to a full day, depending on the type and brand of adhesive used.
Do not rush this step as it may compromise the bond and result in an unsuccessful repair. Be patient and let time do its job for a long-lasting fix.
Step 9: Reinstall the Bumper
Once the adhesive is fully cured, your bumper should be ready for reinstallation. Carefully line up the attachment points and secure the bumper back onto your vehicle. If any tabs are still loose, consider reinforcing them with additional adhesive or a mesh patch for added support.
Congratulations, you have successfully repaired your broken bumper tabs! Remember to take precautions when handling your newly repaired bumper, such as avoiding excessive force or pressure on the repaired area.
Following these steps on how to fix broken bumper tabs should result in a strong and durable repair that will save you time and money compared to replacing the entire bumper. With proper care, your newly repaired tabs should last for years to come. Keep these steps in mind next time you encounter broken bumper tabs, and you’ll be able to fix them like a pro!
Do You Need to Use Professionals?
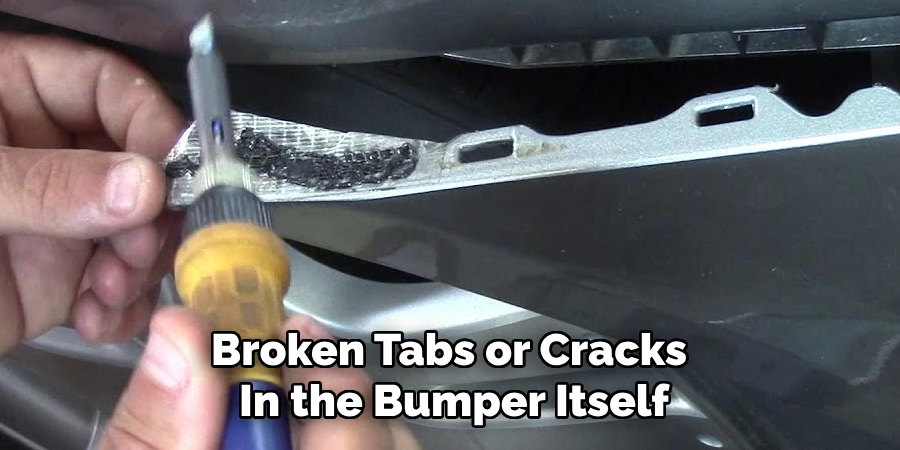
While repairing broken bumper tabs can be a DIY-friendly project, there are situations where seeking professional help might be the better option. If the damage is extensive, such as multiple broken tabs or cracks in the bumper itself, a professional repair shop can provide the expertise needed to ensure a long-lasting fix. Additionally, professionals have access to specialized tools and high-quality adhesives that may not be readily available to most individuals, which can result in a more durable and aesthetically pleasing repair.
Another factor to consider is your own level of comfort and experience with automotive repairs. If you’re unsure about your ability to perform the repair correctly or lack the necessary tools, a professional can save you time and frustration. While the cost of professional assistance might be higher than a DIY repair, it can often be worth the investment to avoid potential mistakes that could lead to further damage or additional costs down the line.
Ultimately, the choice to use a professional will depend on the severity of the damage and your own confidence in tackling the repair. For minor issues, following the outlined steps in this guide should suffice, but for more complex problems, consulting an expert could be the best path forward.
Frequently Asked Questions
Q1: Can I Use Super Glue or Other Household Adhesives to Fix My Broken Bumper Tabs?
A: While it may seem like a quick and easy solution, we strongly advise against using super glue or other household adhesives for this type of repair. These types of adhesives are not designed for automotive use and may not provide a strong enough bond to withstand the stress and pressure on a bumper. It’s best to use high-quality automotive-grade adhesive specifically designed for plastic repairs.
Q2: How Long Will My Repaired Bumper Tabs Last?
A: With proper care and maintenance, your repaired bumper tabs should last for many years. However, extreme weather conditions or excessive force can impact the longevity of the repair. If you notice any signs of damage or weakening, it’s best to address them promptly before they worsen.
Conclusion
Repairing broken bumper tabs can be a cost-effective and rewarding project for those with the time and tools to handle it. By following the step-by-step guide on how to fix broken bumper tabs provided, you can restore your bumper’s strength and functionality without the expense of a full replacement. However, it’s important to assess the extent of the damage and your own skill level before deciding whether to proceed with a DIY repair or seek professional assistance.
With proper preparation, patience, and attention to detail, a successful repair can extend the life of your vehicle’s bumper and maintain its appearance for years to come. Always prioritize safety and quality in your repairs to achieve the best possible results.