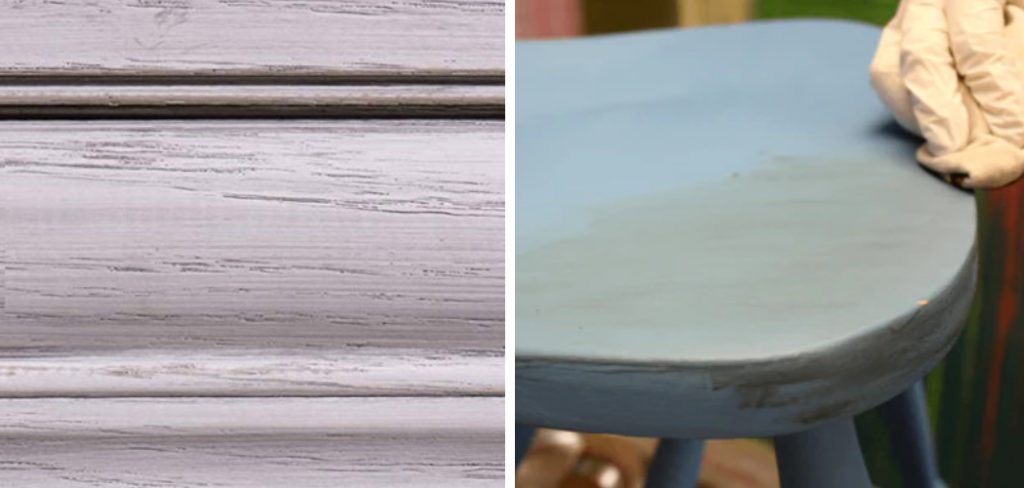
Do you have a piece of furniture that you’ve redone with chalk paint, but the wax looks blotchy? Don’t worry; you’re not alone! This blog post will teach you how to fix blotchy wax on chalk paint. Chalk paint is known for its matte finish and beautiful antique look, but sometimes the wax can become blotchy, which can be a real eyesore. Luckily, there is an easy way to fix it! Just follow these steps, and you’ll have a beautiful, consistent finish in no time.
Summary:
Chalk paint is a great way to create a unique and stylish look on your furniture. Unfortunately, sometimes the wax used to seal it can be somewhat blotchy. Fortunately, there are some easy steps you can take to fix this issue. First, you’ll need to clean the surface of any dust or dirt.
Once clean, lightly sand the area using fine-grit sandpaper and then wipe with a damp cloth. Next, apply a thin layer of clear wax and let it dry completely before buffing it with a soft cloth. Finally, if needed, apply a second coat of wax for extra coverage.
What Causes Blotchy Wax on Chalk Paint?
There are several reasons why the wax might become blotchy on your chalk paint project. The most common cause is using too much wax. When you use too much wax, it can cause the paint to become streaky and can also make the wax look cloudy. Another common cause of blotchy wax is using a lower quality wax. Lower-quality waxes often contain impurities that can cause the wax to look blotchy when applied to chalk paint.
Additionally, using wax that is too soft can also cause blotchy results. If the wax is too soft, it will not provide enough protection to the paint and can cause it to become streaky. The other main reason for blotchy wax is not allowing the paint to dry completely before applying the wax.
Chalk paint can take up to 24 hours to dry fully, so it’s important to be patient and allow it to dry completely before moving on to the waxing step. Lastly, using a cheap brush to apply the wax can also cause streaky, blotchy results. It’s important to use a quality brush that is designed for use with chalk paint.
Why It’s Important to Fix Blotchy Wax
There are a few reasons why fixing blotchy wax on your chalk paint project is important. First, it’s important to achieve a consistent, professional-looking finish. Blotchy wax can ruin the look of an otherwise beautiful piece of furniture. Additionally, blotchy wax can make your furniture more susceptible to damage.
If the wax is not evenly applied, it will not provide adequate protection to the paint and can cause it to become more damaged easily. Another reason to fix blotchy wax is that it can be difficult to repair once it has been applied. It’s much easier to achieve a consistent, beautiful finish if you fix the problem before applying the wax. It’s also important to note that it cannot be removed once the wax has been applied.
Therefore, it’s imperative to get it right the first time. Finally, fixing blotchy wax can save you time and money in the long run. If you don’t fix the problem now, It will only worsen over time and will eventually require you to strip the wax and start over from scratch.
Some Effective Ways How to Fix Blotchy Wax on Chalk Paint
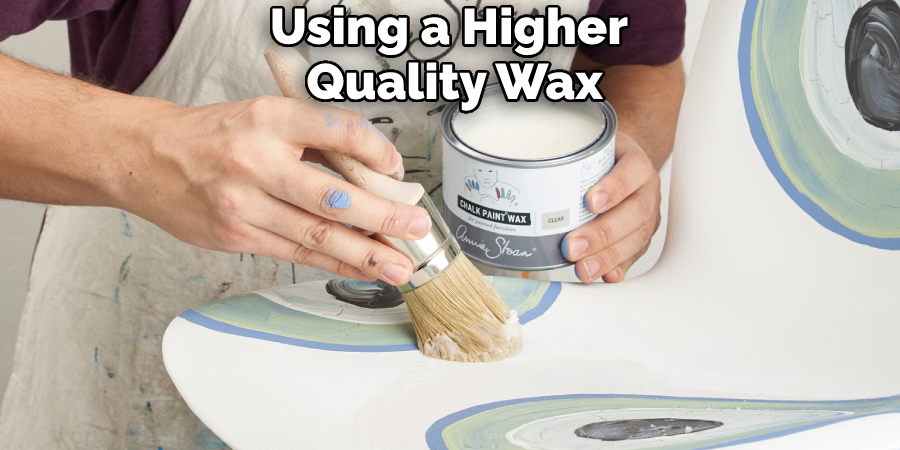
1. Use a Higher Quality Wax
If you’re using a lower-quality wax, impurities are likely causing the blotchy results. Try using a higher-quality wax to see if that solves the problem. The best quality waxes are usually made from beeswax or carnauba wax. It’s also important to make sure the wax is designed for use with chalk paint. If you’re unsure which wax to use, ask a professional at your local hardware store for guidance.
2. Use Less Wax
If you’re using too much wax, that could be the reason for the blotchy results. Try using less wax and see if that makes a difference. When in doubt, it’s always better to use less wax than more. You can always add more if necessary, but it’s very difficult to remove excess wax once it has been applied. The ratio of wax to paint should be approximately 1:1.
3. Sanding the Entire Piece
If the wax is only blotchy in certain areas, It might be helpful to sand the entire piece. This will help to create a more consistent finish. First, sand the piece with fine-grit sandpaper to remove any wax that is already on the surface. Then, apply a thin layer of wax and sand it again with fine-grit sandpaper. Repeat this process until the wax is evenly applied and there are no longer any blotches. If necessary, you can also apply a second coat of paint before waxing.
4. Applying heat
If the wax is still blotchy after sanding, try applying heat to the surface. You can do this with a hair dryer or a heat gun. This will help to melt the wax and make it easier to spread evenly. First, apply a thin layer of wax to the surface. Then, hold the heat gun about 6 inches away from the surface and move it back and forth over the wax. Be careful not to hold the heat gun too close to the surface, as this can damage the paint.
Once the wax is melted, spread it evenly over the surface with a clean rag. Allow the wax to cool and harden before buffing it to shine. Avoid using a hair dryer, as this can blow the wax around and worsen the blotches.
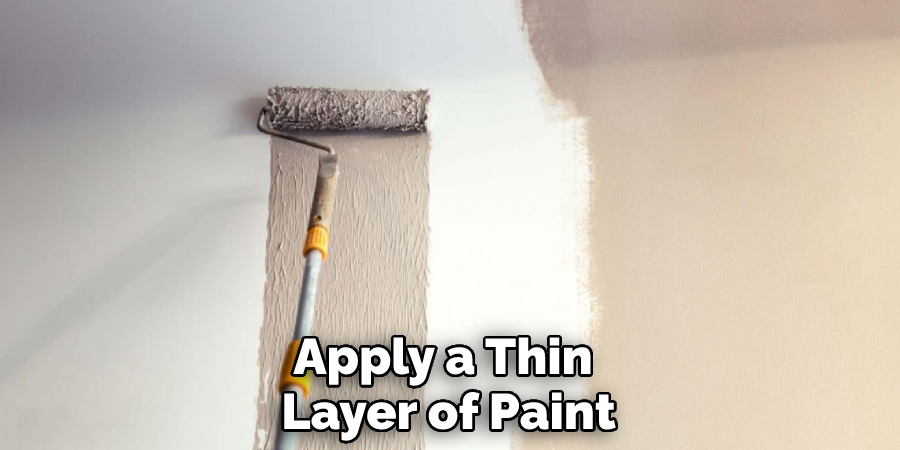
5. Applying the Second Coat of Paint
If the first coat of paint is still blotchy after sanding and applying heat, try applying a second coat. This will help to even out the paint and provide better coverage. First, make sure that the first coat is completely dry before starting. Then, apply a thin layer of paint and brush in only one direction. Allow this coat to dry completely before moving on to the next step. Be sure to sand between coats if necessary.
6. Buffing the Wax
Once the wax is evenly applied, buff it to a shine. This will help to create a smooth, consistent finish. Use a lint-free cloth for the best results. First, wipe off any excess wax. Then, using a circular motion, buff the wax until it shines. If you’re unhappy with the results, you can always apply more wax and buff it again. Avoid using a power buffer, as this can create too much friction and heat up the wax, making it difficult to work with.
7. Using a Quality Brush
Another reason for blotchy wax might be the type of brush you’re using. If you’re using a lower-quality brush, the bristles might be leaving streaks or brush marks in the wax. Instead, use a soft, high-quality brush to apply the wax evenly. If possible, use a natural bristle brush, as synthetic bristles can sometimes leave streaks. Avoid using a sponge or other type of applicator, as this can also cause streaks.
8. Wiping Off Excess Wax
As you’re applying the wax, be sure to wipe off any excess. This will help to create a more even finish. Use a clean, lint-free cloth to wipe away any excess wax. First, go over the area with a dry cloth to remove any excess wax. Then, use a damp cloth to remove any remaining wax. You can also use a hairdryer on a low setting to remove any excess wax quickly.
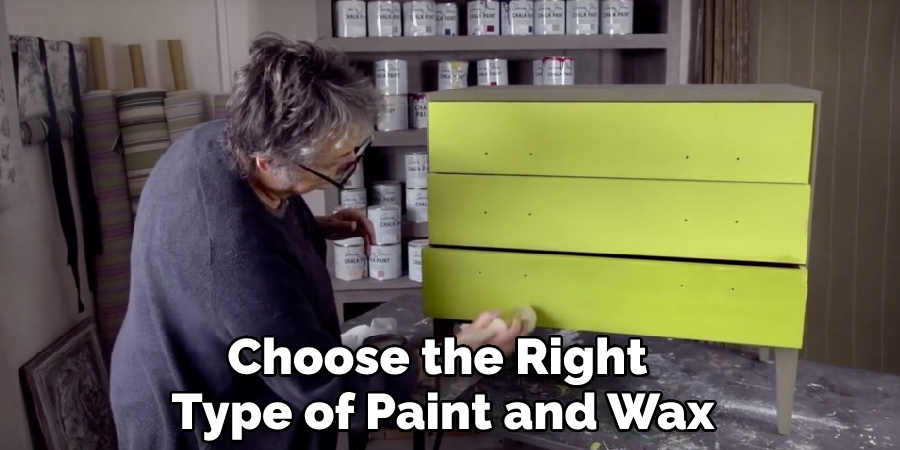
9. Hire a Professional
If you’re still having trouble getting rid of blotchy wax, you might want to hire a professional. A professional painter will have the tools and experience necessary to create a flawless finish. They can also help you choose the right type of paint and wax for your project. While hiring a professional might be more expensive, getting the job done right is worth it.
Tips and Warnings on How to Fix Blotchy Wax on Chalk Paint
Tips:
- Paint in light, even coats using a quality brush designed for chalk paint.
- When applying the wax, work in small sections and use a clean, lint-free cloth.
- Apply the wax in the grain direction and buff immediately after.
Warnings:
- Do not overwork the wax, or you will end up with a sticky, tacky surface.
- Do not apply too much wax, or you will end up with a cloudy, hazy finish.
- If the wax starts to dry before you have a chance to buff it, re-wax that area and buff it again.
How Much Chalk Paint Should You Use?
Chalk paint can be a great way to update your furniture or give your walls a new look. But how much chalk paint should you use? The amount of chalk paint you need will depend on the project you’re working on. For example, if you’re painting a small table, you might only need one quart.
But if you’re painting a large piece of furniture or an entire room, you might need two or more quarts. It’s always best to err on the side of caution and buy more paint than you think you’ll need. You won’t have to stop in the middle of your project to run to the store for more paint.

Conclusion
So there you have it! These are just a few tips on how to fix blotchy wax on chalk paint. By following these tips, you can achieve a smooth, consistent finish. With a little practice, you’ll be a pro in no time!