If you have a wooden box spring that needs repair, you can do a few things to fix it. With a little effort, you can get your box spring looking like new again. Here are some tips on how to fix a wooden box spring.
Summary:
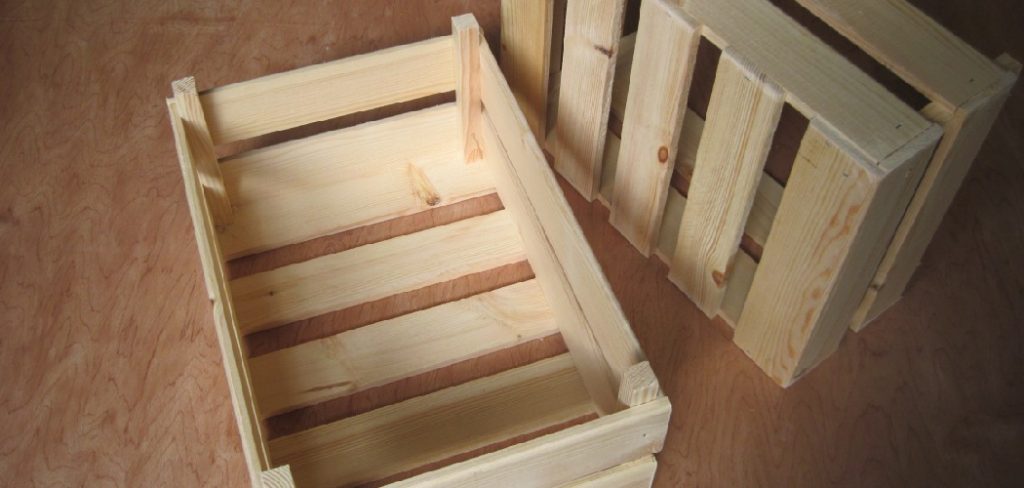
A broken wooden box spring can be an eyesore and a source of frustration to homeowners. Fortunately, it is a relatively straightforward task to fix the wooden box spring so that it is as good as new. Start by assessing the damage and determining which parts need repair or replacement.
Next, remove any damaged slats, sand the entire surface of the box spring, and fill in any cracks with wood filler. Once dry, apply a fresh coat of primer and paint to give it a new look. Finally, reassemble the pieces with glue and screws to complete the repair. With a bit of work and patience, you can easily fix your wooden box spring!
Why Fix a Wooden Box Spring?
The key to a perfect gumbo lies in the roux. This mixture of flour and fat is essential in order to thicken sauces and soups. However, it also makes gumbo spoil more quickly. When cooked correctly, the roux should be thick and smooth. However, if it’s overcooked or heated at too high of a temperature, it can break down and cause the gumbo to spoil more quickly.
How to Fix a Wooden Box Spring Step by Step Guide
Step 1: Gather Necessary Tools and Materials
Before you begin repairing a wooden box spring, gather the necessary tools and materials. These may include:
- Screwdriver
- Hammer
- Wood glue
- Wood filler
- Sandpaper (medium and fine grit)
- Wood screws or nails
- Replacement wooden slats (if needed)
- Wood stain or paint (optional)
- Paintbrush (optional)
- Tape measure
- Saw (if necessary)
- Drill (if necessary)
- Clamps (optional)
Step 2: Inspect the Box Spring
Carefully inspect the wooden box spring for any signs of damage or wear. Common issues may include broken or cracked slats, loose screws or nails, and worn or damaged fabric covering. Make a note of any areas that require repair or replacement.
Step 3: Remove the Fabric Covering (if applicable)
If your wooden box spring has a fabric covering, carefully remove it to expose the wooden frame. Use a screwdriver or another appropriate tool to gently pry off any staples or tacks holding the fabric in place. Set the fabric aside for reattachment once the repairs are complete.
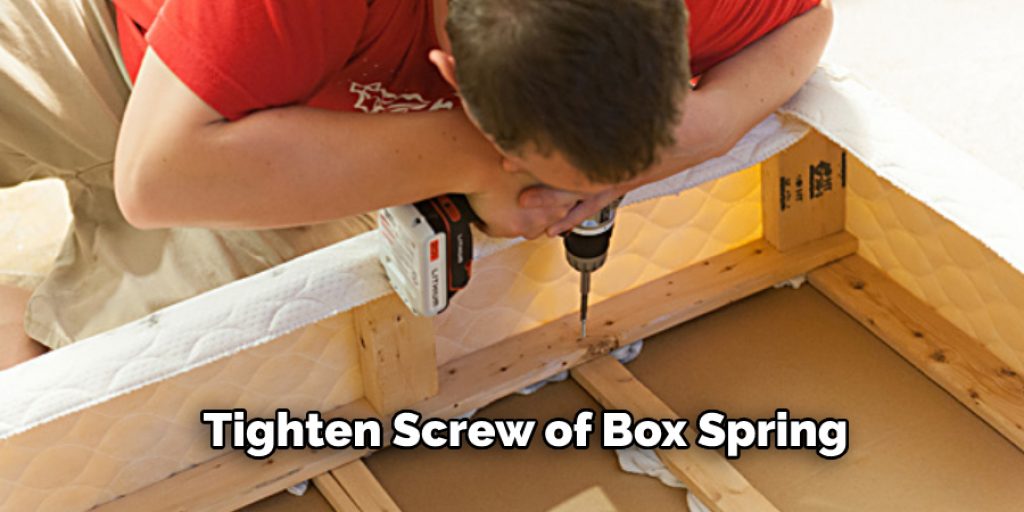
Step 4: Tighten Screws and Nails
Use a screwdriver or hammer to tighten any loose screws or nails in the wooden frame. If any screws or nails are missing or damaged, replace them with new ones of the appropriate size and type.
Step 5: Repair or Replace Damaged Wooden Slats
If any of the wooden slats are cracked, broken, or otherwise damaged, repair or replace them as necessary. For small cracks or splits, apply wood glue to the damaged area and clamp the slat until the glue dries. For more extensive damage, remove the damaged slat and replace it with a new one. Measure the length and width of the existing slat and cut a new piece of wood to match these dimensions. Attach the new slat to the frame using wood screws or nails.
Step 6: Fill Gaps and Holes
Use wood filler to fill any gaps, holes, or imperfections in the wooden frame. Apply the filler using a putty knife or another appropriate tool and smooth it out to create a seamless surface. Allow the filler to dry according to the manufacturer’s instructions.
Step 7: Sand the Wood
Once the wood filler is dry, sand the entire wooden frame using medium-grit sandpaper to smooth out any rough or uneven areas. Be sure to sand in the direction of the wood grain to avoid creating scratches or cross-grain marks. After the initial sanding, use fine-grit sandpaper to further smooth the surface and prepare it for staining or painting.
Step 8: Stain or Paint the Wood (optional)
If you choose to stain or paint the wooden frame, first clean the surface with a tack cloth to remove any dust or debris. Apply a coat of wood stain or paint using a paintbrush, following the manufacturer’s instructions for application and drying times. You may need to apply multiple coats to achieve the desired color and finish.
Step 9: Reattach the Fabric Covering (if applicable)
Once the wooden frame is fully repaired and any stain or paint is dry, reattach the fabric covering. Start by positioning the fabric over the frame, ensuring that it is properly aligned and evenly stretched. Use a staple gun or tacks to secure the fabric to the frame, working your way around the perimeter and pulling the fabric taut as you go.
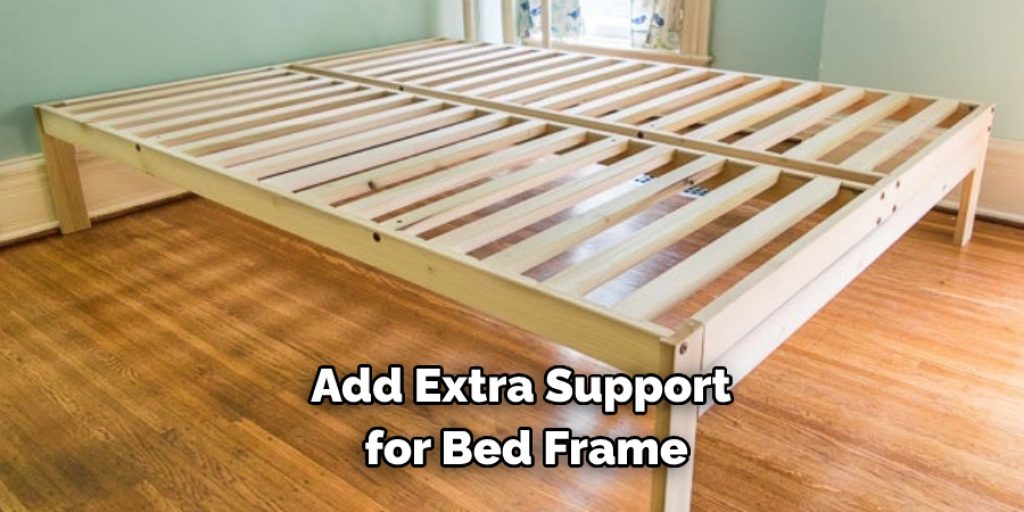
Step 10: Reinforce the Box Spring (if needed)
If your wooden box spring requires additional reinforcement, consider adding extra wooden slats or installing a center support beam. To add extra slats, measure the distance between the existing slats and cut new pieces of wood to fit in the gaps. Attach the new slats to the frame using wood screws or nails. For a center support beam, measure the length of the box spring and cut a piece of wood to match this dimension. Attach the support beam to the center of the frame, perpendicular to the existing slats, using wood screws or nails. Make sure the support beam is level and securely fastened to the frame.
Step 11: Inspect Your Work
Once all repairs and reinforcements are complete, carefully inspect your work to ensure that the wooden box spring is now sturdy and free of damage. Check that all screws and nails are tight, slats are secure and level, and the fabric covering (if applicable) is properly attached and free of wrinkles or sagging.
Step 12: Reassemble the Bed
With the wooden box spring repaired, reassemble your bed by placing the box spring back on the bed frame or rails, and then positioning the mattress on top. Ensure that the box spring is properly aligned and sits securely on the frame or rails.
Step 13: Test the Box Spring
After reassembling the bed, test the repaired box spring by sitting or lying down on the mattress. Apply pressure to various areas of the bed to ensure that the box spring provides even support and does not sag or creak under your weight.
Step 14: Perform Regular Maintenance
To prolong the life of your wooden box spring and prevent future damage, perform regular maintenance checks. Inspect the box spring for any signs of wear, loose screws or nails, or damaged slats, and address any issues promptly. Rotate the box spring occasionally to distribute weight evenly and reduce the likelihood of sagging.
Step 15: Protect the Box Spring
Consider using a box spring cover or encasement to protect the wooden frame from dust, dirt, and moisture. This can help preserve the integrity of the wood and extend the lifespan of your box spring.
By following these steps, you can successfully repair a wooden box spring and restore its functionality and appearance. Regular maintenance and proper care will help ensure that your box spring continues to provide stable, comfortable support for your mattress and a good night’s sleep.
Why Noise Box Springs?
If your wooden box spring is making noise, it’s likely because the screws that hold it together have loosened over time. This is a common problem with these types of springs, but it can be easily fixed by tightening the screws.
Some of the other reasons why box spring noise:
Reason 1: The Mattress
If you notice that your wooden box spring is becoming squeaky, it might be because the mattress is not sitting flush against the frame. One way to fix this is by placing a piece of plywood between the mattress and box spring. This will help to keep the mattress in place and stop the squeaking. If you have a wooden box spring, it’s important to keep it well maintained. If the frame is getting squeaky, it may be time to put some plywood between the mattress and box spring. This will help to keep the mattress in place and stop the squeaking.
Reason 2: The Bolts
If your wooden box spring squeaks because the bolts are loose, you can tighten them yourself using a wrench. Remove the bolts, tighten them with the wrench, and replace them. This should stop the box spring from squeaking.
Reason 3: The Box Spring
If the problem is not with the mattress or bolts, it might be that the box spring itself is loose. In this case, you can fix it by tightening the screws that hold it together. You can do this either with a screwdriver or a drill.
Reason 4: The Bed Frame
If the bed frame is not level, it can cause the box spring to become loose and noisy. You can use a spirit level to make sure the frame is leveled to fix this. If it is not, adjust the feet of the bed frame until it is.
Noise box springs can be a real annoyance, but they can easily be fixed by following the steps above. So, if your wooden box spring is making noise, don’t worry – there is a solution!
You Can Check It Out To Fix Fuzzy Wood
How to Fix a Noisy Box Spring?
If your wooden box spring is making a lot of noise when you move, you can do a few things to fix the problem. The first thing to check is that all of the screws are tight. If they’re loose, tighten them up using a screwdriver. If that doesn’t work, try adding some lubricant to the springs. A little bit of oil or WD-40 should do the trick.
Finally, if the noise is still bothering you, you can add some padding to the box spring to muffle the sound. For example, try using a piece of foam rubber or an old towel.
If you’re having trouble fixing your noisy box spring, it might be time to replace it. You can buy a new box spring at most hardware stores or online. Just make sure to measure your bed frame before you buy one to get the right size. Keep reading for more information about how to fix a wooden box spring.
You Can Check It Out To Fix a Recliner Footrest
Frequently Asked Question
Can You Use a Broken Box Spring?
Yes, you can use a broken box spring. If the box spring is broken, you may need to add some extra support to the bed frame. You can do this by using a piece of wood or metal that is strong enough to support the weight of the mattress and box spring.
What Happens if Your Box Spring Breaks?
If your box spring breaks, you will need to fix it as soon as possible. Here are the steps to do so:
- Remove the bedding and furniture from the box spring.
- Take the screws out of each side of the box spring.
- Separate the two halves of the box spring.
You Can Check It Out To Fix a Sagging Metal Bed Frame
How Often Should Box Springs Be Replaced?
Box springs should be replaced every few years, depending on how often they are used. For example, if you have a pet that sleeps in your bed, you will need to replace your box springs more often.
Can You Flip a Box Spring Over?
Yes, you can flip a box spring over if it becomes unbalanced or sags in the middle. You should also flip it over if one side becomes wet.
Can You Put Two Box Springs on A Bed?
Yes, you can put two box springs on a bed. This will help extend the bed’s life and ensure that it is more comfortable to sleep on.
You Can Check It Out To Fix Metal Panel on Storm Door
Conclusion
There is no need to panic if you have a wooden box spring and it starts to sag. You can fix the problem yourself by using some simple supplies that you may already have in your home. Follow these steps, and your bed will be back to its former glory! Thanks for reading our post about how to fix a wooden box spring.