Are you having trouble with a warped bumper on your vehicle? Trying to identify the issue and determine how to fix it can be daunting, but don’t worry, we have some answers for you! Bumping into obstacles, scraping the side of your car, and getting close to strangers on the highway are all part of owning a vehicle. They can also leave marks and dents on our beloved ride.

If you find that your bumper is warped or looks unappealing, don’t despair– it’s much easier than you think to fix it yourself! In this blog post, we’ll discuss the signs of a warped bumper and provide detailed steps to help you troubleshoot the problem.
Whether you are looking for long-term solutions or quick fixes, we’ll have something here for everyone. So strap yourself in; let’s explore today’s topic: How To Fix A Warped Bumper. So whether it’s small scratches or major bumps that leave large marks, these tips will surely help!
Necessary Items
To begin troubleshooting your vehicle’s bumper, gathering all the necessary items is important. Some of these items are essential, while others may be useful. Rest assured that having these tools will save you from last-minute trips to the store or delays in fixing your warped bumper.
- Clean cloth and soapy water: This is needed for cleaning and prepping the bumper before starting any repairs.
- Hairdryer or heat gun: These tools will apply heat to the warped bumper and make it easier to manipulate.
- Rubber mallet or wooden block and hammer: These items are essential for beating out any dents in your bumper.
- Sandpaper or sanding block: This is needed if you plan on repainting your bumper.
- Bondo or filler: This will fill in any cracks or holes in the bumper.
- Paint and primer: These are needed for repainting the bumper if necessary.
- Safety equipment: It’s always important to wear gloves, safety glasses, and a mask when working with tools and chemicals. It’s better to be safe than sorry!
10 Steps on How to Fix a Warped Bumper
Step 1: Troubleshooting Steps
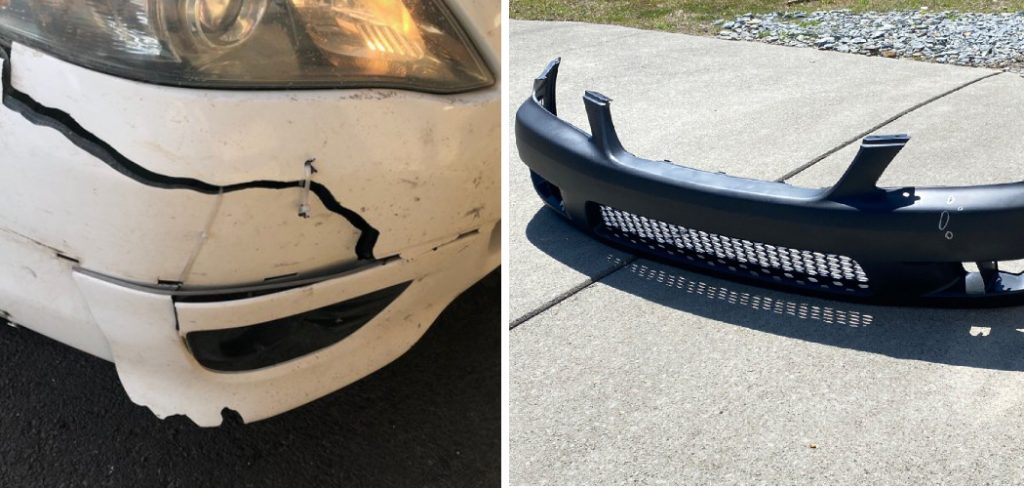
Before you start fixing your warped bumper, it’s important to identify the issue and determine whether it can be fixed. Some common signs of a warped bumper include cracks, dents, unevenness, or discoloration. If the damage is severe or there are underlying issues, it may be necessary to take your vehicle to a professional for repairs.
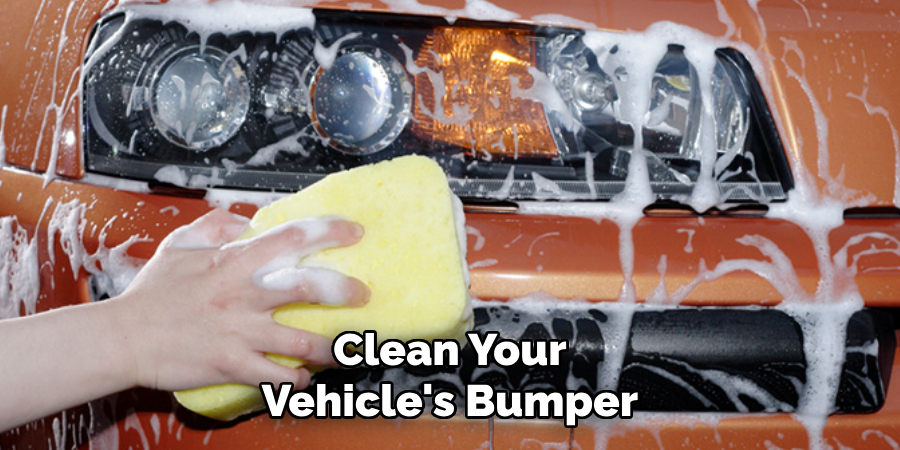
Step 2: Clean the Bumper
Clean your vehicle’s bumper with a clean cloth and soapy water. This will remove any dirt, grime, or debris from the surface, making it easier to identify the damaged areas.

Step 3: Apply Heat
Using a hairdryer or heat gun, apply heat evenly to the warped areas of your bumper. The heat will make the plastic more flexible and easier to manipulate.
Step 4: Manipulate the Bumper
Push or pull the bumper back into its original shape once the bumper is warmed up. Use a rubber mallet or wooden block and hammer for dents, or use your hands for minor warping.
Step 5: Repeat as Needed
If the bumper is still warped, repeat steps 3 and 4 until the plastic becomes more pliable and can be reshaped.
Step 6: Sand Down Any Rough Areas
If there are any rough or uneven areas on your bumper, use sandpaper or a sanding block to smooth them out. This will also help with adhesion if you plan on repainting your bumper.
Step 7: Fill in Any Cracks or Holes
If there are any visible cracks or holes in your bumper, use Bondo or filler to fill them in. Follow the instructions carefully and let it dry completely before moving on to the next step.
Step 8: Sand Down Filled Areas
After the Bondo has dried, use sandpaper to smooth out any filled areas until they are level with the rest of the bumper.
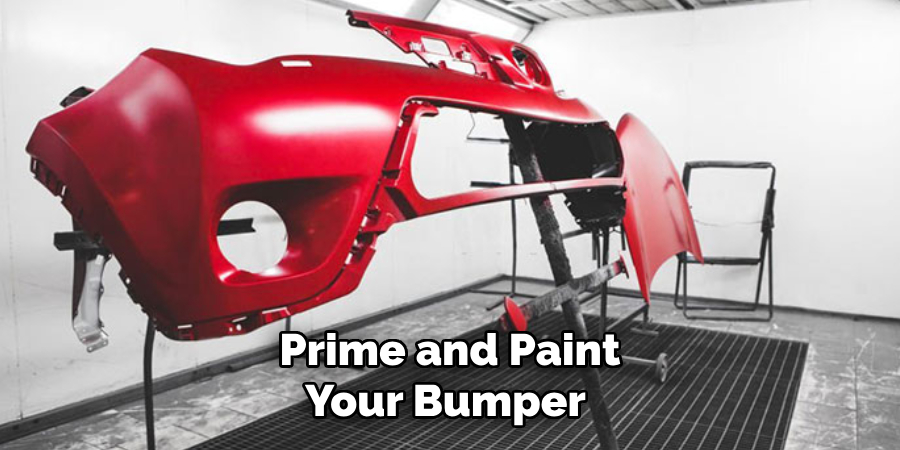
Step 9: Prime and Paint
If necessary, prime and paint your bumper with matching automotive paint. Follow the instructions on the paint can for best results.

Step 10: Let Dry and Reattach the Bumper
Finally, let your newly repaired bumper dry completely before reattaching it to your vehicle. Make sure all screws and clips are securely fastened.
Fixing a warped bumper may seem daunting, but it can be easily accomplished with the right tools and step-by-step guide. Remember to take your time and be patient, as rushing through the process may cause further damage.
If you are unsure about any steps or the severity of the damage, it’s always best to consult a professional for assistance. With these tips in hand, you can say goodbye to your warped bumper and hello to a smooth and sleek ride once again!
8 Quick Tips for Minor Bumper Warping
1. Use a Plunger
If your bumper is slightly warped, you can use a plunger to suction it back into shape. Make sure to clean the surface of the bumper and the plunger before attempting this method.
2. Use a Hairdryer
Instead of using a heat gun, you can use a hairdryer on its highest setting for smaller warping areas. Just be careful not to overheat and damage the plastic.
3. Try Boiling Water
You can pour boiling water onto the affected area for small, localized warping and then use your hands or tools to reshape it. Just be careful not to burn yourself!
4. Use Compressed Air
If you can access compressed air, you can blow into gaps or crevices in your bumper and pop it back into shape. Just make sure to wear safety glasses and gloves.
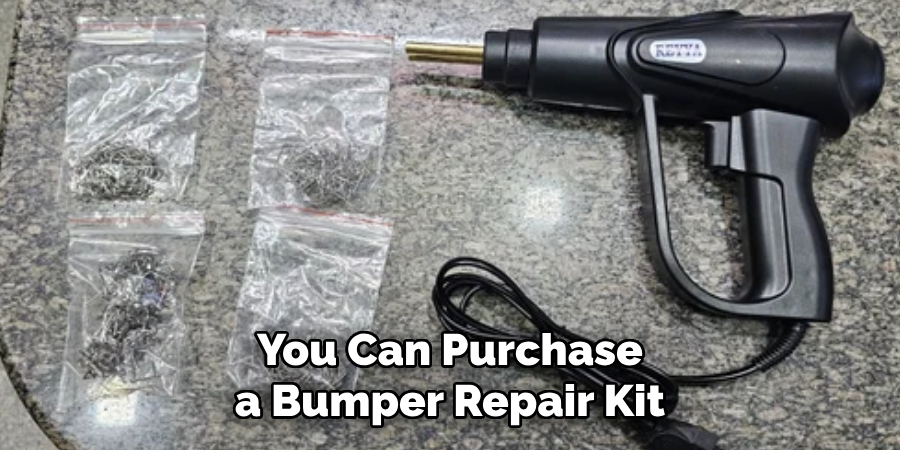
5. Invest in a Bumper Repair Kit
You can purchase a bumper repair kit at most automotive stores, with all the necessary tools and materials for fixing minor warping. Just make sure to follow the instructions carefully.

6. Wrap with Duct Tape
You can use duct tape as a temporary fix for small cracks or holes until you have time to repair your bumper properly. Just keep in mind that this is a short-term solution.
7. Use a Heat Gun for Fading
If your bumper has faded due to sun exposure, you can use a heat gun to bring back some of the color and shine. Be careful not to overheat the plastic and cause further damage.
8. Regularly Inspect for Damage
To prevent major warping or damage to your bumper, regularly inspect it for any signs of wear and tear. Catching an issue early on can save you time and money in the long run.
Remember, taking good care of your vehicle ensures its appearance and maintains its value. So don’t neglect a warped bumper – take the time to fix it and keep your car looking its best! With the right tools and care, fixing a warped bumper is a simple task that can be easily accomplished at home. Wear proper safety gear and follow instructions carefully for the best results.
Frequently Asked Question
Can I Fix a Warped Bumper Myself?
It depends on the severity of the damage. Minor warping can be fixed at home with the right tools and techniques, but if the damage is extensive, it may be best to take your vehicle to a professional.
How Much Does it Cost to Fix a Warped Bumper?
The cost of fixing a warped bumper can vary greatly depending on the extent of the damage and whether you choose to fix it yourself or take it to a professional. Minor warping can generally be fixed at home for under $100, while more severe damage may cost several hundred dollars.
Can I Drive My Car with a Warped Bumper?
It is not recommended to drive with a warped bumper as it can affect the aerodynamics of your vehicle and potentially cause further damage. It’s best to fix the issue before driving your car again. Overall, taking care of your vehicle and addressing any issues promptly can save you time and money in the long run. So don’t let a warped bumper go unchecked – use these tips to fix it and keep your car looking its best.

Conclusion
This document discussed the common problem of a warped bumper and how to fix it. We provided step-by-step instructions on how to fix a warped bumper by reshaping, sanding, filling, and painting your bumper.
Knowing how to fix a warped bumper is essential for any car owner who wants to save money and keep their vehicle looking brand new. It can be intimidating initially, but armed with the right tools and knowledge, warping your bumper back into place should feel like a breeze!
Furthermore, if you’re feeling uneasy about doing it yourself or need more time to go through the process, consider taking it to a professional, as they may have the insight and experience necessary to get your job done quickly. No matter which route you choose, you can easily fix that warped bumper and bring your vehicle back to its former glory by dedicating just a few hours of your time and effort.
So don’t wait any longer – take on that challenge today! Additionally, we shared some quick tips and safety precautions for minor warping that can be done at home. Remember to regularly inspect your vehicle’s bumper for any signs of damage and address them promptly to maintain its appearance and value.
With the right tools, techniques, and patience, fixing a warped bumper can be easily accomplished at home. So don’t let a damaged bumper bring down the overall look of your car. Use these tips to restore it to its original shape and keep your vehicle looking sleek and stylish.
