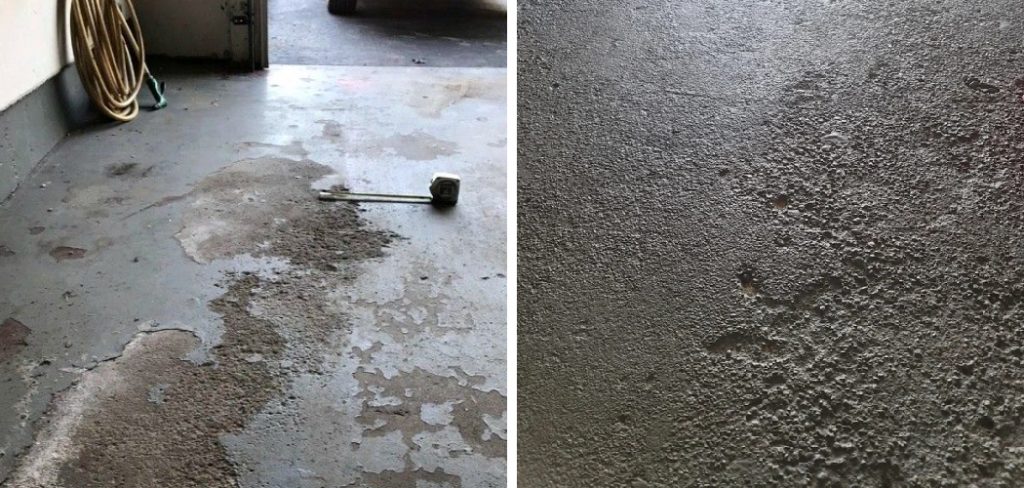
If you’re like most people, your garage is one of the most important spaces in your home. It’s a place to store your car, equipment, and other belongings. But if your garage floor is pitted and cracked, it’s not doing its job. A pitted garage floor is not only unsightly but can also be dangerous. If left untreated, the pits can become larger and deeper, eventually leading to cracks and even holes in the floor.
While several products on the market claim to fix pitted floors, most of them are temporary fixes that will only last for a few years at best. The only permanent solution is to resurface the entire floor. This may seem daunting, but it is quite simple and can be done in just a few weekends. With a little elbow grease and a few household tools, you can have a brand-new garage floor that will last for years to come. In this blog post, You’ll learn how to fix a pitted garage floor.
Summary: If your garage floor is looking a little bit pitted, there is a quick and easy way to fix it. All you need is some elbow grease and a bucket. First, use a broom to sweep the surface clean. Next, fill the bucket with water and pour it over the surface of the pit. Let the water sit for a few minutes, then pump it out with a hose. Repeat this process until the pit is filled. When the job is finished, just hose down the surface to clean it up.
What Causes Pitting in Garage Floors?
There are many causes of pitting in concrete garage floors. The most common is the use of deicing salts, which can corrode the surface of the concrete and cause it to pit. Other causes include poor quality concrete, improper curing of the concrete, and exposure to harsh weather conditions.
10 Steps for How to Fix a Pitted Garage Floor
Step 1: Sweep and Clean the Floor
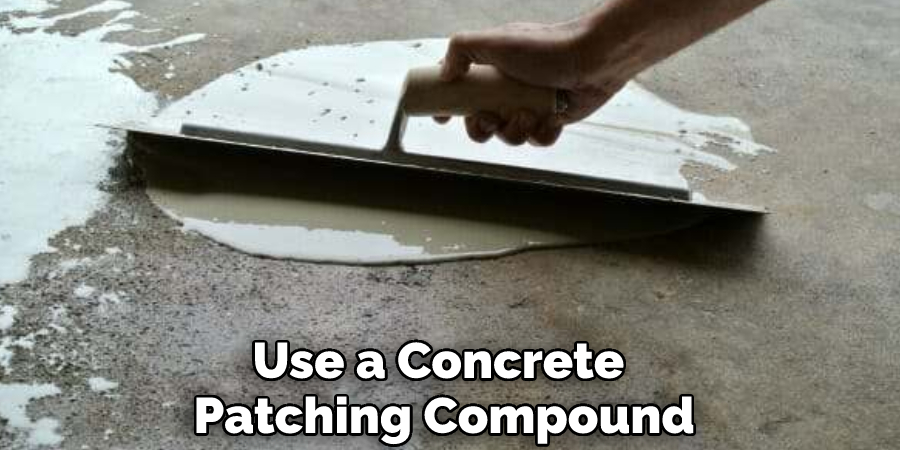
The first step is to sweep and clean the floor. This will help remove any dirt or debris that may be on the floor. Once the floor is clean, you will need to fill in the pits. You can use a concrete patch or self-leveling concrete to do this.
Step 2: Apply a Concrete Etching Solution
After the floor is clean and the pits are filled, you will need to apply a concrete etching solution. This will help the paint bond with the concrete and prevent any future peeling or chipping. You can find this solution at most hardware stores. This solution will help roughen up the floor’s surface so that the patching material can better adhere to the surface.
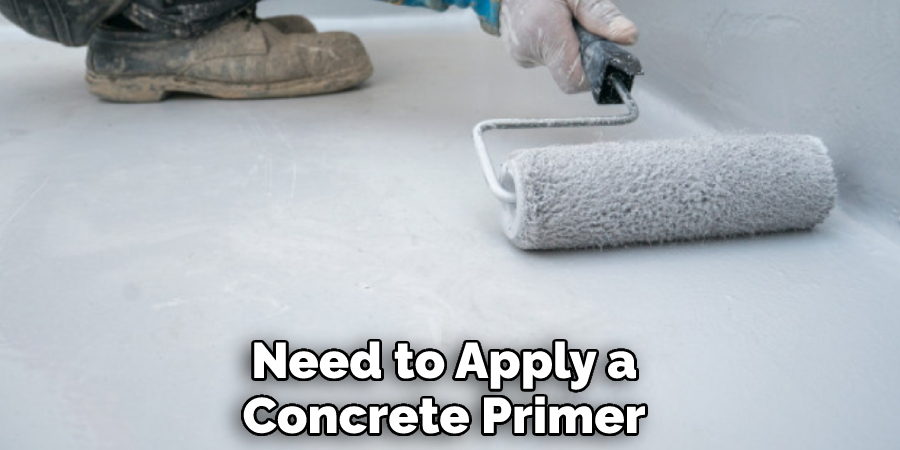
Step 3: Apply a Concrete Primer
Once the etching solution has been applied, you will need to apply a concrete primer. This will help ensure further that the paint adheres properly to the garage floor’s surface. Once the primer has been applied, you can begin painting the floor. Using good quality concrete paint is important to get the best results.
Step 4: Apply the Patching Material
Once the primer has been applied, you can then apply the patching material. You must mix the patching material according to the manufacturer’s instructions. Once it is mixed, you can apply it to the pitted areas of the garage floor. Use a putty knife or trowel to spread the patching material evenly over the pits.
Step 5: Allow the Patching Material to Dry
Once the patching material has been applied, you will need to allow it to dry. This usually takes around 24 hours. Once dry, you can sand down the raised areas to create an even surface.
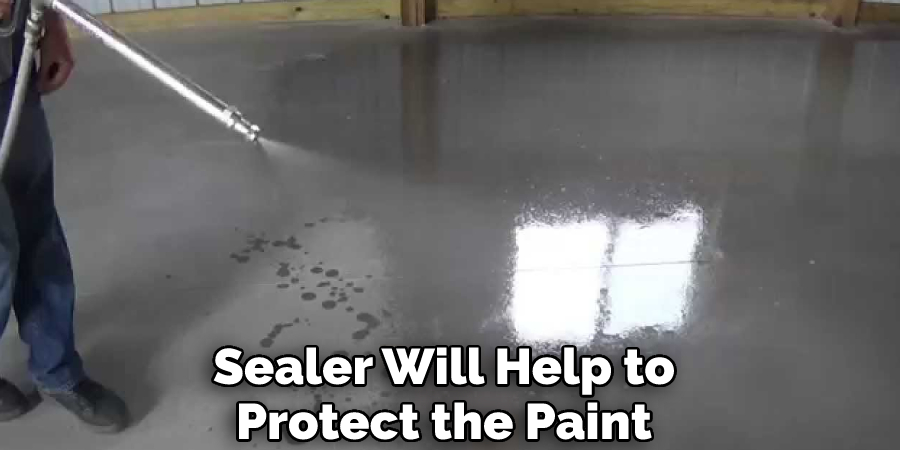
Step 6: Apply the Sealer
Once the patching material has dried and sanded down, you can apply a sealer to the garage floor. This will help protect the floor from future damage. You will need to follow the manufacturer’s instructions on how to apply the sealer properly. This can take anywhere from 24 hours to a few days.
Step 7: Allow the Topcoat to Dry
Once the topcoat has been applied, you will then need to allow it to dry. This can take anywhere from 24 hours to a few days. Once it is dry, your garage floor will be repaired and ready for use. This can take up to 24 hours.
Step 8: Apply a Sealer
After the topcoat has dried, you will then need to apply a sealer. This will help to protect the paint and ensure that it lasts for many years to come. You can find concrete sealers at most hardware stores or online. This primer will help the patching material adhere better to the floor’s surface. This will help protect the floor and give it a shine. You can find floor sealers at most hardware stores or online.
Step 9: Allow the Sealer to Dry
Once the sealer has been applied, you will need to allow it to dry. This can take anywhere from 24 hours to a few days. Once it is dry, your garage floor will be repaired and look new again.
After the patching material has dried, you will then need to apply a topcoat. This will help protect the patching material and give the floor a more uniform appearance. You will need to follow the manufacturer’s instructions on properly applying the topcoat.
Step 10: Apply a Topcoat
After the sealer has dried, you can then apply a topcoat. This will help to protect the paint and ensure that it lasts for many years to come. You can find concrete sealers at most hardware stores or online. You can now use it for all of your storage needs or as a workspace. You can also apply a topcoat to the floor to give it a shine.
Safety Tips for Fixing a Pitted Garage Floor
- Always wear the proper safety equipment when working with concrete, including gloves, eye protection, and a respirator or dust mask.
- Remove any objects from the floor that could get in the way or be damaged during the repair process.
- Sweep or vacuum the floor to remove any dirt or debris that could interfere with the repair.
- If the floor is very pitted, you may need to use a power washer to remove any deep-seated dirt or grime.
- Allow the floor to dry completely before beginning any repairs.
- Use a concrete patching compound and a putty knife to fill in smaller pits.
- You must mix your concrete patching compound using Portland cement, sand, and water for larger pits.
- Use a trowel to apply the patching compound to the floor, filling in the pits as much as possible.
- Allow the compound to dry completely before continuing.
- Once the patching compound is dry, you can sand it down to create a smooth surface. You may need to apply additional coats of compound and sanding until the floor is completely smooth.
Is It Possible to Fix a Pitted Garage Floor by Yourself?
It is possible to fix a pitted garage floor yourself. There are a few ways that you can go about doing this. One way is to use an epoxy-based concrete filler. This will fill in the pits and give you a smooth surface to work with. Another way is to use a self-leveling concrete sealer. This will also fill in the pits and give you a smooth surface to work with.
Either way, you must follow the manufacturer’s instructions carefully to get the best results.
How Much Does It Cost to Fix a Pitted Garage Floor?
The cost of fixing a pitted garage floor will depend on the damage’s severity, the garage’s size, and the materials used. If you use an epoxy-based concrete filler, you can expect to pay around $50 for a small kit. Using a self-levering concrete sealer, you can expect to pay around $100 for a small kit. Using a concrete resurfacer, you can expect to pay around $200 for a small kit.
If you are not happy with the results of your repair, you can always hire a professional to do the job for you. Expect to pay around $500 for a professional to fix a pitted garage floor. When choosing a repair method, it is important to consider the long-term durability of the fix. Concrete resurfacers are the most durable option, but they can be more difficult to apply.
How Can You Prevent Your Garage Floor From Pitting in the Future?
Assuming that you have already cleaned and repaired your garage floor, you can take a few measures to prevent pitting in the future. First, be sure to regularly sweep and/or vacuum your floor to remove any dirt, debris, or liquids that could potentially cause pitting. Second, invest in a good quality sealer and reapply it every few years.
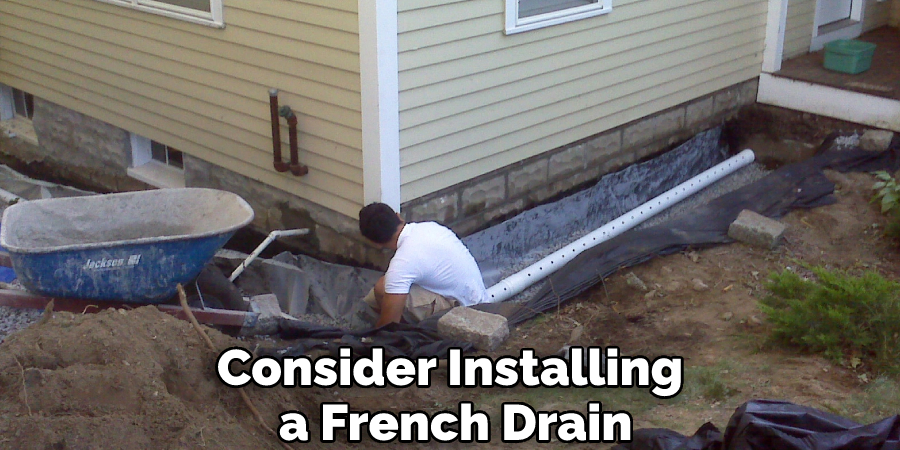
This will help to fill in any small pits that may have formed and prevent new ones from forming. Finally, if you live in an area with a high water table, consider installing a French drain around the perimeter of your garage to help keep water away from your floor.
These simple tips can help keep your garage floor looking new for years to come.
You Can Check It Out To Fix a Cracked Windshield Yourself With Rubbing Alcohol
Conclusion
Pitted garage floors can be a pain to deal with, but they can be repaired relatively easily with the right tools and a little elbow grease. In this blog post, we’ve gone over how to repair pitted concrete in your garage so that it looks good as new.
I hope you found this information helpful and that you’ll be able to use it to fix your own pitted garage floor. I hope this article has been beneficial in learning how to fix a pitted garage floor. Make sure the precautionary measures are followed.
You Can Check It Out To Fix a Cracked Garage Door Panel