Are you ready to take your wall décor game up a notch with glitter? If so, you’re not alone – many people are taking this trend and running with it. Unfortunately, errors can happen along the way, especially if you don’t know the right techniques for applying glitters.
But rest assured, even seemingly unfixable patchy spots on a glitter wall can be salvaged! With the proper steps and tricks of the trade, learning how to fix a patchy glitter wall is easier than you think. Read on to discover how simple it can be to create an even sparkle in no time!
Does Hairspray Seal Glitter?
Yes, hairspray can help seal glitter to a wall and prevent it from flaking off. After you have finished applying the glitter, hold the can of hairspray at least 8-12 inches away from the wall and spray in short bursts. This will help set the glitter and make it last longer. It’s best to use a hairspray that has a stronghold to ensure that the glitter stays put.
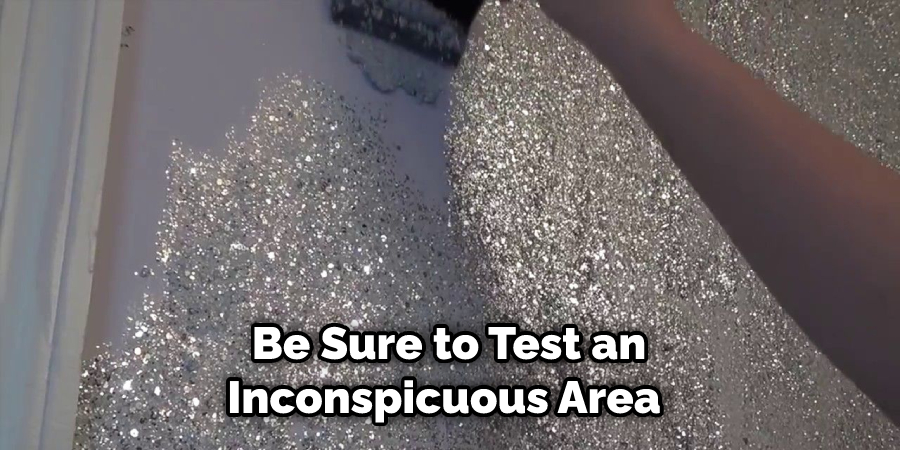
However, keep in mind that if you use too much hairspray, it can discolor or even damage the wall. Therefore, be sure to test an inconspicuous area of the wall before spraying on the entire surface. Additionally, be aware that spray adhesive and Mod Podge can also be used to seal the glitter. These products tend to last longer than hairspray but should still be tested on a small area of the wall before being applied.
10 Methods on How to Fix a Patchy Glitter Wall
1. Use a Primer:
If you want your glitter wall to have a more even appearance, start by using a primer. This will help to create a smooth surface for the glitter to adhere to. If the wall already has a coat of paint, make sure to use an appropriate primer for that type of surface.
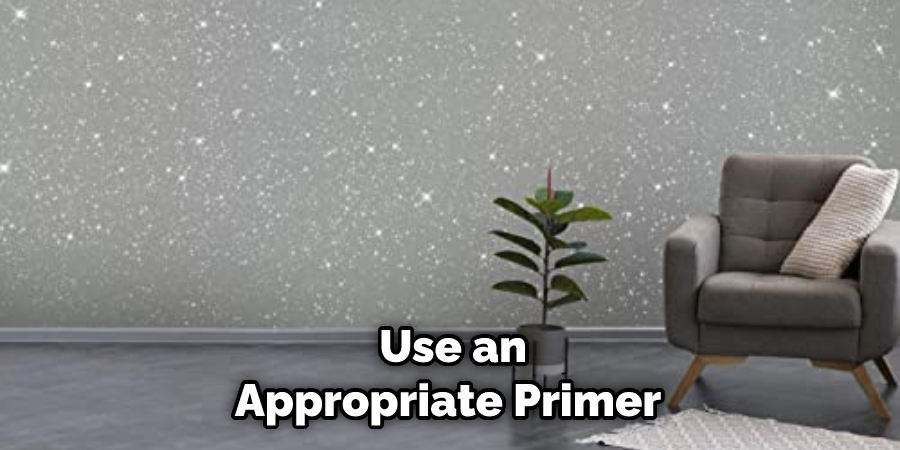
For example, if the wall is painted with oil-based paint, use a primer specifically designed for that surface. However, if the wall is painted with latex-based paint, use a primer that’s made for that type of surface.
2. Apply the Glitter in Thin Layers:
Applying the glitter in thin layers will also help to create a more even appearance. It is important to allow each layer of glitter to dry completely before applying the next layer. You may find that it is helpful to use a hair dryer on the lowest heat setting to speed up the drying process. Once all of the layers have been applied, you should be left with a glitter wall that looks much more uniform in appearance.
3. Use a Thicker Type of Glitter:
If you are having trouble getting the glitter to stick, try using a thicker type of glitter. This type of glitter will be less likely to fall off the wall. You can buy glitter from craft stores in different thicknesses. You may need to experiment until you find the perfect one for your wall. Be sure to apply the glitter carefully and evenly over the wall. Make sure it is spread out evenly so that it covers the entire wall without any gaps or patches.
4. Use Spray Adhesive:
Another option for getting the glitter to stick is to use spray adhesive. This can be found at most craft stores. Be sure to follow the directions on the can carefully so that you do not end up with a sticky mess.
Make sure to spray the adhesive in an even layer over the areas that need glitter. Once the adhesive is dry, you can add your glitter, and it should stay in place. Be sure to work carefully when using spray adhesive, as it can be flammable if used in an enclosed area.
5. Use Clear Tape:
If you want a temporary fix, try using clear tape to hold the glitter in place. This will not last as long as some of the other methods, but it can be helpful if you need a quick fix. Place the tape across different sections of the wall, making sure that it is firmly in place. This will help to hold some of the glitters onto the wall and make the patchy look less noticeable. Make sure to check that the tape is not visible once it has been applied.

6. Use Glue Dots:
Glue dots are another option for getting the glitter to stick. These can be found at most craft stores and are easy to use. Simply peel off the backing and press the dot onto the wall where you want the glitter to go. The glue dots will hold the glitter in place and keep it from falling off. You can also use these to fill any gaps or cover up any sections that look patchy.
7. Use Double-Sided Tape:
Double-sided tape is another option for getting the glitter to stick. This type of tape can be found at most hardware stores and is easy to use. Simply peel off one side of the tape and press it onto the wall where you want the glitter to go. Then, peel off the other side of the tape and press the glitter onto it.
8. Use Hot Glue:
Hot glue is another option for getting the glitter to stick. This can be found at most craft stores and is easy to use. Simply apply a small amount of hot glue to the wall where you want the glitter to go and then press the glitter onto it. Be careful not to get burned by the hot glue!
9. Use Liquid Adhesive:
Liquid adhesive is another option for getting the glitter to stick. This can be found at most craft stores and is easy to use. Simply apply a small amount of liquid adhesive to the wall where you want the glitter to go and then press the glitter onto it. Allow the adhesive to dry completely beforehand in any pictures or other items on the wall.
10. Use Hairspray:
Hairspray is a great way to seal the glitter and help it last longer. Be sure to hold the can of hairspray at least 8-12 inches away from the wall and spray in short bursts. Allow the hairspray to dry completely before hanging any pictures or other items on the wall.
Be sure to test an inconspicuous area of the wall before spraying on the entire surface, as hairspray can discolor or even damage the wall if used in excess. Additionally, spray adhesive and Mod Podge can also be used to seal the glitter. These products tend to last longer than hairspray but should still be tested on a small area of the wall before being applied.
By following this guide, you can now learn how to fix a patchy glitter wall. Be sure to choose the best method for your situation and take the necessary safety precautions when working with any of the products mentioned. With a bit of hard work and the right materials, you can have a glittery wall that will look perfect in no time! Good luck and happy glittering!
Things to Consider When Fixing a Patchy Glitter Wall
1. Color:
If you have a patchy glitter wall, the first thing to consider is the color. Depending on your room’s decor and existing color scheme, you may need to select a different glitter that better matches the existing colors.
2. Paint:
If the patchiness is due to fading paint or chipped pieces, it may be necessary to repaint the wall before adding more glitter. If this is the case, use a high quality primer and make sure to follow all safety instructions when using paint products.
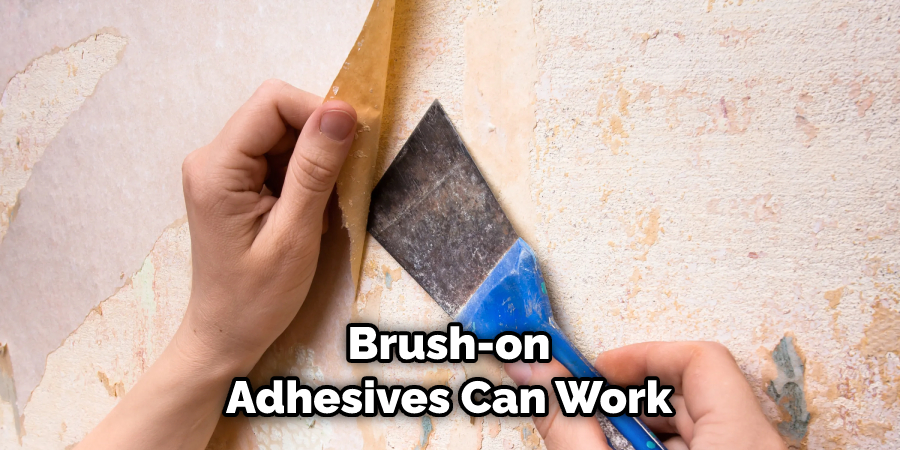
3. Adhesive:
Once you’ve selected your glitter and painted if needed, it’s time to apply adhesive. Depending on how much coverage you need, either spray-on or brush-on adhesives can work for this job. Make sure to carefully read and follow manufacturer instructions for proper application and safety.
4. Glitter:
With the adhesive applied, it’s time to add the glitter. Sprinkle or roll on the glitter for a uniform finish and press down lightly with your hands to help it adhere. You can also use a brush to spread out larger chunks of glitter as needed.
5. Taping:
Once you have finished adding your glitter, prevent any loose pieces from accidentally getting transferred elsewhere by taping off the area with painter’s tape (only if painting isn’t necessary). This will ensure that your work-in-progress look is maintained until the project is complete.
Conclusion
A patchy glitter wall is an eyesore that can be easily fixed. With a few simple supplies and a little elbow grease, you can have your glitter wall looking good as new in no time. So don’t despair if your glitter wall isn’t perfect – with a little bit of effort, you can fix it up and enjoy its sparkle for years to come.
So there you have it, ten methods on how to fix a patchy glitter wall. If you’re anything like me and love everything sparkly, I hope one of these tips helps you out the next time you tackle a DIY project.