Have you ever noticed a chunk of wood missing from your deck or railing? It’s a common problem, but don’t worry – there is a solution! In this blog post, we will show you how to fix a missing chunk of wood using some simple tools and materials.
Chances are good that if you’re a DIY-er, you’ve experienced a missing chunk of wood at some point. It can be frustrating but don’t worry. There are ways to fix it. In this blog post, we’ll discuss few methods for fixing a missing chunk of wood and provide tips on how to avoid this problem in the future.
Whether you’re a professional carpenter or just trying to fix up a piece of furniture, missing chunks of wood can be a real hassle. Here are a few ways to fix the problem, depending on the hole’s size. Stay tuned!
Summary: If you find yourself with a missing chunk of wood from your project, don’t panic. There are plenty of ways to fix it! Here are four easy tips: 1. Glue It Back Together If the chunk is small and doesn’t protrude too much from the rest of the wood, gluing it back together may be the simplest solution. Just make sure the glue is strong enough to hold the wood together for long periods of time. 2. Use Bonding Agent If the chunk is bigger and does protrude, you may need to use a bonding agent to secure it back into place. This will create a stronger connection between the wood and won’t require as much glue. 3.
Can You Fix a Missing Chunk Wood?
Yes, you absolutely can fix a missing chunk of wood! Depending on the size and severity of the damage, there are several methods that you can use to fill in or replace the missing piece.
Additionally, there are a few steps that you can take to prevent these types of problems from occurring in the future. For example, regular maintenance and upkeep will help to keep your wooden structures looking their best for years to come.
If you need help with fixing missing chunks of wood, consider reaching out to a professional contractor or carpenter who can offer guidance and assistance. With the right tools and materials, you should be able to tackle this common DIY project like a pro!
What Will You Need?
- Wood filler or wood putty
- Scrap wood (to use as a patch, if necessary)
- Sandpaper and/or sanding block
- Paint or stain (optional)
- Screws or nails (if repairing damaged structures)
With these tools and materials, you should be able to successfully fix a missing chunk of wood and restore your wooden structures back to their original condition. Good luck!
10 Easy Steps on How to Fix a Missing Chunk of Wood
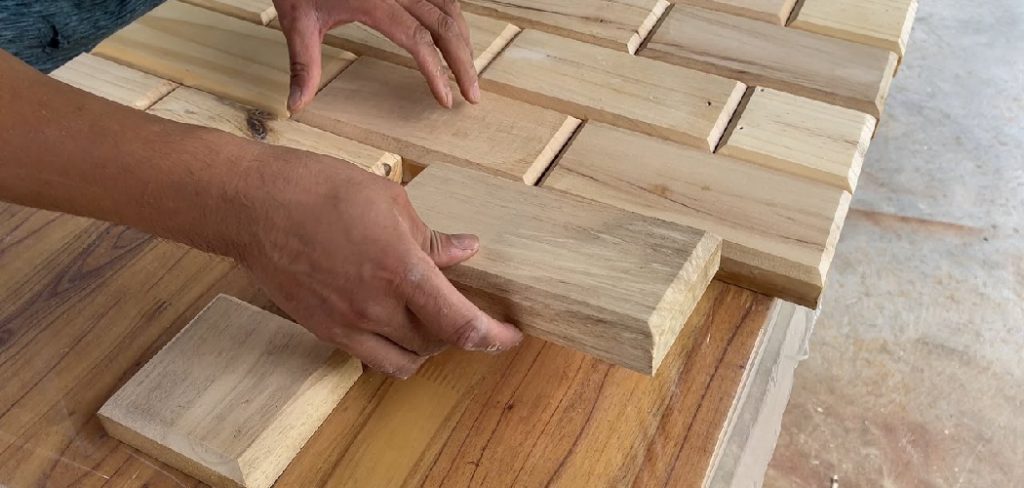
Step 1. Determine the Severity of the Damage
Identify the location of the missing chunk and determine whether it is a small or large piece. Depending on the hole size, you may need to use wood filler, a patch, or even replace the entire piece of wood. Be careful not to try and fill a large hole with too much filler, as this may cause the wood to crack or splinter.
Step 2. Gather Your Tools and Materials
Make sure you have all of the tools and materials that you will need to fix your missing chunk of wood, including wood filler, sandpaper or a sanding block, paint or stain if desired, screws or nails (if repairing damaged structures), and any additional materials recommended by your contractor or carpenter.
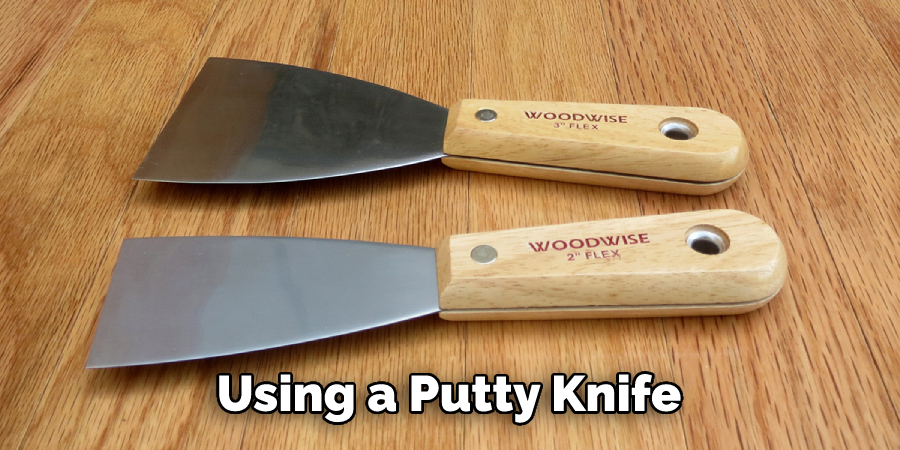
Step 3. Apply Wood Filler or Wood Putty
Using a putty knife or other tool specifically designed for this purpose, apply the required amount of wood-filling material to fill in the hole. Ensure that it is flush with the surrounding surface for best results. Because wood filler or putty dries quickly, work in small sections to keep the material from drying out and cracking. You may need to repeat this step a few times to completely fill the hole.
Step 4. Allow the Filler or Putty to Dry Completely
Depending on the type of wood filler or putty that you are using, this step may require anywhere from a few hours to several days. Read the manufacturer’s instructions for specific guidelines. Don’t rush this step, as the filler or putty must dry completely to avoid any cracks or other damage in your final repair.
Step 5. Sand the Surface Smooth Once Dried
Using sandpaper or a sanding block, carefully smooth out any uneven edges or bumps until the surface is even and flush with the surrounding surface. You can use a higher grit of sandpaper (e.g., 200-600) for a smoother finish if desired. Make sure to remove all dust from the area before proceeding to the next step.
Step 6. Apply Paint or Stain
If you want your repaired wood surface to match your existing paint or stain job, now is a good time to apply some additional coats as needed. There are a variety of different paint or stain colors available. So feel free to experiment until you find the one that best suits your needs.
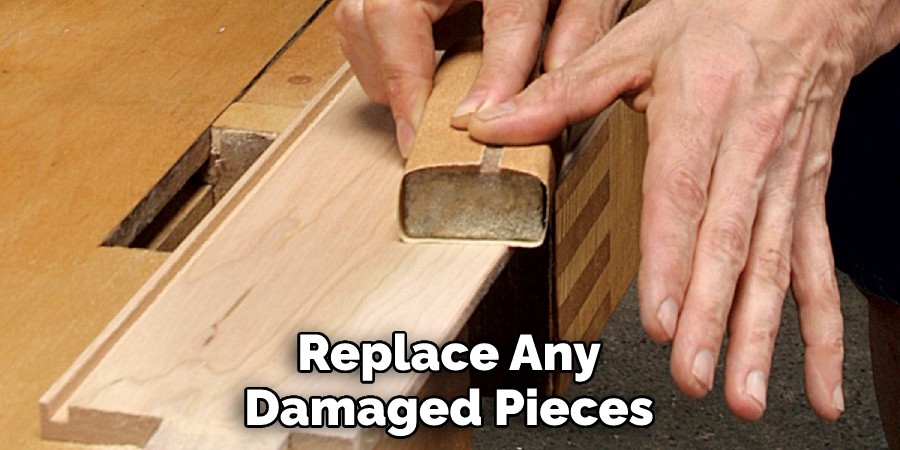
Step 7. Repair Damaged Structures as Needed
If the missing chunk of wood is part of a larger structure or piece, you may need to replace any damaged pieces using screws or nails. Be careful not to overtighten the screws or nails, as this can further damage the wood. Additionally, you can reinforce the final repair by applying wood glue or another adhesive.
Step 8. Repaint or Re-stain the Surface
After completing your repairs, feel free to repaint or re-stain the surface if desired to achieve your desired look and match any existing finishes. If you are working with a different type of wood, consider using an oil-based stain or paint to create a more uniform look. It will be important to match the finish exactly to ensure that your repairs are not visible.
Step 9. Allow Your Surface to Dry Completely Once Again
Make sure to allow your surface to dry completely before moving on to the final step. This may take anywhere from a few hours to several days, depending on the size of your repair and other factors. Check the manufacturer’s instructions for specific guidelines.
Step 10. Inspect and Enjoy Your Newly Fixed Chunk of Wood!
Your newly fixed piece of wood should look as good as new and be ready to use for many years to come. Take a moment to admire your work, and enjoy the fruits of your labor! Don’t forget to make any final adjustments or touchups as needed. And be sure to keep an eye out for any signs of cracking, warping, or other damage so that you can address these issues promptly and prevent any long-term damage.
These simple steps will help you successfully fix a missing chunk of wood, no matter the size or severity of the damage. With regular maintenance and upkeep, your wooden structures will look their best for years to come. Happy fixing!
5 Additional Tips and Tricks
- You may need to use a putty knife or chisel to get under the piece of missing wood and pry it out.
- If you cannot fit the putty knife or chisel underneath, try using specialized tools designed to remove broken pieces of wood. There are specific tools called “wood chisels” that can be used to pry out the missing piece.
- If none of these tools work, you can try using a hammer and chisel to chip away at the broken piece until you have a larger surface area to grip onto with your putty knife or chisel.
- Another option is to use wood glue or epoxy to fill in the empty space and help secure the piece of missing wood in place. Allow this glue or epoxy to dry completely before moving on to other steps.
- If all else fails, you may need to call in a professional for assistance. A skilled carpenter can quickly remove the missing chunk of wood and replace it with a new piece that looks seamless and beautiful.
Depending on your budget, you may want to consider hiring a professional for major repairs like this, especially if the missing piece is in an area of high traffic. But if it’s just a small patch on your banister or one of your kitchen cabinets, then it might be easier and more cost-effective to fix the wood yourself.
Whatever you decide, good luck with fixing that missing chunk of wood!
What’s Best for Filling Gaps in Wood?
When dealing with gaps in the wood, there are various materials and fillers that you can use to get the job done. Some common options include wood putty, epoxy glue, and caulk or silicone sealant.
The first step is to identify what type of filler material is best for your particular situation. For minor gaps where only a small amount of wood needs to be replaced, wood putty may be sufficient. This soft putty can easily be applied and shaped to fit into the void left by the missing chunk of wood.
If you have larger gaps or holes in your wooden structure, then you may need to use something more durable, like epoxy glue or caulk/silicone sealant. These materials are designed to fill in large gaps and provide a more permanent solution.
Once you have identified the right filler material for your needs, the next step is to prepare your surface and apply the filler as needed. Depending on the wood putty or sealant you use, this may involve sanding, priming, or cleaning prior to application.
Finally, once your gaps have been filled in, it is important to allow ample time for everything to dry completely before using your wooden structure again. With proper maintenance and care, your wood gaps can be repaired quickly and easily, helping to ensure that your structure looks great and lasts for many years to come.
Conclusion
Now that you know how to fix a missing chunk of wood, you can easily patch up your furniture without spending much money.
By following the steps above, you can easily replace a missing chunk of wood. Whether it’s for aesthetic purposes or to support the structure of your home, fixing a hole in your wood paneling is a simple and straightforward process. With a little time and elbow grease, your wall will look as good as new in no time!
Though it may seem daunting at first, fixing a missing chunk of wood is not insurmountable. With a little time, patience, and the right supplies, anyone can fix their own furniture. Hopefully, this guide has been helpful. Thanks for reading!