Did you know that Lysol cans have a built-in mechanism to prevent them from spraying accidentally? If your can isn’t working, it may be because this mechanism has been engaged. This blog post will show you how to fix a lysol can that won’t spray so that it will spray again.
A Lysol can that doesn’t spray can be a major inconvenience. Luckily, there are a few things you can do to try to fix the problem. This blog post will outline some simple solutions to get your Lysol cans spraying again. Keep reading for more information!
Summary: If your Lysol can isn’t spraying, there are a few solutions you can try. Begin by pulling up on the plastic button and soaking it in hot water if necessary. You can also fix the button with a rubber band or an empty toothpaste tube.
Additionally, you may be able to restore the spray with extra pressure and sandpaper, or by cleaning the nozzle, pouring in some water and using an empty Windex bottle. Once all the repairs are made, make sure to shake the can properly for optimal performance.
20 Effective Steps on How to Fix a Lysol Can That Won’t Spray
Step 1: Gather Necessary Materials
Before you begin, ensure you have the following materials at hand:
- A pair of rubber gloves
- A flathead screwdriver
- A bowl of warm water
- A cloth or sponge
- A can of compressed air or a hairdryer
- A small needle or pin
- Lubricant (such as WD-40)
Step 2: Put on Protective Gloves
Wear a pair of rubber gloves to protect your hands from any chemicals or residue that may be present on the Lysol can.
Step 3: Inspect the Can
Examine the Lysol can for any visible damage, such as dents or punctures, which may be causing the spray issue. If you find any damage, it may be best to replace the can, as attempting to fix it could lead to further issues or leaks.
Step 4: Remove the Nozzle
Gently pry off the nozzle from the top of the Lysol can using a flathead screwdriver. Be cautious not to damage the nozzle or the can during this process.
Step 5: Clean the Nozzle
Place the nozzle in a bowl of warm water for a few minutes to loosen any dried or clogged residue. Afterward, use a cloth or sponge to gently scrub the nozzle, ensuring all debris is removed.
Step 6: Clear the Nozzle Opening
Using a small needle or pin, carefully insert it into the nozzle opening to dislodge any blockages that may be preventing the spray from coming out. Be cautious not to push too hard or force the needle too far into the nozzle, as this may cause damage.
Step 7: Dry the Nozzle
If you have a can of compressed air, use it to blow air through the nozzle to remove any remaining residue or moisture. Alternatively, you can use a hairdryer set on a low heat setting to dry the nozzle thoroughly. Ensure the nozzle is entirely dry before reattaching it to the Lysol can.
Step 8: Reattach the Nozzle
Carefully place the nozzle back onto the top of the Lysol can, ensuring it is aligned correctly and securely in place.
Step 9: Test the Spray
Press down on the nozzle to test if the spray is now functioning correctly. If the spray is still not working, proceed to the next step.
Step 10: Check the Can’s Pressure
It’s possible that the Lysol can may have lost pressure, causing the spray to malfunction. To test this, hold the can upside down and press the nozzle. If the can releases a small amount of propellant, it still has pressure. If no propellant is released, the can may be empty or have lost pressure, and you will need to replace it.
Step 11: Lubricate the Nozzle
If the spray is still not working, but the can has pressure, try applying a small amount of lubricant, such as WD-40, to the nozzle. This may help improve the spray mechanism’s function. After applying the lubricant, test the spray again.
Step 12: Inspect the Dip Tube
If the spray still isn’t working, remove the nozzle again and check the dip tube – the long plastic tube inside the can that extends to the bottom. Ensure it is correctly attached and not damaged or bent. If the dip tube is damaged, you may need to replace the Lysol can.
Step 13: Reassemble and Test the Spray
After checking and fixing any issues with the dip tube, reattach the nozzle to the can and test the spray once more. If the spray is still not functioning correctly, it may be best to replace the Lysol can, as further attempts to fix it could lead to damage or leaks.
Step 14: Clean the Actuator
If the spray still isn’t working, remove the nozzle once more and inspect the actuator – the plastic piece that connects the nozzle to the valve stem. Clean the actuator with warm water and a cloth or sponge, ensuring all debris is removed.
Step 15: Inspect the Valve Stem
Check the valve stem – the small metal piece that the nozzle attaches to – for any visible damage or blockages. If the valve stem is clogged, use a small needle or pin to gently clear any blockages. If the valve stem is damaged, it may be necessary to replace the Lysol can.
Step 16: Reassemble and Test the Spray Again
After cleaning and inspecting the actuator and valve stem, reattach the nozzle to the Lysol can and test the spray once more. If the spray is still not functioning correctly, it may be best to replace the Lysol can, as further attempts to fix it could lead to damage or leaks.
Step 17: Shake the Can
Sometimes, the contents of the Lysol can may have settled or separated, causing the spray to malfunction. Try shaking the can vigorously for a few seconds and then test the spray again.
Step 18: Store the Can Properly
To prevent future issues with the spray, always store the Lysol can in an upright position and avoid exposing it to extreme temperatures or direct sunlight.
Step 19: Maintain the Can Regularly
To ensure the Lysol can continues to function correctly, periodically remove the nozzle and clean it with warm water, as well as checking the dip tube, actuator, and valve stem for any issues. This routine maintenance can help prevent spray malfunctions and extend the life of the Lysol can.
Step 20: Know When to Replace the Can
Despite your best efforts to fix a Lysol can that won’t spray, sometimes the can may simply be too damaged, empty, or old to function correctly. If you have followed all the steps and the spray still isn’t working, it may be time to replace the Lysol can with a new one.
By following these steps, you can attempt to fix a Lysol can that won’t spray, ensuring that you can continue to use the product effectively. However, it’s essential to recognize when a can may be beyond repair and replace it when necessary to avoid potential damage or leaks.
Some Helpful Tips and Suggestions
Some helpful tips on how to fix a lysol can that won’t spray.
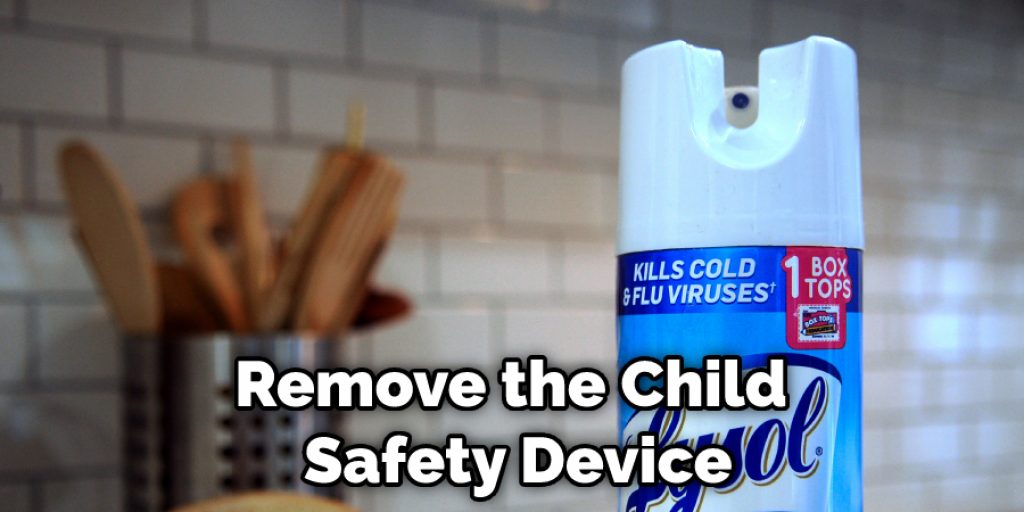
1. If Lysol won’t spray, first carefully remove the child safety device.
2. Next, pull off the top of the can of Lysol. Sometimes this will correct an intermittent problem with a stuck actuator button that is not being pushed down enough by the plunger to let out all of the contents of the can.
3. Soaking a Lysol can that won’t spray in hot water for a few hours before using it may sometimes help. This will help the propellant fluid from the base of the can to mix better with the contents.
4. If the top of the can is removed and it still won’t spray, some Lysol may be left in the bottom of the can. Take a pointed object like an ice pick or screwdriver to puncture two or three holes in this remaining liquid. This will allow any liquid that remains to drain out.
5. If nothing else helps, throw the can away. It should be taken to a hazardous waste disposal site or a local landfill where it won’t harm anyone if it leaks.
6. Don’t throw the Lysol can in the trash because this may cause an explosion when the trash is compacted (slammed down) by garbage trucks.
7. Do not puncture the propellants in aerosol cans; this will cause them to explode.
8. If you are having trouble with spray cans containing non-refrigerated liquefied gas, then put on some rubber or latex gloves and open up all valves by rotating the pin counterclockwise while holding down the button that is located on the side of the can.
Common Mistakes to Avoid When Using a Lysol Spray Can
1. Shake can before using.
2. Keep the nozzle and stem clean and free of debris, so it sprays properly.
3. Make sure you have a steady hand when spraying because it’s easy to accidentally push the nozzle inside the can, thus creating more problems than solving them.
4. Wait until the can is cool to the touch before proceeding with your cleaning.
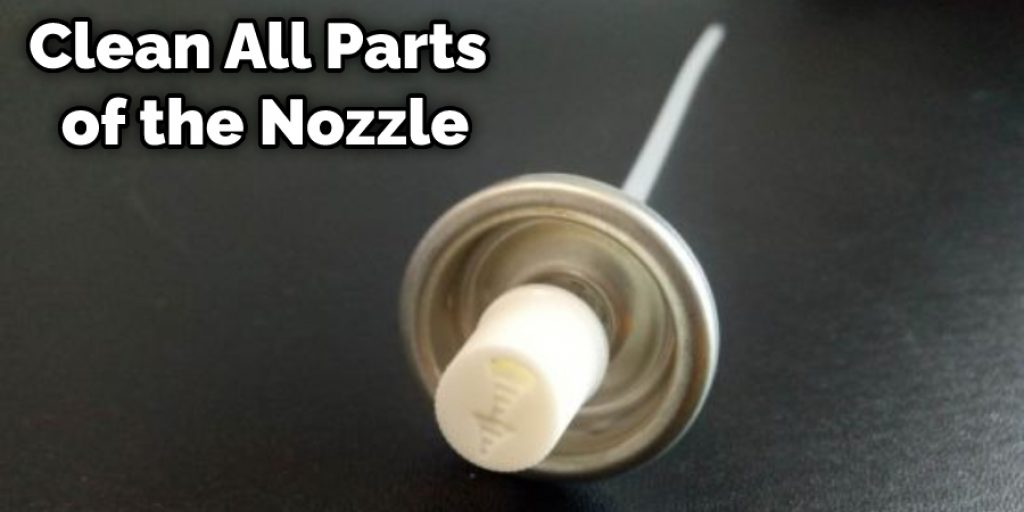
5. Clean all parts of the nozzle, stem, and metallic cap thoroughly regularly for best results.
6. Store Lysol cans flat on their side or upright at room temperature in a clean environment away from direct sunlight to prevent the can from rusting and drying out.
7. Read the manufacturer’s instructions before attempting to fix a lysol can.
8. Make sure you have all the necessary parts available for your specific model before proceeding with any repairs, as some models require multiple parts for proper usage.
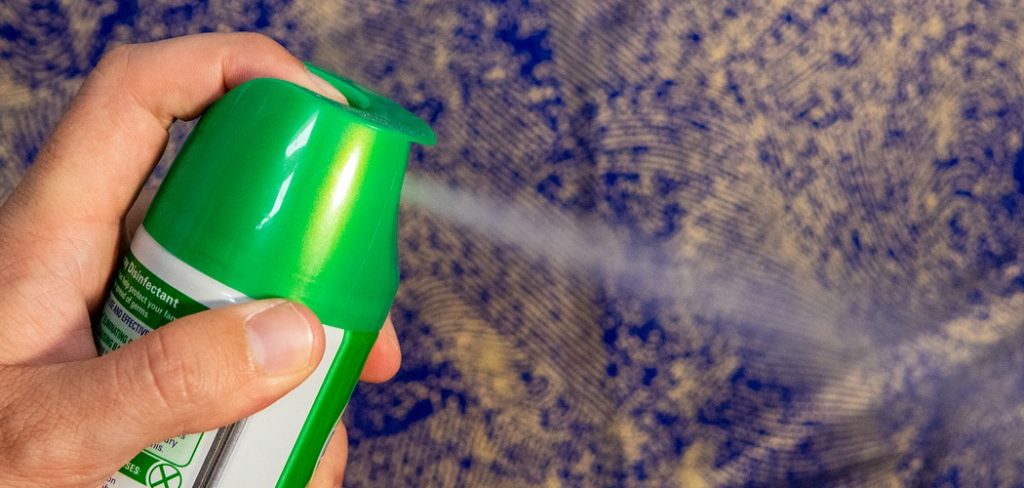
How Does a Lysol Spray Nozzle Work
A Lysol can consist of a solution, water, propellant gas, and the nozzles that spray the solution. The nozzles are located at the end of thin hollow tubes that mix the fuel with the liquid within the canister and convert it into tiny droplets by forcing it through small holes. These tiny droplets are very light, allowing them to be sprayed over a large distance.
The structure of the nozzle consists of multiple small parallel tubes that form a ring with very small holes at either side of each tube. When you press down on the top of the can, it pushes the liquid up through one or more tubes. The liquid is forced out of the tube by air pressure and surface tension pulling on the liquid exiting each tube.
Why Do Spray Cans Stop Working
It is inevitable for spray cans to stop working at one point. There are several reasons why this can happen, including:
1. The gas inside the product has been lost due to excessive shaking or exposure to air, making it unable to be sprayed.
2. The can has been exposed to cold air for too long, causing the pressure inside the can to drop.
3. There is a build-up of sticky liquid on the spray nozzle that cannot be removed by simply shaking it.
4. The spray nozzle has become clogged due to a build-up of dried liquid or solid residues from the product itself.
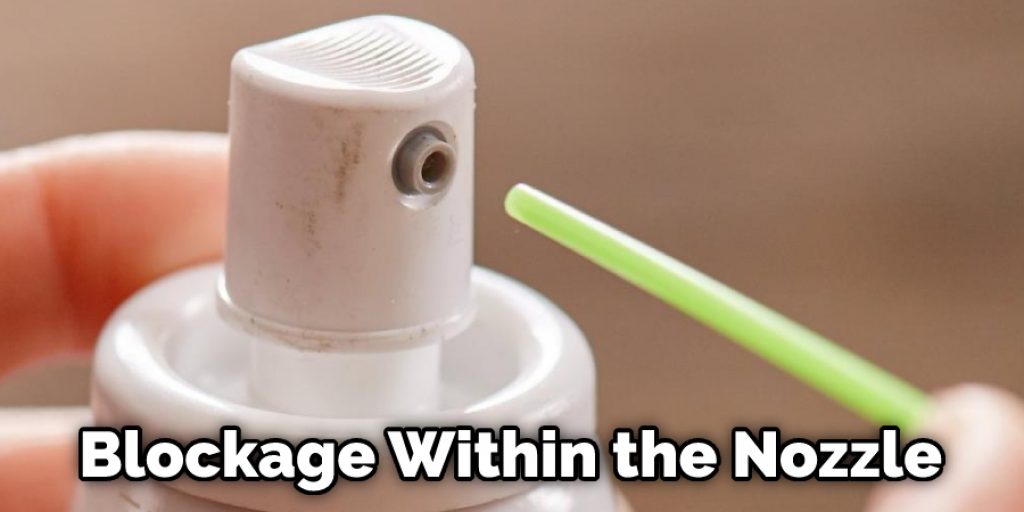
5. There is a blockage within the nozzle blocking it from being able to spray when it reaches temperature.
How Do You Unclog a Lysol Spray
If you own a Lysol can that won’t spray, then you are probably wondering if the product is defective or if there is something that can be done to fix it. Fortunately for you, bad spraying cans aren’t very common; but they happen occasionally. Fortunately for us all, most of these clogs are easy to unclog.
In most cases, the clog is inside the spray nozzle, which can be easily removed from the top of the can. The first step is to place the can upside-down on a flat surface. Then, remove the black cap from the top of the can; you might need to tap it out gently. Inside, you should see a small straw sticking up from a hole in the threaded neck of the can. That’s your nozzle.
You Can Check It Out to: Fix Wind Noise From Car Door
Frequently Asked Questions
What Is Used to Pressurize Spray Cans?
A hand press is a machine that uses human muscle power to help push the air out of a can or bottle. It’s used for food and beverage products, such as tomato sauce and ketchup because it eliminates the need for preservatives. A hand press also allows you to make small batches of the product instead of large quantities, which is beneficial if you are trying to avoid certain ingredients in your diet (such as soy).
There are two types of hand presses: manual and electric. Manual hand presses use your own muscles to compress the diaphoresis chamber against a diaphragm, while electric presses use an electric motor to do the same thing.
Can You Repressurise a Spray Can?
it depends on the make and model of the spray can. However, if you are attempting to repressurize a spray can, then you should first attempt to remove any residual propellant with an open flame or heat source. If this fails, then you may need to resort to using special gas-dispensing equipment that is specifically designed for this purpose.
What Do You Do if a Spray Bottle Doesn’t Work?
Firstly, if the nozzle is clogged, you should try to clear it using a water rinse. If that doesn’t work, you can try to remove the nozzle using a small screwdriver or knife. If that still doesn’t work, you might have to take the entire spray bottle apart to get to the nozzle.
Why Do Aerosol Cans Explode if Heated?
Aerosols, including can spray paint and air fresheners, are filled with gas that is under pressure. When the can is heated, this compressed gas expands and causes an explosion. This happens most often when aerosols are heated in direct sunlight or on hot surfaces like grills or cars.
If you’re using aerosols outdoors, it’s important to avoid heating them above 125 degrees Fahrenheit (51 degrees Celsius). And if your aerosol does explode, don’t attempt to extinguish the fire yourself; dial 911 immediately!
Conclusion
The Lysol can that won’t spray is a frustrating problem for people to deal with. Luckily, there are some steps you can take to troubleshoot this issue and get your product working again. First, you will need to disassemble the nozzle by removing it from its housing on the canister body. Next, clean out any debris clogging up the nozzle carefully so you don’t damage it or allow anything else into where they shouldn’t be going.
Once everything has been cleaned off, reattach the nozzle onto the top of the container’s metal cylinder before putting back together what was taken apart during cleaning. We hope this blog post provided you with solutions on how to fix a lysol can that won’t spray. If you have any questions or want to learn more, then feel free to comment below!
You Can Check It Out to: Fix Digital Tap Triggers