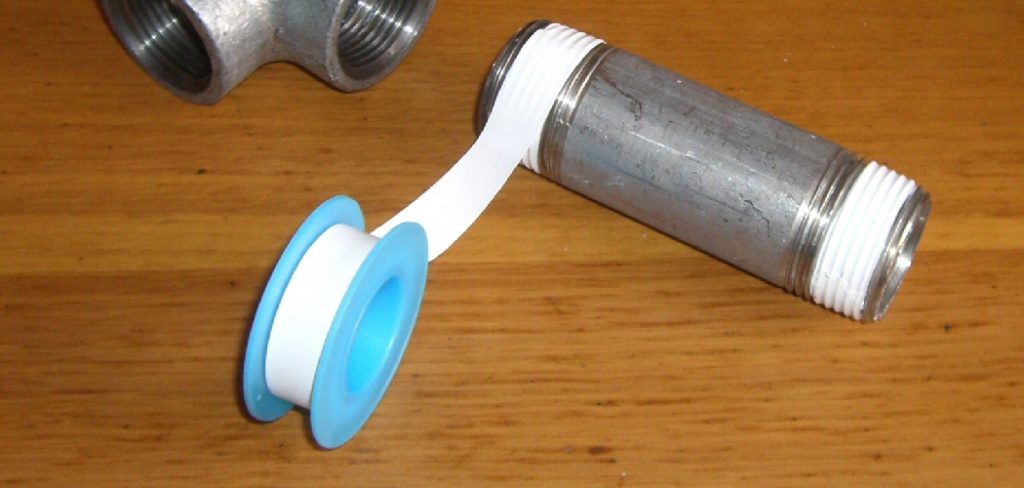
Plumbers tape is a type of adhesive tape that is used to seal pipe threads. It is also known as Teflon tape, PTFE tape, or simply thread seal tape. Plumbers tape is available in a variety of widths and thicknesses, but it is typically white in color.
Have you ever had a leaky faucet or pipe? If so, you know how annoying and costly it can be. But did you know that there is an easy way to fix leaks using plumbers tape?
Leaks can be a big hassle. If you’re dealing with one, it’s important to take care of the problem as soon as possible. This blog post will teach you how to fix a leak with plumbers tape. Keep reading for more tips on how to fix leaks fast!
Summary: A leaking pipe can cause a lot of damage and create a mess. This blog post will provide a step-by-step guide on how to repair the leak using plumbers tape. Learn how to locate the source, turn off the water supply and drain the water from the pipes. Also find out how to remove the fixture, clean and apply tape, screw it back in place, test for leaks.
Is Plumbers Tape Safe to Fix Any Leak?
Plumbers tape is an easy and effective way to fix most leaks. It is made of a durable material that can withstand high temperatures and pressure, making it ideal for sealing pipe threads. However, you should remember a few things before using plumbers’ tape to fix a leak.
First, make sure the area around the leak is clean and dry. Any dirt or debris will prevent the tape from adhering properly, so starting with a clean surface is important.
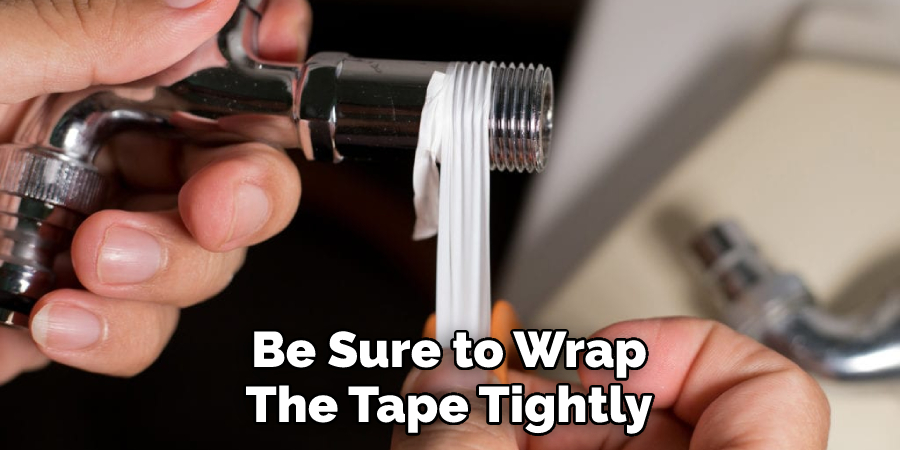
Next, apply the tape to the threaded area of the pipe. Wrap the tape around the threads in a clockwise direction, making sure to cover the entire surface. It’s important to wrap the tape tightly so that it forms a watertight seal.
Finally, screw the pipe back into place and turn on the water. Check for any leaks and make sure the plumbers tape is holding up before using the plumbing fixture.
Plumbers tape is a great way to fix most leaks, but it’s not suitable for all types of leaks. If you’re not sure whether or not plumbers tape will work for your leak, contact a professional plumber for assistance.
9 Steps on How to Fix a Leak With Plumbers Tape
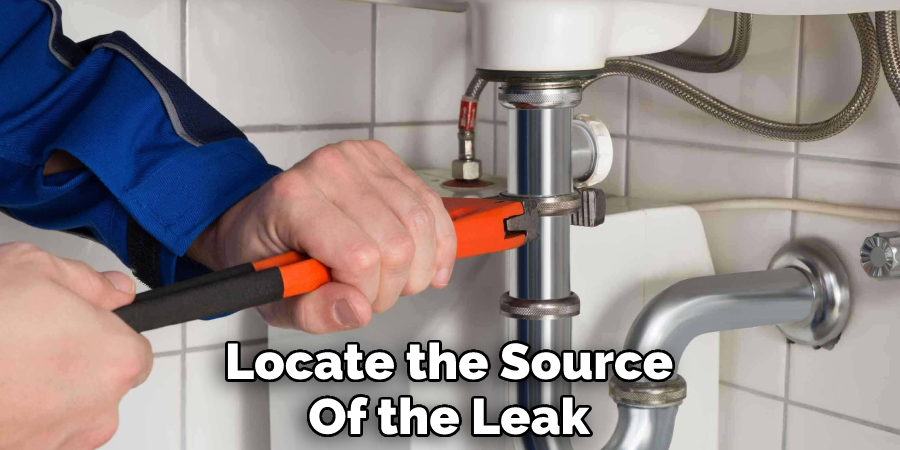
1. Locate the Source
Locate the source of the leak. This may be a dripping faucet, a leaking pipe, or a hole in your plumbing. You can find the source of the leak by looking for wet spots on your walls, ceilings, or floors. Another way to locate the leak is to turn off all water appliances in your home and then check your water meter. If the needle on the meter is moving, that means there is a water leak somewhere in your home. Be careful not to confuse the leak with condensation, which can also cause wet spots on your walls or ceilings.
2. Turn off the Water Supply
Once you’ve located the leak, turn off the water supply to your home. This will prevent any further damage from occurring. Make sure to turn off the power to your home as well, as water and electricity don’t mix! Because you’ll be working with water, it’s always better to err on the side of caution.
3. Drain the Water From the Pipes
Now that you’ve turned off the water supply, water will still be in the pipes. To get rid of this water, turn on all the faucets in your home and let the water drain out. Once the water has drained, turn off the faucets and dry the area around the leak.
4. Remove the Fixture
Now that the water is turned off, you can remove the leaking fixture. This may involve unscrewing some screws or bolts, depending on the fixture type. Once the fixture is removed, take a look at the area around the leak. If there is any damage, such as a cracked pipe, you’ll need to repair or replace that section before continuing.
5. Clean the Surface
Clean the surface around the leak with a clean cloth. Be sure to remove any dirt, grime, or debris. This will ensure that the plumber’s tape will adhere properly. If dirt or debris is present, the tape may not stick or may come loose over time.
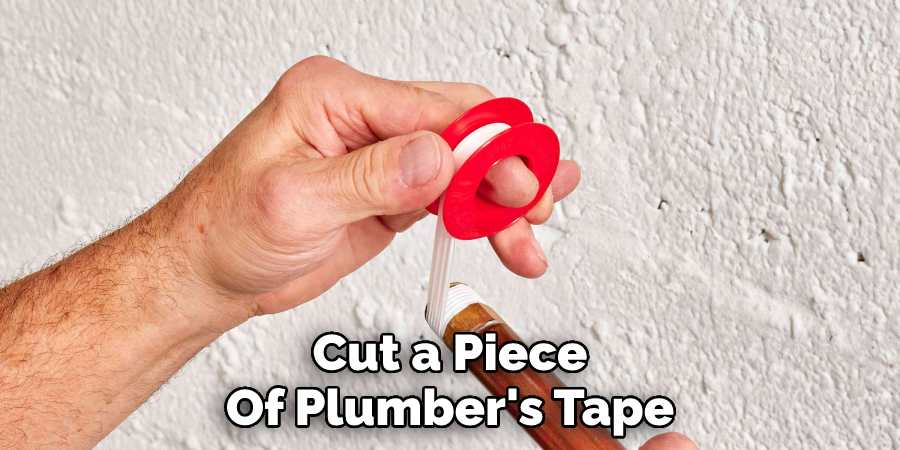
6. Apply the Tape
Cut a piece of plumber’s tape that is long enough to wrap around the pipe. Wrap the tape around the pipe clockwise, covering the entire surface. It’s important to wrap the tape tightly to form a watertight seal. If the tape is too loose, water may still leak through.
7. Screw the Fixture Back in Place
Screw the fixture back into place. Be careful not to overtighten the screws or bolts, as this could damage the pipe. Once the fixture is snug, turn on the water supply to your home and check for leaks.
8. Test for Leaks
Turn on the water to your home and test the area around the leak for any signs of water. If there are no leaks, you’re all set! If there are still leaks, check to see if the plumber’s tape is properly applied. If the tape is not applied correctly, remove it and reapply it. Make sure to press the tape firmly into place to make good contact with the surface.
9. Contact a Professional
If you’re still having trouble fixing the leak, or if you don’t feel confident in your ability to do so, contact a professional plumber for assistance. They will be able to help you identify the source of the leak and repair it properly.
Now that your leak is fixed, you can enjoy your home without worrying about water damage. Plumber’s tape is a quick and easy way to fix most leaks, so be sure to keep some on hand in case of emergencies.
Additional Tips and Tricks
- If you’re not sure whether or not a plumbers tape will work for your leak, contact a professional plumber for assistance.
- Be sure to wrap the tape tightly and in a clockwise direction. This will ensure a watertight seal.
- Check for leaks by turning on all the faucets in your home. If there are no leaks, then the plumber’s tape has done its job!
- Plumber’s tape is a quick and easy way to fix most leaks, so be sure to keep some on hand in case of emergencies.
- Make sure to press the tape firmly into place to make good contact with the surface. This will create a stronger seal and help prevent leaks.
I hope these tips and tricks were helpful. Thanks for reading!
Few Precautions You Need to Be Taken
Before you start repairing the leak, it is important to take a few safety precautions.
- Ensure that the area around the leak is dry and clean.
- Turn off the water supply to the leaking fixture or pipe.
- Put on a pair of rubber gloves to protect your hands from getting wet.
- You may also want to wear goggles to keep water out of your eyes.
- Begin by wrapping plumbers tape around the threaded portion of the pipe or fitting.
Now that you have taken the necessary safety precautions, you can begin repairing the leak.
Can Plumbers Tape Be Used on All Pipes?
Plumbers tape can be used on most types of pipes, including metal, plastic, and rubber.
However, it is not recommended for use on galvanized steel or copper pipes. Because these materials are not as smooth as other types of pipes, the tape may not adhere properly and could cause more leaks.
If you’re unsure whether or not plumbers tape will work for your leak, it is best to contact a professional plumber for assistance.
When Should You Use Plumbers Tape?
Plumbers tape should be used whenever you need to repair a leak in a pipe or fitting.
It is a quick and easy way to fix most leaks, so be sure to keep some on hand in case of emergencies.
Plumbers tape can also be used as a preventative measure. If you know that a pipe or fitting is loose, you can wrap it with tape to help prevent leaks.
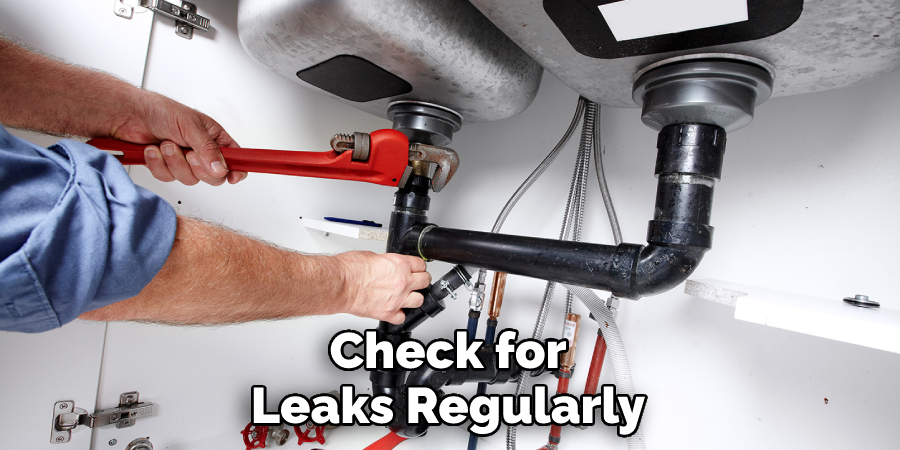
How Often Should You Check for Leaks?
It is a good idea to check for leaks regularly, especially if you live in an area with high water pressure. Because plumbing tape is designed to be used with water, it will eventually degrade and need to be replaced. How often you need to replace it depends on the severity of the leak and the amount of water pressure in your pipes.
If you have a small leak, you may be able to get away with checking it once a month. However, if you have a larger leak or live in an area with high water pressure, you may need to check it more frequently.
If you find a leak, it is important to repair it as soon as possible to prevent further damage.
Conclusion
In conclusion, do not hesitate to call a plumber if you are experiencing a leak in your home. By using the proper tools and following these simple steps, you can fix the leak yourself and save money on repair costs. Remember, always use caution when working with water pipes and be sure to turn off the water supply before beginning any repairs.
Hopefully, this article has provided you with the information you need on how to fix a leak with plumbers tape.
So, there you have it. If you’re ever faced with a leaky faucet or pipe, don’t despair – just grab some plumbers tape and fix it like a pro.