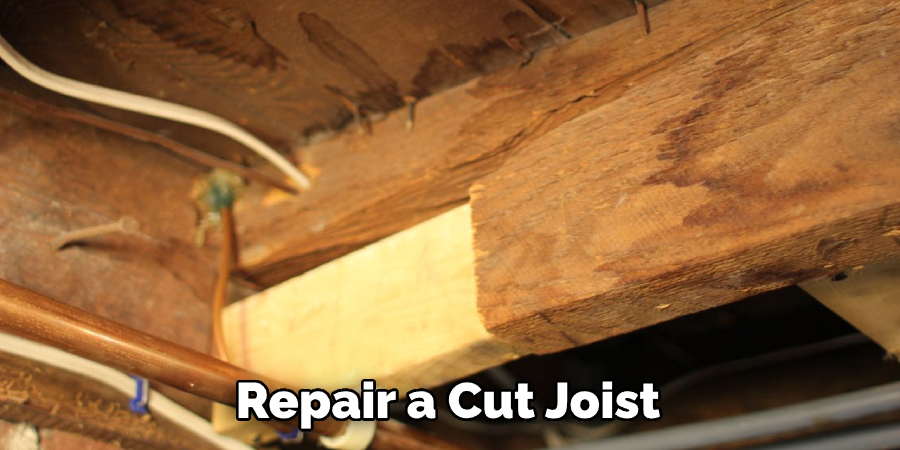
Cut joist is a very common problem that plumbers experience. To fix a cut joist, the first thing you need to do is identify the source of the problem. Once you have identified the source of the problem, you need to determine the best way to repair the damage. There are several different ways that you can repair a cut joist.
If you have a cut joist, it is important to fix it as soon as possible. A cut joist can weaken the overall structure of your home and lead to serious damage. This blog post will show you how to fix a cut joist by plumbers. We will also provide some tips for preventing future damage. Let’s get started!
Summary: If you are experiencing a problem with your joists, there is a quick and easy solution. A plumber can fix the cut by using a special tool to reopen the cut and hold it in place with a clamp until the wood heals.
What Can Damage a Cut Joist?
There are many things that can damage or destroy a cut joist. The most common are:
- Water can cause the wood to warp, split, and rot. It can also freeze and thaw, damaging the wood’s integrity.
- UV rays from the sun can cause the wood to fade and become brittle.
- Insects can bore into the wood, causing it to weaken and eventually break.
- Mold can grow on the wood, causing it to rot and weaken its structure.
- Fire can obviously cause severe damage to wood, charring it and making it weak.
Materials and Tools You Need
To fix a cut joist, you will need the following materials:
- Wood glue
- Caulk
- Clamps
- Plywood
- Screws
- You will also need the following tools:
- Saw (hand saw or power saw)
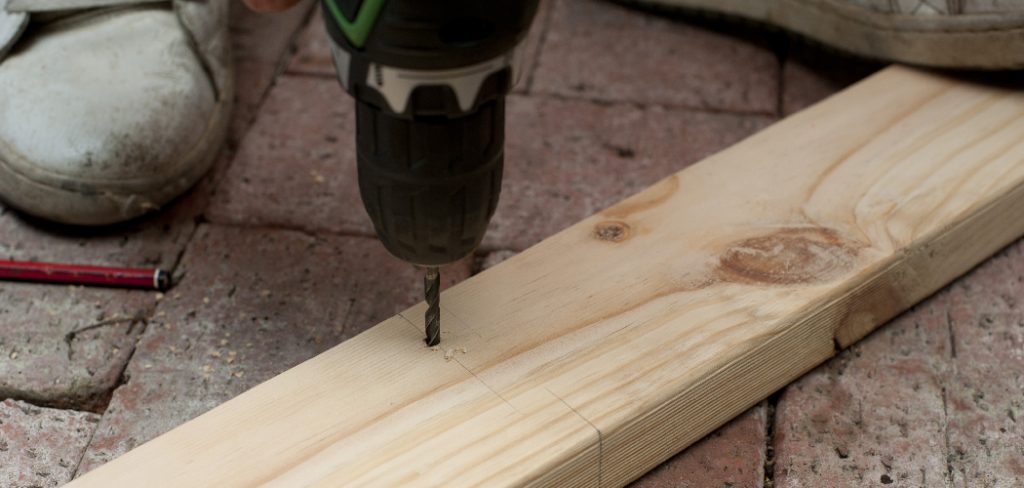
- Drill
- Hammer
Using these tools, you can easily fix your cut joist in no time.
10 Steps on How to Fix a Cut Joist by Plumbers
1. Source Identification
The first step is to identify the source of the problem. If you can find the source, you can easily fix the problem. Several sources can cause a cut joist. Make sure to inspect the entire area to find the source of the problem. Otherwise, you will not be able to fix it.
2. Measuring the Damage
After identifying the source of the problem, you need to measure the damage. This will help you determine the best way to repair it. To measure the damage, you need to:
- Measure the length of the cut.
- Measure the width of the cut.
- Measure the depth of the cut.
3. Choose the Right Repair Method
There are several different ways to repair a cut joist. The best way to choose the right method is to consider the extent of the damage. If the damage is minor, you can use wood glue or caulk. However, if the damage is severe, you may need to replace the entire joist.
4. Preparing the Area
Once you have chosen the right repair method, you must prepare the area for repair. This includes cleaning the area and removing any debris. Make sure that the area is dry before proceeding to the next step. Because water can cause the wood to warp, split, and rot.
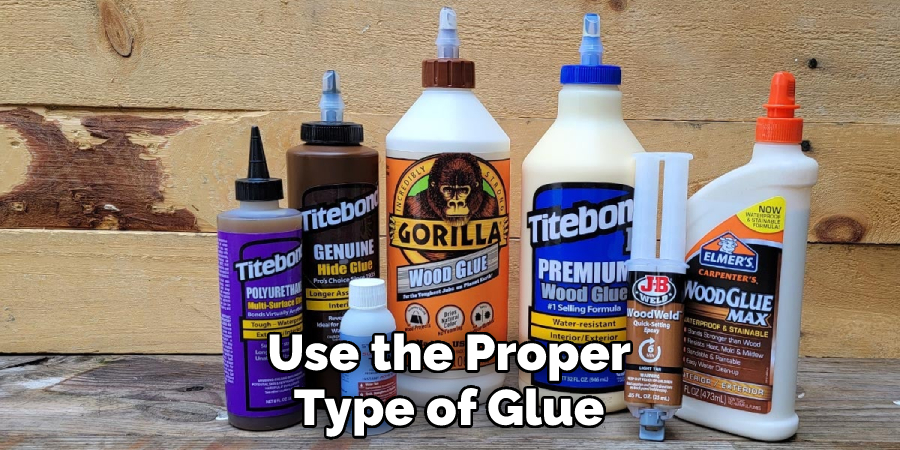
5. Applying the Glue or Caulk
If you have chosen to use wood glue or caulk, the next step is to apply it to the area. To do this, you must apply a generous amount of glue or caulk to the area. Use a putty knife or caulk gun to spread it evenly. Be careful not to apply too much pressure as this can damage the wood.
6. Clamping the Area
After applying the glue or caulk, you need to clamp the area. This will hold the area in place while it dries. To do this, you can use C-clamps, pipe clamps, or bar clamps. Make sure the clamps are tight so the area does not move. If the move, it can cause the repair to fail.
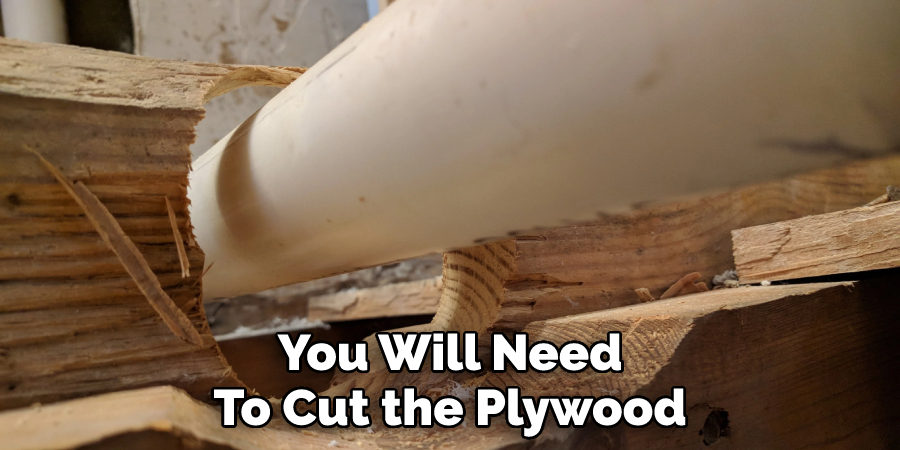
7. Applying the Plywood
If you are replacing the entire joist, the next step is to apply the plywood. To do this, you need to cut a piece of plywood that is the same size as the joist. Then, you need to attach it to the joist using screws. Make sure that you use enough screws so that the plywood is secure.
If you only repair a joist section, you will need to cut the plywood to fit the repair area. Then, you will need to attach it to the joist using screws. Make sure that you use enough screws so that the plywood is secure.
8. Applying the Finish
After the repair is complete, you need to apply a finish. This will protect the wood and make it look new again. You can use paint, stain, or sealant. Using sealant is the best option because it will protect the wood from water damage and rot. Apply the finish to the entire repair area, not just the cut joist. Let the finish dry completely before using the repaired area.
9. Inspect the Repair
After the repair is complete, it is important to inspect it regularly. Check for any signs of weakness or instability. This step is especially important if you are repairing a load-bearing joist. If you find any problems, you will need to repair them immediately.
10. Enjoy Your Newly Repaired Joist
After following these steps, you will have a newly repaired joist. You can now use it without worry. Be sure to inspect it regularly and repair any problems that you find. With proper care, your joist will last for many years.
By following these steps, you can easily fix a cut joist. Your joist will be as good as new with the right repair method.
Additional Tips and Tricks
- You can use a piece of wood to help support the joist while you’re fixing it.
- Make sure that the area around the cut is clean and free of debris before beginning repairs.
- If possible, try to overlap the repair area with another piece of wood to add extra strength.
- Be sure to use the proper type of glue or adhesive when making repairs.
- Use clamps to hold the pieces in place while the glue dries.
- Once the repair is complete, sand down any rough edges and finish as desired.
I hope these tips will help you with how to fix cut joists by plumbers. Thanks for reading!
Preventive Measures You Can Take to Avoid Cutting Your Joist
As a plumber, a cut joist is one of the most common problems you’ll encounter. Fortunately, you can take some preventive measures to avoid cutting your joist in the first place.
1. Use a sharp blade when cutting plumbing pipes. A dull blade will cause the pipe to bind, making it more difficult to cut and increasing the likelihood of cutting your joist.
2. Use a pipe cutter with a guide to help ensure a straight cut. This will help minimize the risk of cutting your joist.
3. When possible, avoid cutting pipes that are close to your joist. If you must cut a pipe that is close to your joist, use a hand saw instead of a power saw. This will help reduce the likelihood of cutting your joist.
4. Use caution when cutting through nails or screws. If you hit a nail or screw while cutting, it could cause the blade to deflect and cut your joist.
5. Make sure your saw is properly lubricated. A well-lubricated saw will run more smoothly and decrease the likelihood of cutting your joist.
Taking preventive measures is the best way to avoid cutting your joist. Following these tips can help ensure that your joist stays intact and in good condition.
How Can You Replace a Section of the Joist With Plumbers?
If you have cut a joist section, you will need to replace it with a new piece of wood. This can be done by a plumber or someone with experience in carpentry.
- Cut a new piece of wood to the same size and shape as the damaged joist.
- Attach the new piece of wood to the joist with nails or screws.
- Cover the new piece of wood with a sealant or paint to match the rest of the joist.
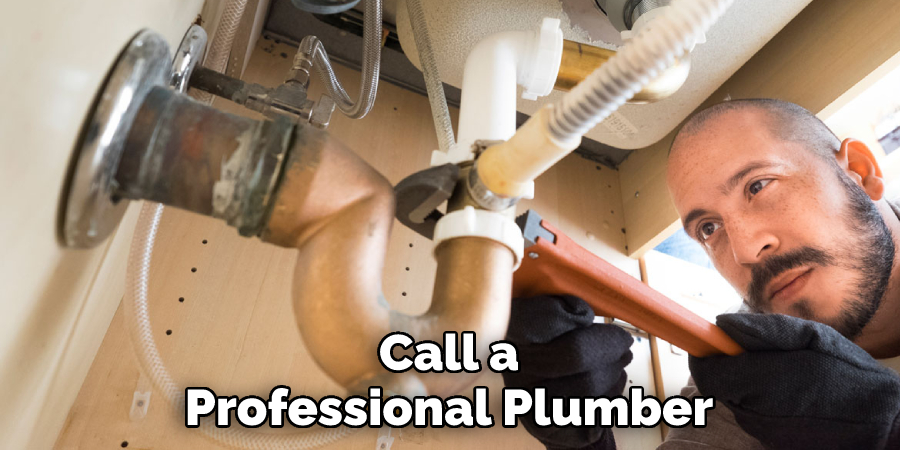
If you are not confident in replacing the joist, it is best to call a professional plumber or carpenter to do the job for you.
Conclusion
Always be prepared for the worst case scenario by having a few tools on hand. This way, if something goes wrong, you can take care of it yourself and avoid calling a professional. We hope you never have to use this information, but it’s always better to be safe than sorry.
In conclusion, if you have a cut joist in your home, it is important to take action quickly and fix the problem. By following the steps we outlined in this blog post, you can make sure that your home is safe and sound.
Hopefully, the blog post answered your question about how to fix a cut joist by plumbers. Have you ever had to fix a cut joist? If so, tell us about your experience in the comments below. Thanks for reading!