If you have a cracked head, it is important to fix it as soon as possible. A cracked head can cause water to seep into the engine, damaging the internals and leading to costly repairs. This article will show you how to fix a cracked head using epoxy. We will also discuss the benefits of fixing a crack in your head early on. Keep reading for more information.
Summary: If your head is cracked, there are several ways to fix it. You can use a hair dryer on low heat to smooth the cracks and then seal them with a clear adhesive. You can also use super-glue to fill in the cracks and make them disappear. Finally, you can go for a full head reconstruction with a new mold made from your old head.
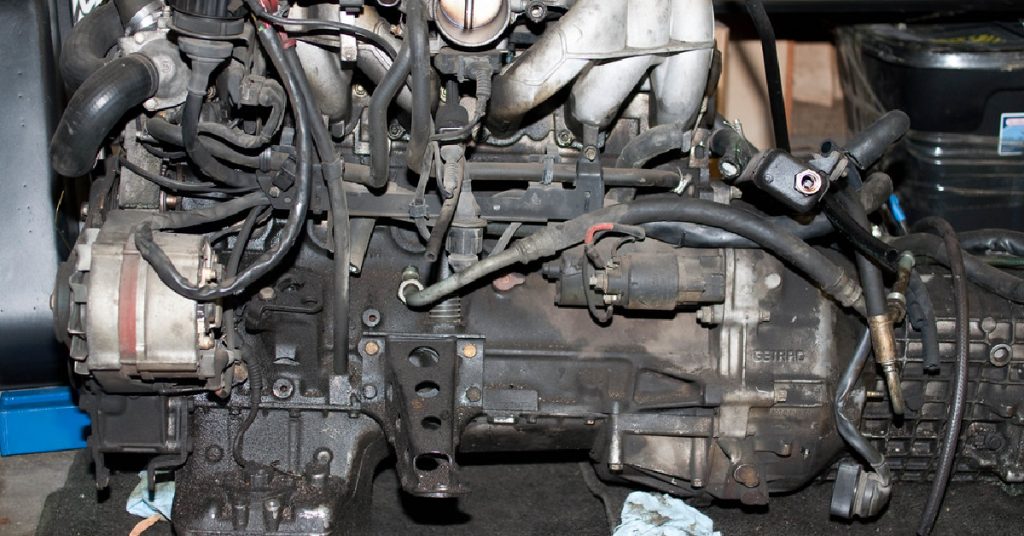
What Causes Cracks in the Head?
There are a few different things that can cause cracks in your cylinder head, including:
Overheating:
If your engine overheats, the metal can expand and contract, causing cracks. It’s important to keep your engine cool to prevent this from happening. Overheating can also cause warping, which can lead to more serious problems.
Incorrect installation:
If you don’t install the head correctly, it can cause stress on the metal and lead to cracking. Therefore, be sure to follow the manufacturer’s instructions carefully when installing your head.
Poor Maintenance:
If you don’t take care of your engine, it can get dirty and clogged. This can cause the head to crack over time. To avoid this, make sure you regularly clean your engine and change the oil.
Physical Damage:
Cracks in your engine can be caused by physical damage, like dropping it or running into something. So be careful with your engine and try to avoid anything that could damage it.
A Complete Guide on How to Fix a Cracked Head
1. Clean the Area
The first step is to clean the area around the crack. This will help the epoxy to adhere to the head better. Next, use a wire brush or sandpaper to remove any dirt or debris from the area. Clean the area until it is shiny.

2. Inspect the Crack
Once the area is clean, you can inspect the crack. Make sure that the crack is not too deep or wide. If it is, you may need to have the head replaced. Use a magnifying glass to get a better look at the crack. Once the crack has been examined, you will want to clean it out. You can do this by taking a small piece of sandpaper and rubbing the crack. This will remove any dirt or debris that may be in the crack. If you are unable to remove all of the debris, you may need to take the head to a professional.
3. Prepare the Epoxy
Now, you will need to mix the epoxy. You will be using a two-part epoxy. This means that there are two different tubes that you will need to mix to create the epoxy. The instructions on the back of the epoxy will tell you what ratio to mix the two parts in
4. Apply the Epoxy
Once the epoxy is mixed, you can apply it to the crack. Use a putty knife or other tool to spread the epoxy into the crack. Make sure to get the epoxy into all of the nooks and crannies. You want to make sure that the epoxy forms a good seal. If the epoxy is too thick, you can add a little bit of water to thin it out.
5. Allow the Epoxy to Dry
After applying the epoxy, you will need to allow it to dry. The instructions on the epoxy will tell you how long it takes for the epoxy to dry. Once it is dry, you can then proceed to the next step. Use a hair dryer to speed up the drying process, if necessary.
6. Sand the Area
Once the epoxy has dried, you will need to sand the area. Use fine-grit sandpaper to avoid damaging the surrounding area. Sand until the epoxy is flush with the surface of the head. If the epoxy is not flush, it will create a bump that will need to be sanded down.
7. Paint the Area
Now, you will need to paint the area. This will help to protect the epoxy and make it less visible. Use a paint that is resistant to high temperatures and is the same color as the rest of the engine. Apply a thin layer of paint and let it dry completely before moving on.
8. Reinstall the Head
Once the paint is dry, you can reinstall the head. Make sure to follow the manufacturer’s instructions carefully. Torque the bolts to the specified amount, and then use a torque wrench to check that they’re tight. You don’t want the head to come loose while you’re driving.
9. Check for Leaks
Now, you will need to check for leaks. Start the engine and let it run for a few minutes. Then, turn it off and check the coolant level. If it is low, then you probably leak. You will need to repair the leak.
10. Refill the Coolant
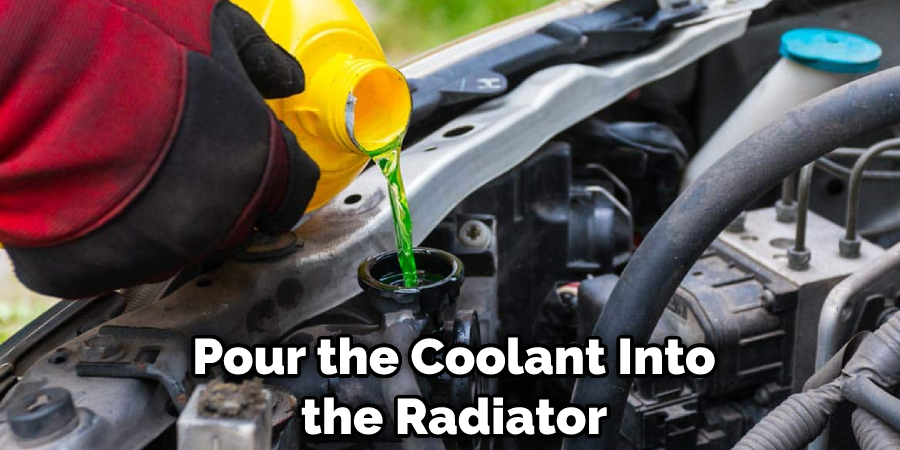
Once you have repaired the leak, you will need to refill the coolant. Make sure to use the correct type of coolant for your engine. Use a 50/50 mix of coolant and water for best results. Pour the coolant into the radiator until it is full. Start the engine and let it run for a few minutes. Check the coolant level and add more if necessary. Let the engine cool completely before adding more coolant.
11. Bleed the Coolant System
After you have refilled the coolant, you will need to bleed the coolant system. This will remove any air bubbles that may be in the system. Start the engine and let it run until it reaches operating temperature. Then, turn the engine off and open the radiator cap. Place a funnel in the radiator neck and slowly pour coolant into the funnel. Continue to add coolant until the level is at the full line. Close the radiator cap and let the engine cool completely.
12. Check the Oil Level
After you have bled the coolant system, you will need to check the oil level. If the oil level is low, add more oil until it reaches the full line. You don’t want to overfill the oil, so be careful not to add too much. Use a clean cloth to wipe away any oil that may have spilled.
13. Start the Engine
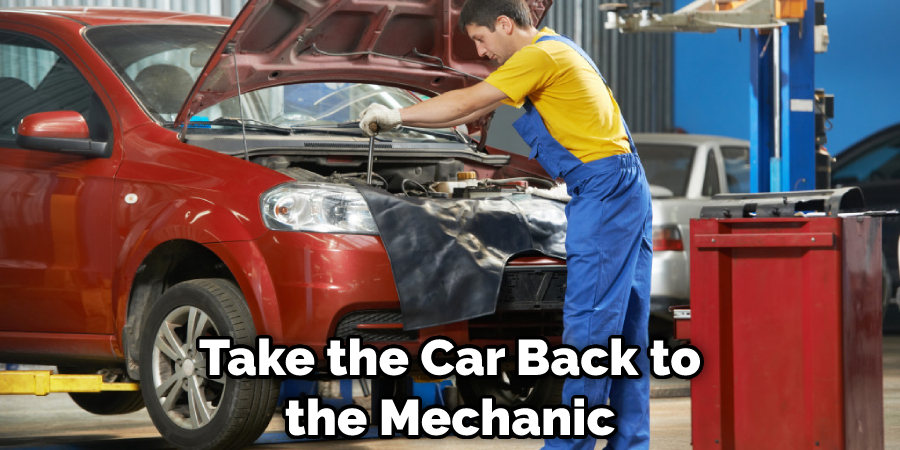
Now, you can start the engine. Let it run for a few minutes to ensure everything is working properly. Check leakages and the oil level again. If everything looks good, you’re finished. If you have any problems, you must take the car to a mechanic.
14. Test Drive the Vehicle
After you have finished all of the above steps, you can take the car for a test drive. Make sure to drive it safely and watch for any problems. If you notice anything unusual, take the car back to the mechanic to have it checked out.
You Can Check It Out to Fix a Bent Radiator Support
How Much Does It Cost to Fix a Cracked Head?
The cost of fixing a cracked head can vary depending on the damage’s severity and the engine type. If the damage is minor, you may be able to get away with just replacing the gasket. However, if the damage is more severe, you may need to replace the head. The cost of replacing the head can range from $1000 to $3000, depending on the engine type. If you have a V8 engine, you can expect to pay on the higher end of that range.
Tips and Warnings on How to Fix a Cracked Head:
Tips:
- Check the engine block and cylinder head for cracks before starting any repair.
- If the cracks are small, they can often be repaired with epoxy or metal filler.
- If the cracks are large, the best option is to replace the cylinder head.
- Always follow the instructions that come with the repair kit to ensure the best results.
Warnings:
- Never attempt to repair a cracked cylinder head without first consulting a professional mechanic.
- Always follow the manufacturer’s instructions when using epoxy or metal filler to repair cracks.
- Be sure to regularly check the engine block and cylinder head for cracks to prevent further damage.
Frequently Asked Questions
Will a Car Run With a Cracked Head?
A car with a cracked head can still run, but it will eventually lead to engine failure. The cracks will cause coolant and oil to leak, damaging the engine. Getting the problem fixed as soon as possible is best to avoid further damage is best. If you’re experiencing engine problems, take the car to a mechanic to have it checked out.
What Is the Best Cracked Head Sealer?
There are a few different options for cracked head sealers, but the best one to use depends on the severity of the damage. For small cracks, you can use epoxy or metal filler. For larger cracks, you will need to replace the cylinder head. But The best sealer is, Topseal, Flex Seal, J-B Weld and Permatex.
Does Copper Head Gasket Spray Work?
Copper head gasket spray can temporarily fix a cracked head, but it is not a permanent solution. The spray will seal the cracks and prevent coolant and oil from leaking, but it will not last forever. Eventually, the spray will wear away, and the cracks will reappear.
Conclusion
So now that you know how to fix a cracked head on your engine get out there and do it! It’s an easy process and can save you from buying a whole new engine. Always consult a professional if you are unsure about any of the steps involved in this process. Happy repairing.