Have you ever been driving along and noticed the temperature of your car climbing dangerously high? If so, it may be time to check under the hood. One common cause of overheating is a cracked coolant reservoir. While this can seem daunting, with some basic know-how you can fix a cracked coolant reservoir yourself in no time – saving yourself an expensive visit to the repair shop!
In this blog post, we’ll take a look at how to fix a crack in the coolant reservoir. We’ll also give helpful tips on how to keep any further damage from occurring after repairs are complete.
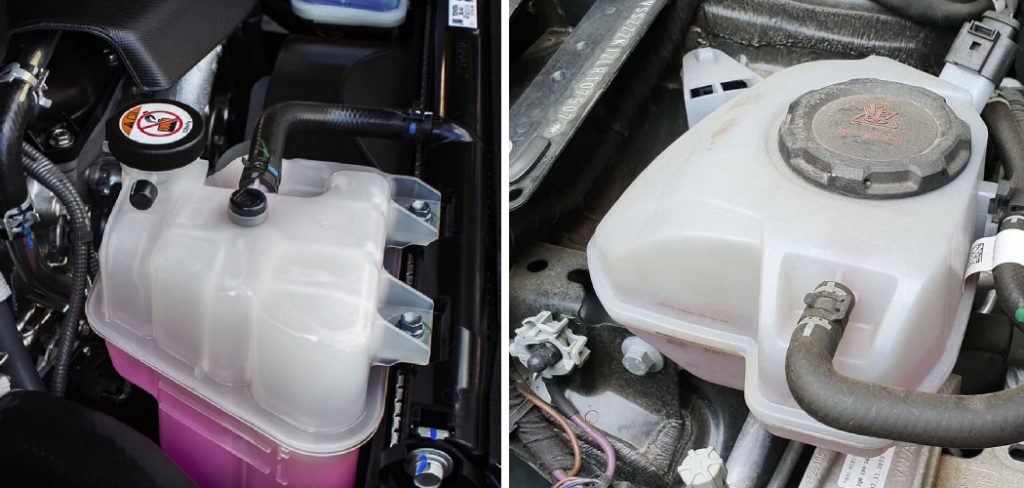
What is a Coolant Reservoir?
Before we jump into repairs, let’s first understand what a coolant reservoir is and its purpose. The coolant reservoir, also known as the coolant expansion tank or overflow tank, is located near the radiator and serves as a holding place for excess coolant. As your car heats up during operation, the coolant expands and needs somewhere to go. The coolant reservoir provides this extra space, ensuring that your car doesn’t overheat or lose too much coolant.
Tools and Materials You Will Need to Fix a Crack in the Coolant Reservoir
- Coolant Reservoir Repair Kit
- Socket Wrench Set
- Rubber Gloves
- Safety Glasses
- Sandpaper or Emery Cloth
- Clean Cloth or Towel
Step-by-step Guidelines on How to Fix a Crack in the Coolant Reservoir
Step 1: Identify the Crack
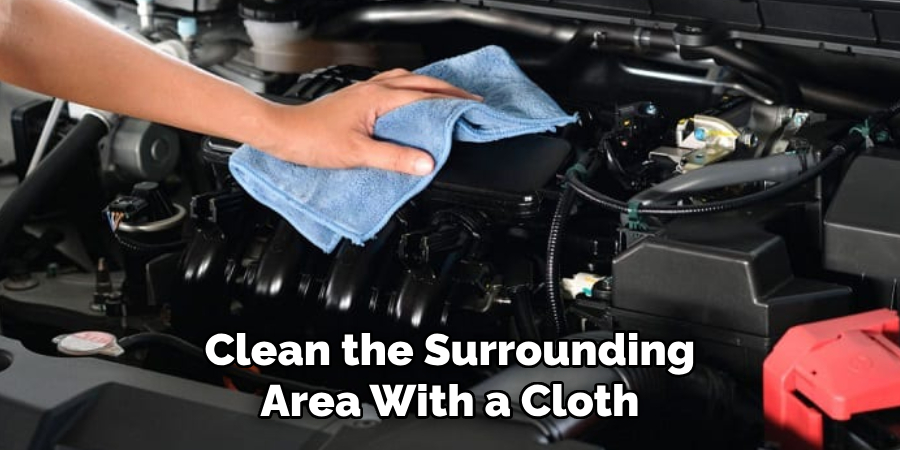
The first step in fixing a crack in the coolant reservoir is to locate it. The crack will often be near one of the mounting brackets, and you may notice coolant leaking from that area. Once you’ve found the crack, clean the surrounding area with a cloth or towel to ensure there is no dirt or debris around it. This is important for proper adhesion of the repair material.
Step 2: Prepare the Repair Material
Using a sandpaper or emery cloth, roughen up the surface around the crack. This will help the repair material adhere better and create a stronger bond. Next, put on your rubber gloves and mix together the materials in your coolant reservoir repair kit according to package directions. This can vary depending on the type of repair kit you’re using, so be sure to follow the instructions carefully.
Step 3: Apply the Repair Material
Using a putty knife or similar tool, apply the repair material over the crack and surrounding area. Make sure to smooth it out evenly and press firmly to ensure proper adhesion. While the repair material is still wet, carefully remove any excess with a clean cloth or towel. Make sure to follow the drying time specified in your repair kit instructions before moving on to the next step.
Step 4: Reinstall the Coolant Reservoir
Once the repair material has dried, it’s time to reinstall the coolant reservoir. Use your socket wrench set to secure any mounting brackets and ensure a tight fit. Double-check all connections and hoses to make sure everything is secure and in place. While you’re at it, take the time to inspect the rest of your coolant system for any other possible issues.
Step 5: Perform a Test Run
After completing the repair, it’s important to perform a test run to ensure everything is working properly. Start your car and let it run for a few minutes while monitoring the temperature gauge. If the temperature stays at a normal level, then congratulations – you have successfully fixed the crack in your coolant reservoir. Make sure to also check for any leaks or other abnormalities before hitting the road.
Following these steps will help you fix a crack in your coolant reservoir and keep your car running smoothly. However, it’s also important to understand that this is only a temporary fix. It’s best to take your car to a professional mechanic for a more permanent solution to prevent any future issues. Remember, regular maintenance checks are key in keeping your vehicle in top shape and preventing costly repairs down the road.

Additional Tips and Tricks to Fix a Crack in the Coolant Reservoir
1. Make sure to clean the area thoroughly before applying any sealant or epoxy. Use a degreaser or rubbing alcohol to remove any dirt, oil, or residue.
2. If the crack is small, using a high-quality adhesive may be enough to seal it. Look for an adhesive specifically designed for plastic materials and follow the instructions carefully.
3. For larger cracks, use a plastic welder or soldering iron to melt the plastic and fuse it back together. This method requires more skill and attention, so it’s recommended for those with experience in welding or soldering.
4. Another option is to use a fiberglass repair kit. These kits come with all the necessary materials and instructions on how to apply them. However, they may not be as effective in sealing larger cracks.
5. If the crack is near a joint or seam, it’s best to replace the entire reservoir instead of trying to fix it. This will ensure a proper and long-lasting repair.
6. To prevent future cracks, make sure to properly maintain your coolant system. Regularly check for leaks and address them immediately to avoid further damage.
7. It’s also important to regularly clean and flush your coolant system to prevent buildup and corrosion, which can weaken the plastic over time.
8. If possible, park your car in a garage or covered area to protect it from extreme temperatures. Exposure to extreme heat or cold can cause the plastic to expand or contract, leading to cracks.

9. In case of an emergency repair, you can also use duct tape or plumber’s epoxy putty as a temporary fix until you can properly repair or replace the reservoir.
10. Remember to always wear protective gear, such as gloves and eye protection, when working with adhesives, sealants, or welding equipment.
Following these additional tips and tricks can help you effectively fix a crack in your coolant reservoir and prevent future cracks from occurring. Remember to always take proper precautions and consult a professional if you feel unsure about handling the repair yourself.
With the right tools and techniques, you can successfully extend the life of your coolant reservoir and keep your car running smoothly. So, be prepared, stay safe, and keep your car in top condition! Happy driving!
Precautions Need to Follow for Fixing a Crack in the Coolant Reservoir
1. First and foremost, make sure to wear protective gear like gloves, goggles, and a face mask. The coolant can be toxic if it comes in contact with your skin or eyes.
2. Allow the engine to cool down completely before attempting any repairs. Opening the reservoir while the engine is still hot can cause steam and hot coolant to spurt out, potentially causing serious burns.
3. If the crack is small, you can try to temporarily fix it with a sealant or epoxy. However, keep in mind that this is only a temporary solution and the reservoir will eventually need to be replaced.
4. If the crack is larger or if the reservoir is severely damaged, it is best to replace it entirely. In this case, make sure to purchase the correct replacement reservoir for your specific make and model of the vehicle.
5. Before removing the old reservoir, take a picture or make note of its position and orientation. This will help when installing the new one.
6. Use caution when removing the reservoir as it may still contain hot coolant. You can use a funnel to drain any remaining coolant into a container for proper disposal.
7. Clean the area around the reservoir and make sure there is no debris or old gasket material left behind.
8. When installing the new reservoir, make sure to properly align it and secure all connections. Double-check that everything is tightly sealed to prevent any leaks.

Following these precautions can help ensure a safe and effective fix for a cracked coolant reservoir. Remember to always follow the manufacturer’s instructions and, if unsure, seek professional assistance. It is also important to regularly check your vehicle’s coolant levels and inspect for any signs of leaks to prevent future issues.
With proper care and maintenance, you can keep your vehicle running smoothly and avoid costly repairs. So, it is always better to take precautions and fix the problem as soon as possible to avoid any further damage. Happy driving!
Conclusion
This blog post has outlined the steps needed to effectively repair a crack in the coolant reservoir of your vehicle. It is important to understand the different components of the cooling system and how each part interacts with each other. Repairing a crack in your coolant reservoir is not a difficult task, but one that requires care and consideration.
By following this guide you should be able to complete this repair quickly and efficiently. Make sure to get help from an automotive expert if you experience any problems or technical difficulties during the process. Remember, it’s always better to prevent than to repair – so keep an eye out for common signs of potential coolant leakage or other issues.
If you’re ever in doubt, don’t hesitate to call an auto technician – they have years of experience and can answer any questions you may have about How to fix a crack in the coolant reservoir.