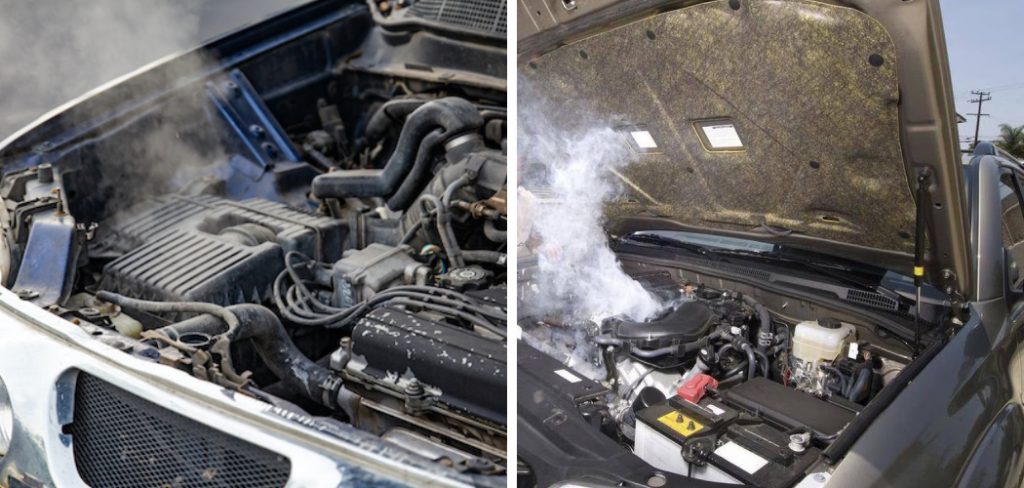
Are you experiencing problems with a blown motor? Don’t worry; not all is lost! There are many easy steps that you can take to help fix it without having to replace the entire motor.
For those who have had the unfortunate experience of having a blown motor, you know it can be intimidating with many potential challenges. You need to identify what caused the blowout: Did something interfere with its performance? Was there a mechanical failure? How much will it cost to replace or repair your motor? Knowing the answers to these questions is essential in properly addressing this issue and getting back up and running again.
In today’s blog post, we’ll explore how to fix a blown motor in order to address any underlying problems and prepare for the fix. Read on to learn more!
What are the causes of a Blown Motor?
Before we dive into fixing a blown motor, let’s take a look at what can cause your motor to blow out in the first place. The most common reasons behind this include:
1. Overheating: When your motor works too hard, it can cause the internal temperatures to rise beyond its capacity. This causes components inside the motor to break down and stop functioning properly.
2. Contamination: Oil or fuel contamination can also lead to a blown motor as debris builds up on key components, leading them to malfunction.
3. Bad Wiring: Faulty wiring can cause electrical shorts which in turn overloads the motor’s circuits and leads to blowouts.
4. Mechanical Failure: Poorly-made or damaged parts are yet another common reason for how a blown motor might occur.
Now that we have identified what could be causing your blown motor let’s move onto how you can address this issue!
What Will You Need?
Before you start the repair process, gathering all the necessary tools and materials you’ll need for the job is important. These include:
- Protective gloves and safety glasses
- A wrench set
- Screwdrivers
- Ratchet socket set
- Wire strippers
- Electrical tape
Once you have all of the necessary materials, you are ready to start the repair process.
10 Easy Steps on How to Fix a Blown Motor
Step 1. Turn Off the Power Source:
The first step is to make sure that the power source of your motor has been turned off. This will help ensure that you can safely repair any issues without fear of getting electrocuted. Don’t forget to unplug or disconnect the power source before you start!

Step 2. Remove the Motor Cover:
Use a screwdriver to remove the cover of your motor and get access to its internal components. Be sure to be gentle and not damage any parts as you do this. Otherwise, you might need to replace the entire motor if it gets too damaged.
Step 3. Locate The Blown Components:
Inspect the interior of your motor and look for any blown components, such as wires, fuses, relays, etc., that could be causing the problem. If you find any, replace them with new ones right away. Because these components are not that difficult to find, you can purchase them from any auto store.
Step 4. Clean Out Any Debris:
Make sure to clean out all debris from inside the motor using compressed air or a brush. This will help prevent further contamination or overheating. If there is still debris present, you may need to open up the motor further to access all of its components.
Step 5. Inspect for Bad Wiring:
Take a look at all the wiring and make sure that it’s in good condition. If there are any frayed or worn out wires, replace them with new ones immediately, as these can be dangerous. Also, inspect how the wires are connected, and if they are not properly connected, reattach them accordingly.
Step 6. Check for Broken Parts:
Check each component inside your motor for any signs of damage, such as cracking, rusting, or wear and tear. If you notice any broken parts, replace them right away using new ones from an auto store. If you have difficulty finding the exact part, you may need to consult a manual or reach out to an expert.

Step 7. Reattach the Cover:
Once you have completed all of the necessary repairs, it’s time to reattach the cover back onto your motor. Be sure to tightly screw in all screws and make sure that everything is firmly secured before powering it on again. Don’t forget to wear protective gloves and safety glasses.
Step 8. Test the Motor:
You can now test out your motor by turning on its power source and seeing how it performs. If everything looks good, then congrats! You’ve successfully fixed a blown motor!
Step 9. Refill Liquid Components:
If there are any liquid components, such as oil or coolant, present in your motor, be sure to refill them up to their recommended levels in order for them to run properly. You can easily find this information on the manufacturer’s website or in a manual.
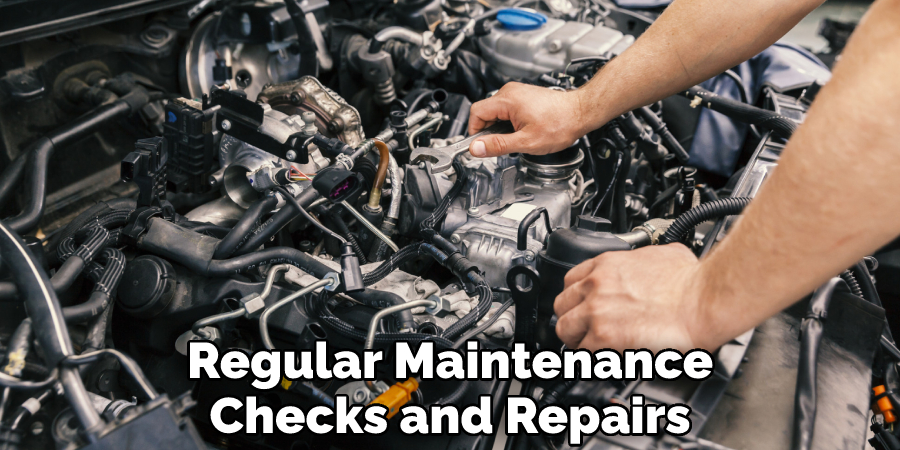
Step 10. Maintenance:
Lastly, if you want to ensure that your motor stays in great condition, then don’t forget to do regular maintenance checks and repairs. This includes periodically inspecting its components and making sure all wires are firmly connected. It also helps to check how much oil and coolant is present inside the motor every once in a while so it can run optimally.
By following these steps, you should now better understand how to fix a blown motor. The process may require some patience, but with the right tools and materials, you can repair your motor in no time successfully!
5 Additional Tips and Tricks
- Inspect the motor to see if it needs cleaning or lubrication. If dirt has accumulated on the motor, use a vacuum cleaner to remove it. Check for any worn out or damaged parts and replace them as needed.
- Make sure that all electrical connections are secure and properly connected. Inspect wires, connectors, and terminals for corrosion, breaks, and loose fittings.
- Check the motor’s current draw by measuring its voltage and amperage levels with a multimeter (an instrument used to measure electric current). If these levels are too high, this could indicate a blown motor due to overheating.
- Inspect the brushes for wear or damage. The brushes should be replaced if they are worn or damaged.
- Test the motor to ensure it’s functioning properly by running it at full speed and ensuring everything functions as expected. If any issues arise, determine the cause and take corrective action as needed.
Finally, double-check all connections, inspect electrical components for corrosion or damage, and replace any worn or damaged parts as necessary to ensure a successful repair of the blown motor. With these steps in mind, you’ll be able to get your motor up and running again in no time!
5 Things You Should Avoid
- Don’t attempt to repair a motor while it is still plugged in. Unplug the power source before starting any process of fixing the motor.
- Do not use any metal tools that may create sparks and cause an explosion or fire.
- Avoid using lubricants other than those specifically recommended for the type of motor you are working on, as these can damage internal components and lead to further malfunctions or even total failure of the motor.
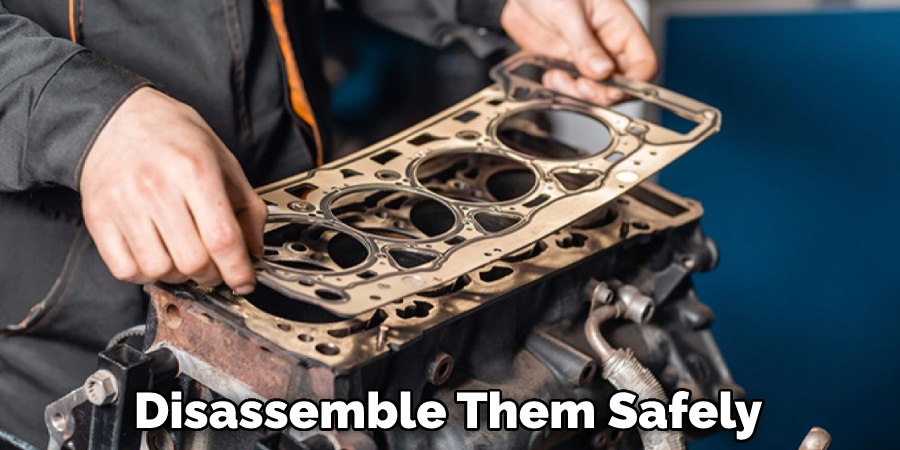
- Don’t attempt to fix a blown motor if you don’t have prior knowledge and experience in how motors work and how to disassemble them safely—this can be dangerous and risky!
- It is also important to avoid repairing the wrong part of a motor. Take the time to research how a motor works and how its components should be connected so that you don’t do more damage than good.
By following these tips and avoiding these mistakes, you’ll be able to fix a blown motor without any troubles or dangers! With the right knowledge and tools in hand, you’ll be able to get your motor running again in no time.
Conclusion
Fixing a blown motor is complicated, but it can be done with the right instructions, supplies, and knowledge of the vehicle. It requires time and determination to ensure each step is done correctly. Removing and replacing old parts with new ones, checking fluid levels, and connecting the wiring harness are part of this process. The importance of performing each task thoroughly and completely cannot be overstated. Once you’ve determined that all components are connected properly, start the car engine to verify that everything has been done correctly.
With proper care and attention to detail, your car will be humming along in no time at all! Fixing a motor can be difficult, but with enough patience and attention to detail, you will soon have your vehicle back in perfect condition!
Hopefully, the article on how to fix a blown motor was useful in helping you understand how the process works. If you found this article helpful, please share it with friends and family who may need help troubleshooting their vehicles.
You Can Check It Out to Fix a Squeaky Furnace Blower Motor