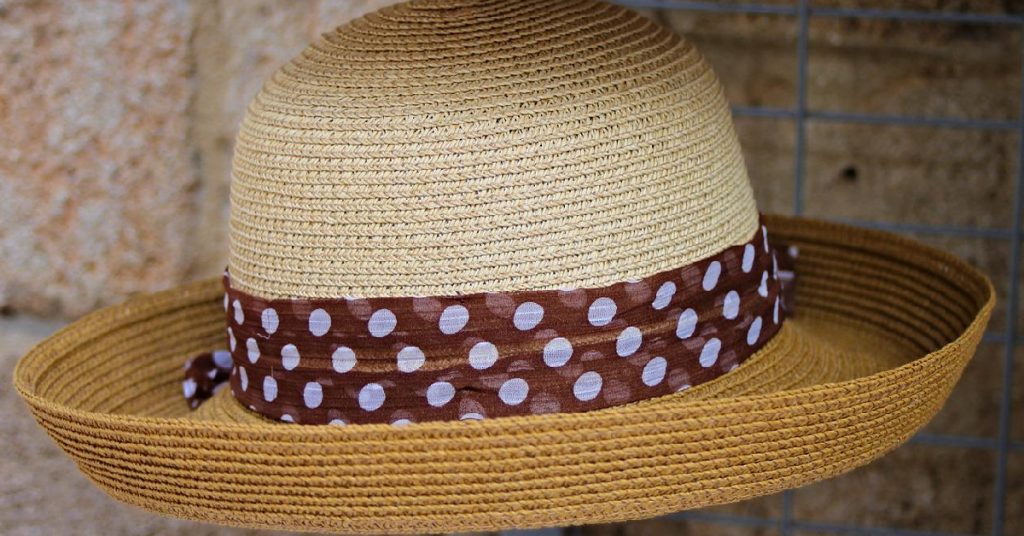
Have you ever had a brim on your hat that became bent out of shape? It can be frustrating when you take the time to pick out a nice, new hat and the brim becomes warped after just one wearing. In this post, we’ll show you how to fix a bent hat brim using some simple steps. Then, read on for tips on keeping your hat great.
Summary: If your hat brim is bent or twisted, there are a few easy steps you can take to try and fix it. First, carefully twist the brim back into shape using your fingers. Next, use a pin or a needle to poke a series of small holes all over the bent brim. Finally, use a thread or ribbon to tie the holes together in a knot.
What Causes a Hat Brim Become Bent?
The brim of a hat can become bent out of shape for a few reasons. One common reason is if the hat is worn too tight. This can cause the brim to warp. Another reason is if the hat gets wet and then dries out while still bent. This can happen if you get caught in the rain or if you accidentally drop your hat in the water. Whatever the reason, a bent brim can ruin the look of an otherwise nice hat.
Things You Will Need
- Hat
- Steamer
- Iron
- Towel
Some Effective Ways – How to Fix a Bent Hat Brim:
1. Use a Steamer
If you’re looking to soften up your hat’s brim, you can try using a steamer. If you have a garment steamer, hold the hat above the steamer and let the steam hit the brim. Do this for a few minutes until the brim is soft. If you don’t have a steamer, you can hold the hat over a pot of boiling water. Just be careful not to get too close to the water, or you’ll end up with a wet hat.
2. Use an Iron
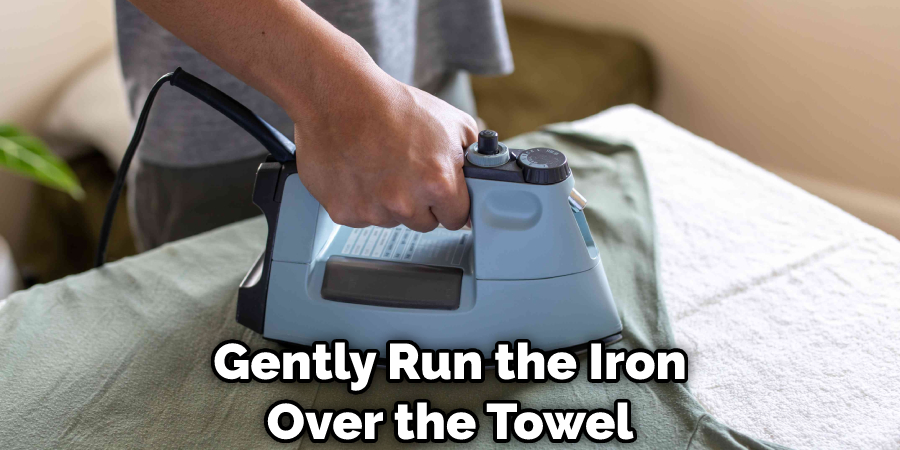
If you want to steam your hat without a steamer, you can try using an iron. First, wet a towel and then place it over the hat’s brim. Next, take your iron and set it to low heat. Finally, gently run the iron over the towel. Be careful not to overdo it, or you could end up with a burnt hat.
3. Use a Hairdryer
Another option is to use a hairdryer. Set the hairdryer to low heat and hold it about 6 inches away from the hat’s brim. Move the hairdryer back and forth until the brim is soft. If the hairdryer is too hot, you could damage the hat. Once the brim is soft, you can mold it into shape. This is a great option if your hat doesn’t have a sweatband and the fabric is getting wrinkled.
4. Use Your Hands
If the above methods for straightening a hat’s brim don’t work, you can try using your hands. First, wet your hands and then rub them over the hat’s brim. Next, use your fingers to straighten out the brim carefully. You may do this a few times to get the desired results. Finally, allow the hat to air dry.
5. Use a Hanger
You can try using a hanger if you’re having trouble getting the brim to stay straight. First, put the hat on your head and use the hanger to hold it in place. Then, gently bend the brim back into shape. You may do this a few times to get the desired results.

6. Use Weights
You can try using weights if you’re still having trouble getting the brim to stay straight. First, wet the brim of the hat and then place small weights on the brim. Allow the hat to dry completely before removing the weights. This method can be used in addition to or instead of the other methods mentioned above.
7. Put It in the Freezer
One unconventional but effective way to fix a bent hat brim is to put it in the freezer. First, wet the brim of the hat with clean water. Next, wrap the wet hat in a plastic bag and place it in the freezer for about an hour. Once the hat has frozen, take it out and shape it as desired. Finally, allow the hat to thaw and dry completely before wearing.
While this method may seem odd, it can be quite effective in reshaping a bent hat brim. The freezing process will make the brim more rigid and easier to manipulate. Just be sure to work quickly so that the hat doesn’t have a chance to thaw too much.
8. Soak It in Water
If you’re still having trouble getting the brim to stay straight, you can try soaking it in water. First, wet the projection of the hat with a small amount of water. Then, use your fingers to shape the brim into the desired shape gently. Once you’re satisfied with the shape, allow the hat to air dry. The water will help to soften the brim, making it easier to reshape temporarily.
9. Use Boiling Water
Another option is to use boiling water. First, make sure the pot you are using is clean. Second, fill the pot with water and place it on the stove. Third, wait for the water to boil before carefully placing the hat in the water. Fourth, let the hat soak for about 30 seconds to a minute. Fifth, remove the hat from the pot and place it on a towel to dry. Sixth, use your hands to reshape the brim. Finally, let the hat air dry or use a hairdryer on the cool setting.
10. Use a Hat Block
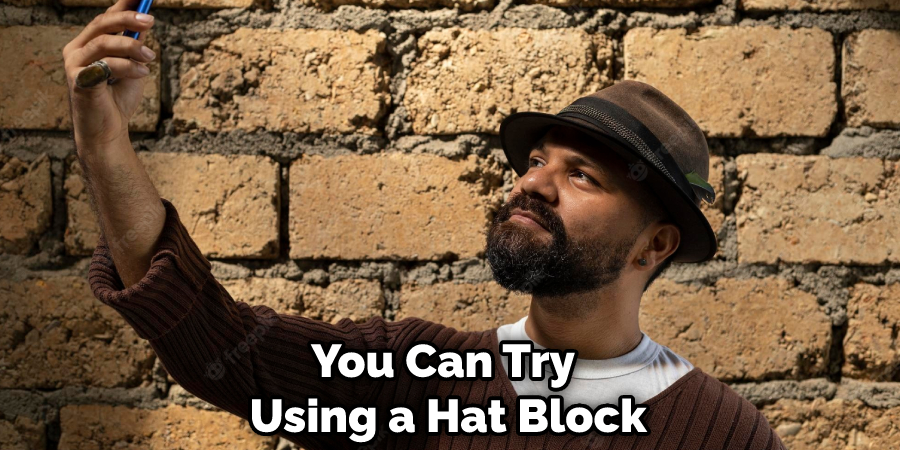
If you want a more permanent solution, you can try using a hat block. First, wet the brim of your hat with warm water. Next, shape your hat brim around the block and allow it to dry. If you don’t have a hat block, you can try using a can of soup or a small bowl. You can find hat blocks online or at a millinery supply store.
11. Use Duct Tape
If you’re in a pinch, you can try using duct tape. Lay the brim of the hat flat on a table, and then place a strip of duct tape along the edge. Be sure to smooth it out as much as possible so that it lies flat. You can then try to reshape the brim by bending it back into place. The duct tape will help to hold the brim in place while you work.
12. Hang It Upside Down
If you’re still having trouble getting the brim to stay straight, you can try hanging it upside down. First, find a place to hang your hat, so the brim points downwards. You can use a hanger, a doorknob, or anything else to keep the hat in place. Then, take a heavy book and place it on the hat’s brim. Leave the hat overnight so that the brim has time to straighten out. You can repeat this process if necessary until the brim is as straight as you’d like.
You Can Check It Out to Fix a Digital Clock That Runs Fast
How Much Does It Cost to Fix a Bent Hat Brim?
The cost of fixing a bent hat brim will vary depending on the severity of the damage and the method you choose to use. If you’re simply trying to reshape the brim, you can probably do it yourself with one of the above methods. However, if the brim is severely damaged, you may need to take it to a professional.
A milliner is a professional who specializes in making and repairing hats. If you have a bent brim that needs to be fixed, a milliner can usually do it for you. The cost will vary depending on the milliner and the extent of the damage. You can also take your hat to a dry cleaner or tailor. Many dry cleaners and tailors offer hat repair services. The cost will again vary depending on the severity of the damage and the professional you choose.
Tips and Warnings on How to Fix a Bent Hat Brim:
Tips:
- Be sure to use a hat that is the right size. A too-tight hat can cause the brim to bend.
- If your hat has a wire in the brim, you can try gently bending it back into shape with your hands.
- You can also try using steam to reshape the brim of your hat. Hold the hat over a pot of boiling water for a few minutes, then shape it while it’s still damp.
- If all else fails, you can take your hat to a professional hatmaker or milliner to have it fixed.
Warnings:
- Don’t use excessive force when trying to fix your hat brim. You don’t want to damage the hat.
- Be careful when using steam to reshape your hat. Too much heat can damage the fabric.
- Don’t put your hat in the dryer. The heat can damage the hat and cause it to shrink.
How Do I Know if My Hat Brim Is Plastic or Cardboard?
If you’re unsure whether your hat brim is plastic or cardboard, there are a few ways to tell. First, try bending the brim. If it feels stiff and doesn’t give much, it’s probably plastic. On the other hand, if the brim is more pliable and bends easily, it’s likely cardboard.
Another way to tell is by looking at the edge of the brim. If you see a seam where the brim meets the hat, it’s probably cardboard. If the brim looks smooth all the way around, it’s most likely plastic. Lastly, try tapping the brim with your fingernail. If it sounds hollow, it’s probably cardboard. If it sounds more solid, it’s likely plastic.
Frequently Asked Questions
Can You Flatten a Curved Brim Hat?
The curvature of a brimmed hat will vary depending on its style and intended use. However, if you are looking to flatten it out, there are a few ways that you can do so. One technique involves using hot water and a flatter iron, while another uses boiling water and a starch-based product like cornstarch or potato starch. Ultimately, it’s important to test out different methods before applying them permanently to your hat in order for the process to be successful.
What Does Hat Stiffener Do?
Hat stiffeners are a type of fabric softener that is used to keep hats in good condition. By absorbing sweat and moisture, hat stiffeners help to keep hats fresh and comfortable all day long. In addition, they help to prevent the build-up of bacteria and other contaminants on hats, which can cause bad odor and hair loss.
Can You Flatten a Bent Brim?
While it is possible to flatten a bent brim, it may not be the best option. This is because bending the brim can add style and character to your hat and make you look more stylish. Additionally, if your hat stays on your head during vigorous activity, then this bend will help keep it in place. If you decide to try to flatten your brim, be sure to do so gradually over time so that the shape remains unchanged.
Can You Unbend a Brim?
As if it would be relatively easy to unbend a brim, but in reality, the process is more complicated than that. The first thing you need to do is make sure that the brim is properly secured. This can be done by using ties, clips, or even a bandanna. After the brim has been secured, you need to heat up the metal until it’s hot enough to start cutting. Be careful not to overheat the metal or you could cause it to snap. Once the metal has been cut and unbent, be sure to clean off any debris that may have formed.
As you can see, there are many factors that need to be taken into account when unbending a brim – including the brim’s security and the metal’s temperature. So, while it may seem like it would be easy enough to do, in reality, it may require more than just a little brute force!
Conclusion Paragraph:
So, there you have it. Now that you know how to fix a bent hat brim, your worries about an unfortunate incident ruining your favorite lid are gone. Just be sure to put some muscle into it and get the job done right, and your hat will look good as new in no time at all.