When it comes to car tires, there are a few things that you need to keep in mind to get the most out of them. One of those things is ensuring that the bead on the tire is properly sealed. If it’s not, you can wind up with a leak, which can be a major pain.
Fortunately, though, fixing a bead leak is relatively easy – as long as you know what you’re doing. In this post, we’ll walk you through the process of fixing a car tire bead leak. Read on to learn more about how to fix a bead leak.
Summary: This is a common problem that can occur when beads are threaded through a hole in a bead necklace or bracelet. First, you will need to determine the cause of the leak. If the bead is loose, you can tighten it by using a pliers. If the bead is broken, you will need to replace it. Finally, you can seal the leak by using a bead sealant.
What Is Bead Leak in A Tire?
Bead leaks are the most common type of tire leak. They happen when air escapes from the space between the bead and the rim. Bead leaks can be caused by several things, like improper installation, damaged or corrupted rims, and worn or damaged tires. In most cases, bead leaks can be easily fixed by just refilling the tire with air.
If you have a severe tire leak, you may need to replace the tire or rim. Bead leaks are easy to identify, as they usually cause a hissing sound when the tire is inflated. If you think you have a bead leak, have your tire checked by a certified mechanic.
Why It’s Important to Fix a Car Tire Bead Leak?
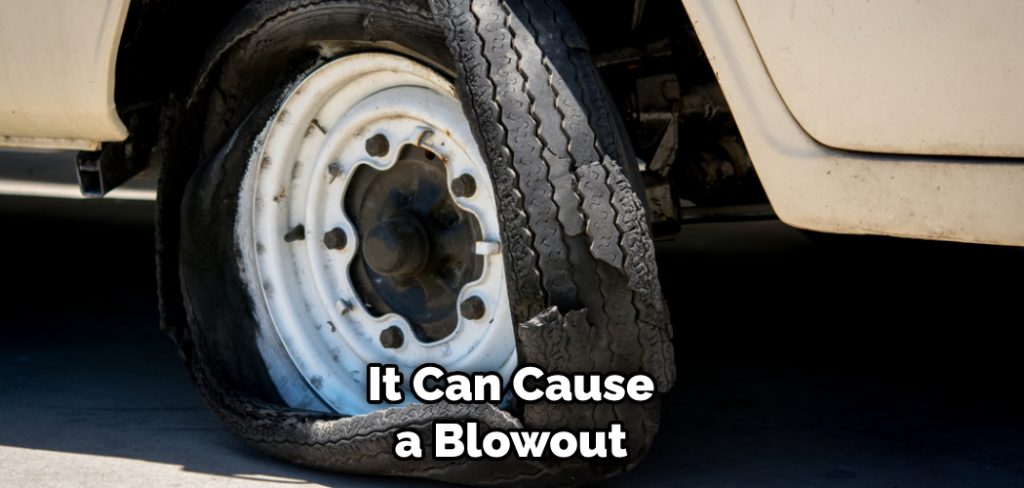
A bead leak in a car tire is a serious issue that should be fixed soon. If left unchecked, it can lead to a blowout, which can be dangerous. A bead leak occurs when the air pressure in the tire is too low. This causes the tire to lose its shape and come off the wheel. If you notice a bead leak, take your car to a mechanic and have it fixed.
It’s important to fix a bead leak as soon as possible to avoid a blowout. A blowout occurs when the tire comes off the wheel and rolls away. This can be dangerous because it can cause you to lose control of your car. If you’re driving at high speeds, it can also cause serious damage to your car. So, if you notice a bead leak, get it fixed ASAP.
How to Fix a Bead Leak Step by Step Guide
Step 1: Locate the Leak
To find the leak, mix some dish soap with water in a bowl and brush the solution around the tire’s circumference. Inflate the tire and look for bubbles to pinpoint the leak.
Step 2: Mark the Leak
Once you’ve found the leak, it’s time to mark it. This will help you know exactly where to patch the leak later on. Use a permanent marker or a piece of tape to make a flag on the outside of the pool near the leak.
It’s a good idea to also label the flag with information about what type of leak this is (for example, “skimmer leak”) and your contact info. This way if you have a service company come out to fix the leak, they can get in touch with you to discuss the job.
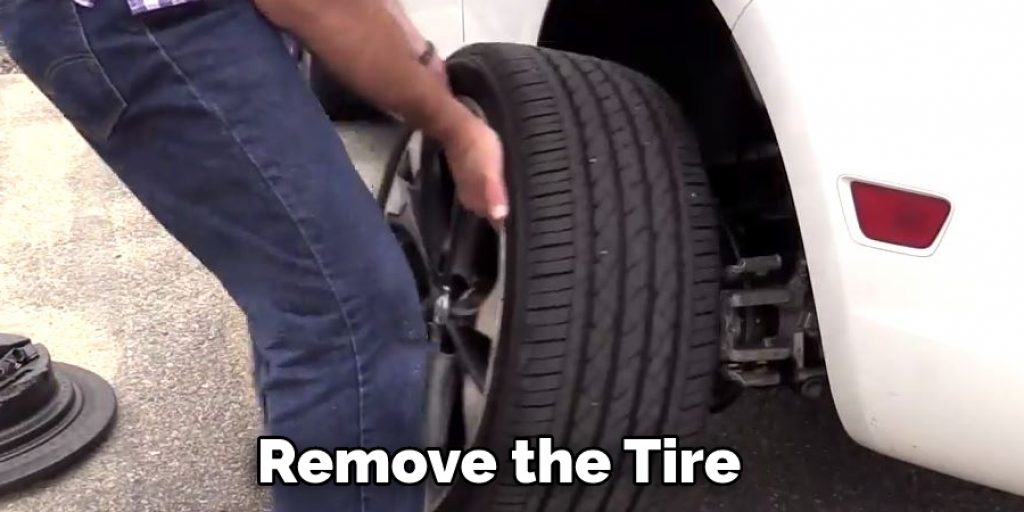
Step 3: Remove the Tire
In order to remove the tire from the car, you will need to loosen the lug nuts that are holding it in place. Once the lug nuts are loosened, you can lift the tire off of the car. If you have a tubeless tire, you will need to remove the valve stem cap and core to allow the tire to deflate.
Step 4: Clean the Area
Once the tire is removed, it’s time to clean the area around the leak. This will ensure that the patching material will adhere properly. Use a wire brush to remove any dirt, grime, or debris from the area around the leak. You can also use sandpaper to roughen up the surface if necessary.
Step 5: Apply the Patching Material
You can use a few different types of patching materials to fix a bead leak. Butyl rubber strips are a common choice, as they’re easy to apply and don’t require any special tools. Start by applying a generous amount of patching material around the leak. Then, use your fingers to press the material into place.
Step 6: Replace the Tire
Once the patching material is in place, you can replace the tire on the car. Start by threading the valve stem through the hole in the rim. Then, line up the tire with the rim and gently lower it. Finally, tighten the lug nuts to secure the tire.
Step 7: Inflate the Tire
After the tire is back on the car, it’s time to inflate it. Use an air compressor or hand pump to add air to the tire until it reaches the proper pressure. Once the tire is inflated, remove the marker or tape you used to flag the leak. And that’s it! You’ve successfully patched a bead leak.

Step 8: Get a Professional Help(Optional)
If you’re not confident in your ability to fix the leak yourself, or if the leak is particularly large, it’s best to get professional help. A qualified mechanic or tire technician will be able to quickly patch the hole and get you back on the road.
Now that you know how to fix a bead leak, you can get back on the road. Just follow these easy steps, and you’ll be good to go. And if you ever have any doubts, remember that you can always get professional help.
How Do You Know if Your Car Has a Tire Bead Leak?
A tire bead leak is one of the most common tire leaks. And, if not repaired, it can cause serious damage to your car. So, how do you know if your car has a tire bead leak? Here are a few signs to look for:
- The tire pressure warning light is on.
- The tire is low on air, even after being inflated.
- The tire looks misshapen or bulging.
- There is a hissing sound coming from the tire.
If you notice any of these signs, it’s important to take your car to a mechanic as soon as possible. For example, a tire bead leak can often be repaired relatively easily and inexpensively. But, if left untreated, it can cause serious damage to your car’s tires and wheels.

What to Do If The Problem Persists After You’ve Fixed It?
You’ve fixed the tire bead leak, but the problem persists. Here’s what to do next. First, check the air pressure in all four tires. If one or more tires are low, add air until it reaches the recommended level. Next, check the tire treads for wear and tear. If the treads are worn down, replace the tires. Finally, inspect the suspension and alignment.
If either of these is out of adjustment, it can cause the problem to persist. However, you can be sure that you’ve done everything possible to fix the problem by taking these steps.
What Causes Tire Bead Leak?
A tire bead leak is a hole in the sidewall of your tire that allows air to escape. Several things can cause it, but the most common cause is hitting a curb or pothole. The impact can cause the bead – the part of the tire that sits on the wheel – to come loose, allowing air to escape. Tire bead leaks can also be caused by old age or poor care.
If you don’t regularly check your tires for wear and tear, the beads can eventually weaken and break. In some cases, tire bead leaks can be repaired. But if the damage is severe, you’ll likely need to replace the tire. So be sure to inspect your tires regularly, and watch out for curbs and potholes! Keep reading for more information about how to fix a bead leak.
What Can I Use to Seal a Tire Bead?
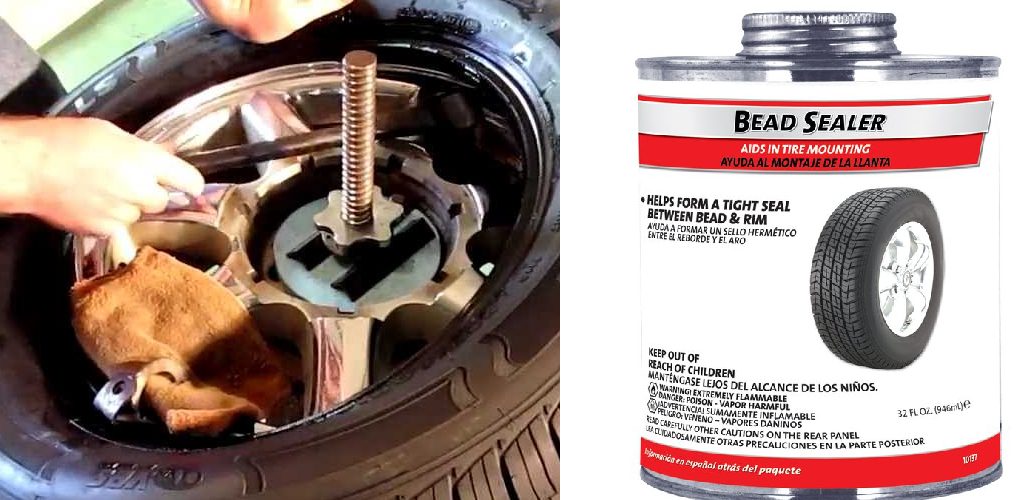
Many things fall into the “better safe than sorry” category when it comes to automotive maintenance. Sealing a tire bead is one of them. The bead is the part of the tire that sits on the rim and helps keep the air inside the tire. Over time, beads can become damaged or dislodged, which can cause air to leak out. While it’s not strictly necessary to seal a tire bead, doing so can help to prevent costly repairs down the road.
There are a few different products on the market that can be used to seal a tire bead, but they all essentially work in the same way. First, clean the bead with a degreaser or brake cleaner. Then apply a thin layer of sealant to the bead. Finally, mount the tire on the rim and inflate it to the recommended pressure. Once the sealant has been cured, your tire will be ready to hit the road.
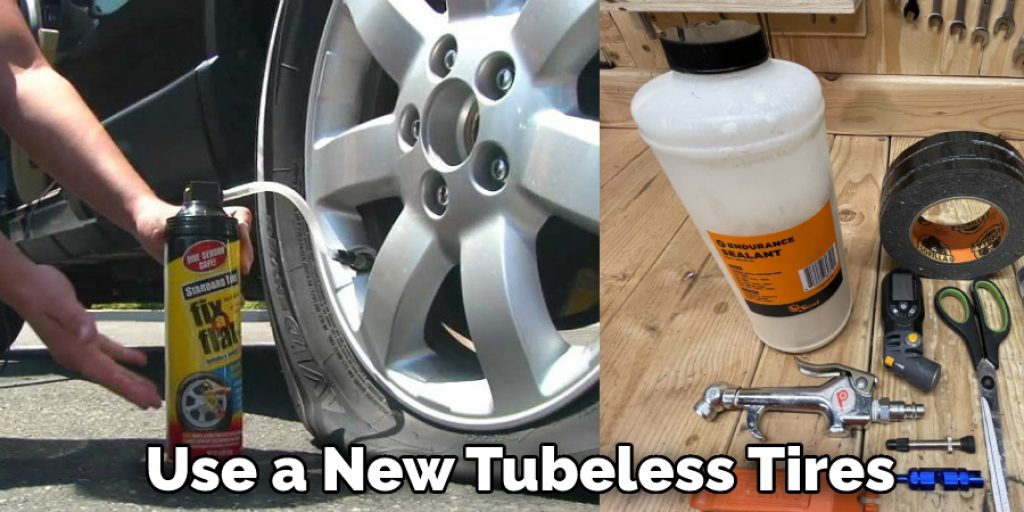
How Do You Seal a Bead on A Tubeless Tire?
You’ve just installed new tubeless tires on your wheels, and you’re pumped to hit the road…but wait! There’s one more step to ensure that your tires will be rot-free and airtight, and that’s sealing the bead. Here’s how to do it:
- First, check that your rim tape covers the spoke holes completely.
- Next, add just enough sealant to cover the entire circumference of the tire.
- Now, inflate the tire using a floor pump or compressor. The tire should snap onto the bead of the wheel.
- If it doesn’t, use a valve core remover to let out some air, apply more sealant around the bead, and then re-inflate.
- Once the bead is set, ride around for a bit to allow the sealant to distribute itself inside the tire evenly.
You’re all set! Now enjoy your road trip worry-free.
Frequently Asked Question
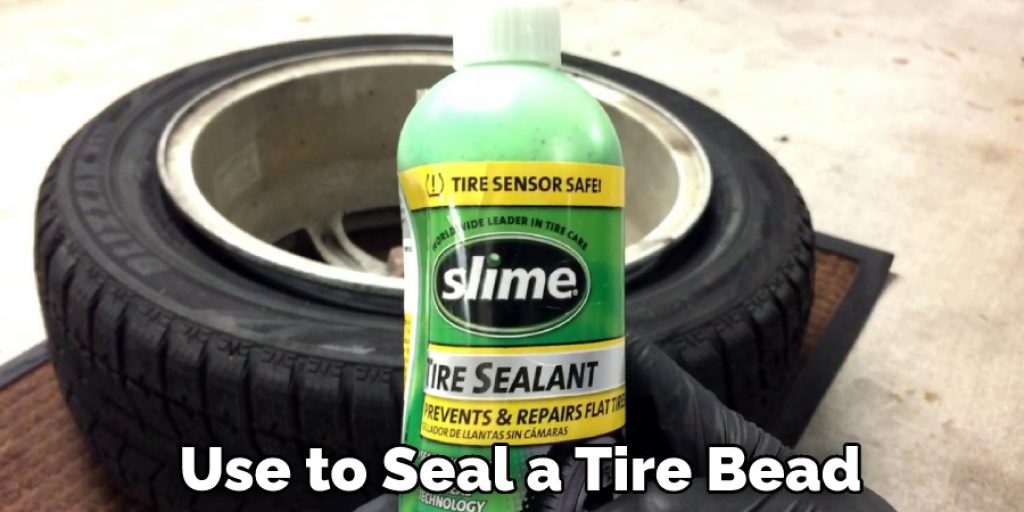
Will Tire Slime Fix a Bead Leak?
Yes, Tire Slime can help fix a bead leak. It is a sealant inserted into the tire to help fix the leak.
Can Rim Leaks Be Fixed?
Yes, bead leaks can often be fixed. However, how easy it is to fix depends on the severity of the leak and the type of tire. If you can locate the source of the leak, you may be able to fix it yourself. If not, take the bike to a shop for repairs.
How Much Does It Cost to Re-Bead a Tire?
The cost of re-beading a tire depends on the type of tire and the shop’s location. Generally, it costs between $10 and $50 to re-bead a tire.
Can You Fix a Broken Bead on A Tire?
If the bead is broken, you can fix it with a tire patch kit. First, remove the damaged section of the tire using the tools provided in the kit. Then, apply the adhesive and place the patch over the hole. Let it dry for 24 hours before using the tire again.
Do You Have to Use a Bead Sealer?
No, you don’t have to use a bead sealer, but it is recommended. You can use a household sealant like clear silicone caulk if you don’t have one.
Conclusion
If you have a bead leak, you can take some simple steps to fix it. Make sure to follow the instructions carefully and use the right products, and you should be able to repair your leak in no time. Have you ever had to fix a bead leak? What tips would you add? Thanks for reading our post about how to fix a bead leak.
You Can Check it Out to How to Fix a Leaking Saddle Valve