There’s nothing quite like a well-worn baseball cap. It can be as comfortable as an old friend and feels just as familiar. But over time, even the most well-loved caps can look a little worse for wear. Fortunately, there are easy ways to fix baseball caps and keep them looking new.
We’ll show you how to fix a baseball cap using a few common methods like patching, darning, and felting. So whether your favorite cap has a hole in it or needs some freshening up, read on for tips on restoring it to its former glory!
Summary: Fixing a baseball cap is fairly simple and only requires a few basic tools. Start by turning the cap inside out so that the bill of the cap points away from you. Then, using a fabric-safe adhesive, attach two small patches to the inner side of the brim. Once this step is complete, take a needle and thread and sew around the edge of the patches. Finally, turn your baseball cap back to its normal state and enjoy your fixed hat!
10 Easy Ways on How to Fix a Baseball Cap
1. Try Adjusting the Size
Baseball caps usually don’t fit people’s heads very well. You can fix this by adjusting the size of the cap. Some people do this by folding the bill of the cap in or out, while others make small adjustments to the strap.
2. Try a Different Size Strap
If the baseball cap doesn’t fit right, try a different size strap. There are many different sizes and shapes of straps available, so it should be easy to find one that fits well.
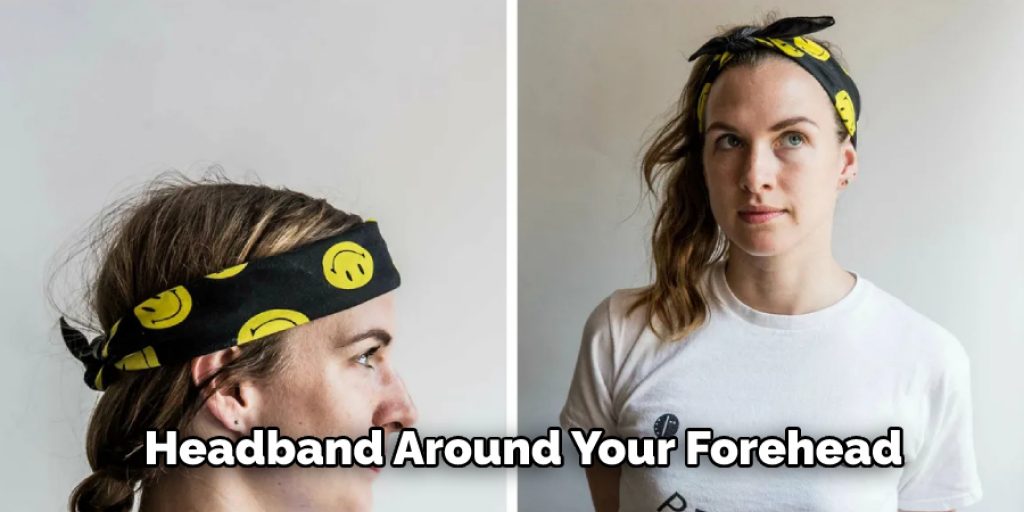
3. Try a Headband
If your baseball cap is too tight, a headband might help. First, put the headband around your forehead and above your ears. Then, put the baseball cap on top of the headband. This will stretch out the baseball cap and make it fit more comfortably.
4. Use a Pot
If you have a pot big enough, fill it with water until the baseball cap inside is covered. Let the water sit for about 30 minutes, then take the baseball cap out and let it air dry.
5. Try Spreading the Brim
If your cap is too tight, try spreading out the brim. This will give you a bit of extra space to breathe. You can do this by hand or use a hairdryer on medium heat. Point the hairdryer at the front of the cap and hold it there for about 20 seconds.
6. Try Soaking It in Warm Water
If your baseball cap is too tight, try soaking it in warm water. Place the cap in a bowl or sink of warm water and let it soak for 10 to 15 minutes. The heat will help the fabric stretch and loosen up. After soaking, gently stretch the cap until it’s the correct size. Be careful not to overstretch it, or you may damage the fabric. Finally, let the cap air dry before wearing it.
7. Use a Steam Iron
If the cap is still too tight, you can try stretching it with a steam iron. Place the cap on a flat
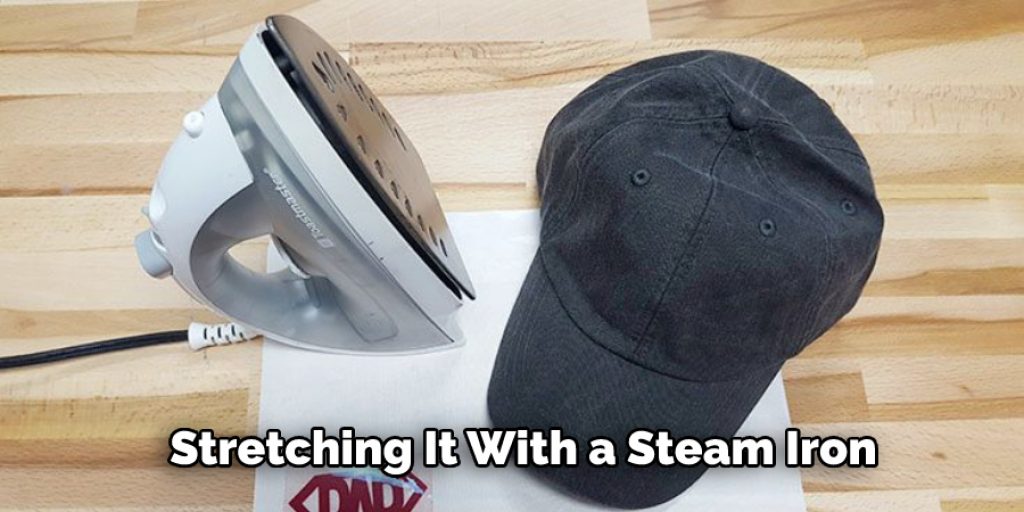
surface, such as a table. Cover the cap with a cloth and then press the steam iron down on top of the cloth. Hold the iron in place for 30 to 60 seconds. The heat and pressure will help loosen up the fabric and stretch it to the correct size. Let the cap air dry before wearing it.
8. Try a Hairdryer
If you have a hairdryer, you can try using the heat to soften up the adhesive and loosen the cap. Point the hairdryer at the bottom of the cap, near the edge where it meets the band. Be careful not to burn yourself. Keep drying until the adhesive loosens and the cap comes off.
9. Use a Cap Washer
If you have a cap washer, you can easily clean your baseball cap. Just place the cap in the washer, add some detergent, and run it through a cycle. The cap washer will remove all of the dirt, sweat, and bacteria from the cap.
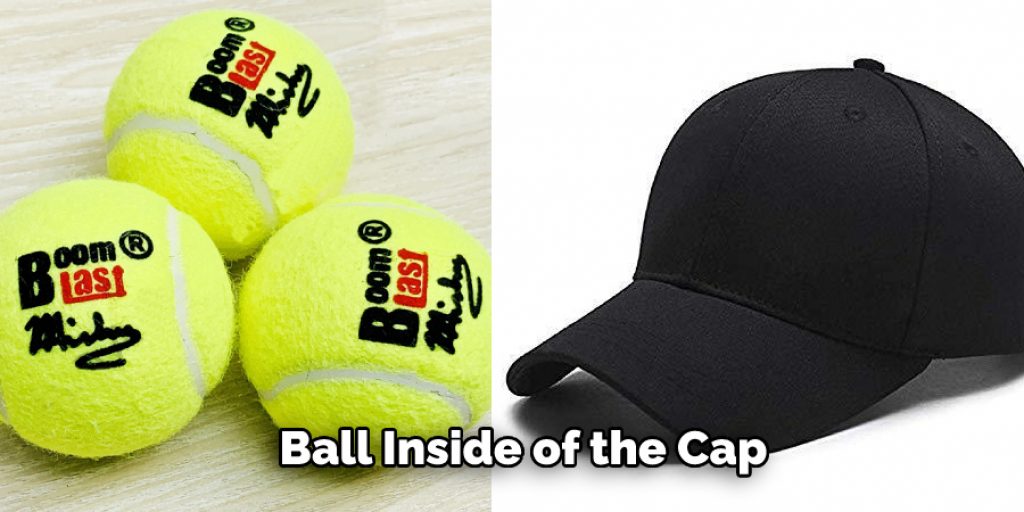
10. Use a Ball
If all else fails, you can try using a ball. Place the ball inside of the cap and then stretch the fabric around it. Use your hands to press down on the ball until it pops through the fabric. This will stretch the fabric to the correct size.
How to Reshape a Baseball Cap: Five Ways to Try
1. Using a Tea Kettle
If you have a tea kettle, this is the easiest way to fix a baseball cap. Boil water and pour it over the top of the cap. The steam will help loosen the adhesive and the heat will help mold the cap back into shape. Let the cap cool before wearing it again.
2. Using a Hairdryer
If your baseball cap has a loose or wrinkled brim, using a hairdryer may help to fix it. Start by turning the hairdryer on low heat and holding it about six inches away from the cap’s brim. Next, gently move the hairdryer back and forth across the brim until it is smooth.
3. Using a Spray Bottle
If you have a spray bottle, fill it with water and spritz the inside of the cap. The water will help loosen the adhesive and make the cap easier to reshape. However, be careful not to get the fabric too wet, or it may stretch out.
4. Using Your Fingers
If you don’t have any other supplies, you can try using your fingers to fix a baseball cap. Start by loosening the adhesive around the edge of the cap. Then, use your fingers to push the fabric back into shape. Be careful not to stretch the fabric out too much.
5. Using Boiling Water
If the adhesive on your baseball cap is stuck, you may need to use boiling water to fix it. Boil a pot of water and pour it over the top of the cap. The heat will help loosen the adhesive and mold the cap back into shape. Let the cap cool before wearing it again.
Tips to Avoid Baseball Cap to Get Wrinkled
- If the baseball cap is becoming wrinkled, turn it inside out and place it in a plastic bag.
- If the baseball cap has a sweatband, remove it and wash it.

- Use a hairdryer on low heat to help remove wrinkles.
- If the baseball cap is made of wool, avoid using a hairdryer as this could cause shrinkage.
- If the baseball cap is made of cotton, use a hairdryer on low heat to remove wrinkles.
- If the baseball cap is made of synthetic material, use a hairdryer on medium-high heat to remove wrinkles.
- If the baseball cap is made of leather, use a leather conditioner to help remove wrinkles.
- If the baseball cap has a sticker or emblem, do not use any type of heat to remove it. Instead, use a solvent such as rubbing alcohol or Goo Gone.
What Causes Wrinkle in Baseball Cap?
Baseball caps are a popular type of headwear. They come in various colors and styles, and men, women, and children can wear them. Baseball caps are often decorated with the logo or name of a sports team. Unfortunately, one of the drawbacks of baseball caps is that they can develop wrinkles. This can be a nuisance, especially if the cap is a favorite one.
There are several ways to fix a baseball cap with wrinkles. One way is to use a steam iron. Another way to fix a baseball cap with wrinkles is to soak it in water. The water will help relax the fibers in the fabric and cause the wrinkles to disappear. A third way to fix a baseball cap with wrinkles is to use a hairdryer. The hairdryer’s heat will help relax the fibers in the fabric and cause wrinkles to disappear.
How to Dye a Baseball Hat That Has Faded?
If your baseball hat has faded and you would like to dye it, there are a few things you need to do beforehand. The first is to make sure the hat is clean and free of dirt or dust. The second is to purchase a dye made explicitly for hats. You can find this at most craft stores. Once you have the dye, follow the instructions on the package.
Test the dye on a small, hidden area of the hat first to make sure it doesn’t damage the fabric. If your baseball hat has a logo or design that you want to keep, be sure to protect it with some sealant before dying it. You can find sealants at most craft stores as well. After dying the hat, allow it to air dry completely before wearing it.
You Can Check It Out to Fix a Snapback Hat
How to Fix a Baseball Cap That’s Been Torn?
If your baseball cap has been torn, there are a few ways you can fix it. The first is to use adhesive to attach the fabric back together. You can find this adhesive at most craft stores. The second way is to use a needle and thread to sew the fabric back together. Be sure to knot the thread securely before starting to sew. Finally, if you’re not confident in your sewing skills, you can take the cap to a tailor or seamstress to have it fixed.
You Can Check It Out To Fix Sustain Pedal on Baby Grand Piano
Conclusion
Baseball caps are a popular fashion accessory, but they can also be an important part of a uniform or team gear. Whether you’re a fan of baseball, it’s always handy to know how to fix a baseball cap. Fixing a baseball cap is a simple process that can be done in minutes. First, remove the hat’s bill by gently pulling it away from the body of the cap. Be careful not to tear the fabric. Next, turn the hat inside out and locate where the hole or tear is located.
If you are repairing a hole, cut an appropriate patch from an old shirt or fabric and attach it to the underside of the cap using hot glue or needle and thread. In this post, we’ve outlined the steps you need to take to repair your cap and get it looking good as new. Have you ever had to fix a baseball cap? Let us know in the comments below!
You Can Check It Out To Fix Color Banding in Hair