Do you have a concrete project that is finished but looks terrible? You know the situation – your beautifully polished concrete floor has disappointed you with its bad broom finish, and it’s beyond repair. Or at least, it seems like it.
Well, don’t call in the demolition crew just yet! There are some techniques that can help you to fix a bad broom finish on concrete – from using diamond grinding tools to uncovering hidden beauty beneath aged coatings.
In this blog post, we will walk through each of these tactics step-by-step on how to fix a bad broom finish on concrete so that by the end of this article you’ll have all the knowledge needed to turn your subpar finish into something truly magnificent. So what are we waiting for? Let’s get started!
Why is It Important to Fix a Bad Broom Finish on Concrete?
1 . To Improve Aesthetic Appeal
A bad broom finish on concrete can greatly affect the overall look and feel of your property. Whether it’s a driveway, patio, or sidewalk, a smooth and even broom finish is essential for a clean and polished appearance. Fixing a bad broom finish will instantly improve the aesthetic appeal of your space.
2 . To Prevent Potential Hazards
An uneven or rough broom finish on concrete can create potential hazards, especially for high-traffic areas like sidewalks and driveways. These imperfections can cause people to trip or stumble, leading to injuries and liability issues. Fixing a bad broom finish will ensure that your concrete surface is safe for everyone to use.
3 . To Enhance Durability
A bad broom finish can also compromise the durability of your concrete surface. Rough or uneven textures can create weak spots in the concrete, making it more prone to cracks and damage over time. By fixing a bad broom finish, you are ensuring that your concrete remains strong and long-lasting.
4 . To Save Time and Money
Ignoring a bad broom finish on concrete can end up costing you more time and money in the long run. Over time, imperfections in the finish can worsen, leading to costly repairs or even replacement of the entire surface. By addressing the issue early on, you are saving yourself from potential future expenses.
How to Fix a Bad Broom Finish on Concrete in 5 Easy Steps
Step 1: Identify the Problem
The first step in fixing a bad broom finish on concrete is to identify the problem. This could include any visible imperfections such as lines, ridges, or bumps on the surface of the concrete. It’s important to closely examine the surface to determine the extent of damage and which areas need to be repaired.
Step 2: Clean and Prepare the Surface
Before you begin any repairs, it’s crucial to thoroughly clean and prepare the surface of the concrete. Use a pressure washer or stiff-bristled brush to remove any dirt, debris, or loose materials from the surface. Make sure to also sweep away any dust or particles that may have settled in crevices.
Step 3: Fill in Any Gaps or Cracks
If there are any visible gaps or cracks on the concrete surface, it’s important to fill them in with a suitable filler. This will help create a smoother and more even surface for the broom finish. Use a concrete patching compound or mortar mix to fill in any gaps or cracks and allow it to dry completely according to the manufacturer’s instructions.
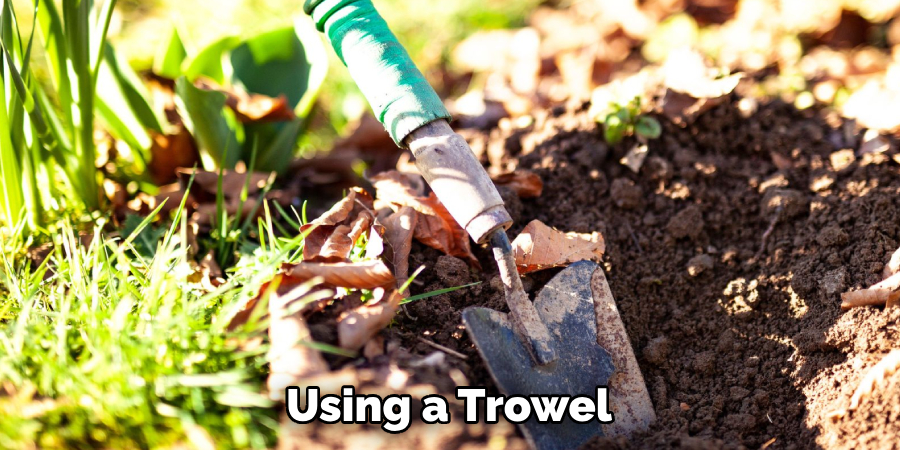
Step 4: Resurface the Concrete
Once the surface is clean and all gaps and cracks have been filled, it’s time to resurface the concrete. Mix together a batch of concrete resurfacing material according to the manufacturer’s instructions. Using a trowel, spread the resurfacer evenly over the entire area, making sure to smooth out any bumps or ridges. Let the resurfacer dry for at least 24 hours before proceeding to the next step.
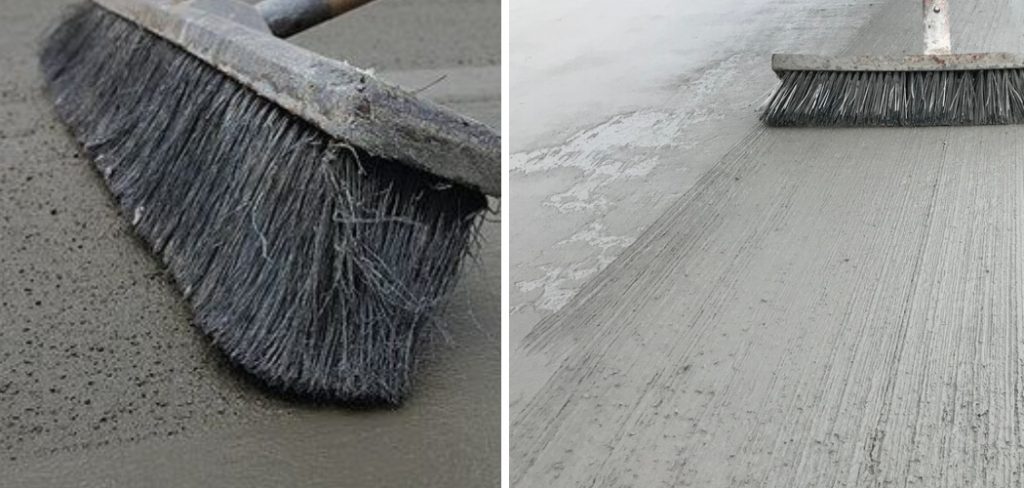
Step 5: Apply a New Broom Finish
Now that the surface is smooth and even, it’s time to apply a new broom finish. Make sure to use a broom with stiff bristles for best results. Dip the broom into some water and then gently drag it across the concrete surface, making sure to create uniform lines. Work in small sections and make sure to rinse off any excess material from the broom regularly. Allow the finish to dry completely before using the concrete surface again.
By following these simple steps, you can easily fix a bad broom finish on your concrete and restore its appearance once again. Remember to always clean and maintain your concrete regularly to prevent any future issues. With proper care, your concrete will continue to look great for years to come. So next time you notice a bad broom finish on your concrete, don’t panic – just follow these easy steps and you’ll have it looking good as new in no time!
Some Extra Tips to Fix a Bad Broom Finish on Concrete
1 . Do Not Rush the Drying Process
Once you have applied the broom finish to your concrete surface, it is important to not rush the drying process. This means avoiding walking on or driving over the concrete for at least 24 hours. If possible, try to wait up to 48 hours before putting any weight on the surface.
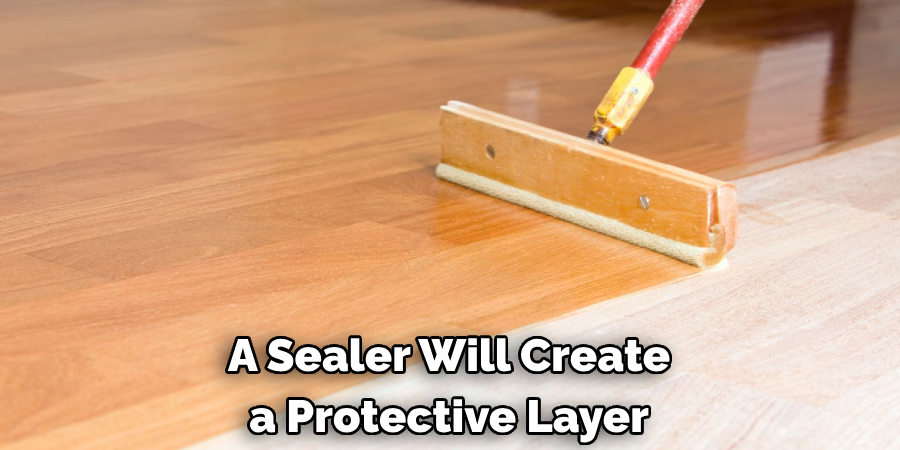
2. Use a Concrete Sealer
To help prevent any future issues with your broom finish, consider applying a concrete sealer after it has fully dried. A sealer will create a protective layer over the surface and can also enhance its appearance.
3 . Consider Hiring a Professional
If you are unsure about how to fix a bad broom finish or do not have experience working with concrete, it may be best to hire a professional. They will have the necessary tools and expertise to properly fix the issue and ensure a smooth finish.
4 . Prevent Future Issues
To prevent any future issues with your broom finish, make sure to use high-quality materials and follow proper techniques when applying them. This includes using the correct bristle type for your broom, ensuring an even application of the concrete mix, and allowing enough time for it to dry before use.
Frequently Asked Question
What Precautions Should I Take Before Fixing a Bad Broom Finish on Concrete?
Before attempting to fix a bad broom finish on concrete, it is important to take the necessary precautions. These include: When working with concrete, it is important to protect your skin and eyes from any potential splashes or debris.
Make sure to wear gloves, safety goggles, and a face mask. Also, ensure that you are working in a well-ventilated area to avoid inhaling any harmful dust particles. Additionally, make sure to have all the necessary tools and materials ready before starting the repair process.
Can I Fix a Bad Broom Finish on Concrete Myself or Should I Hire a Professional?
Fixing a bad broom finish on concrete can be done by yourself, but it is recommended to hire a professional contractor for larger or more complex projects. If you have never worked with concrete before, it is better to leave the job to an experienced contractor who has the proper skills and equipment. This will ensure that the repair is done correctly and efficiently.
What Tools and Materials Do I Need for Fixing a Bad Broom Finish on Concrete?
To fix a bad broom finish on concrete, you will need the following tools and materials:
- A pressure washer or hose with a nozzle
- A stiff bristle brush
- Concrete patching compound
- Trowel or putty knife
- Concrete sealer
Can I Fix a Bad Broom Finish on Concrete Without Using Pattern Stamps?
Yes, a bad broom finish can be fixed without using pattern stamps. The most important factor in fixing a bad broom finish is the technique used to apply the concrete. With proper techniques and tools, you can achieve a smooth and uniform surface without using pattern stamps.
How Long Does It Take to Fix a Bad Broom Finish on Concrete?
The time it takes to fix a bad broom finish on concrete will depend on the size and complexity of the project. Typically, it can take anywhere from a few hours to several days to complete the repair process. This includes preparation, application of patching compound, drying time, and sealing.
Is There Any Maintenance Needed After Fixing a Bad Broom Finish on Concrete?
After fixing a bad broom finish on concrete, it is important to maintain the surface properly to prevent future damage. This includes regular cleaning and sealing every few years to protect the surface from weather and wear. It is also important to avoid using harsh chemicals or abrasive cleaners on the repaired area.
Conclusion
To conclude, it’s never been easier to make a broom finish look like new again. By following the simple steps outlined above, and with a little bit of time and patience, you’ll have that broom finish looking its absolute best in almost no time at all.
Whether it’s for your own home or a job site, finding out how to fix a bad broom finish on concrete can save you time and money. And, if an area is too badly damaged for DIY repairs ready-made patching materials are available from most home improvement stores as well.
Now you know how to fix a bad broom finish on concrete! With these tips, you can outsmart tricky concrete repair jobs and get back to tackling more enjoyable tasks! So why not join the thousands of homeowners who have used these techniques to make their old broom finishes shine like new? All it takes is some determination- so let’s take up the challenge and show those troublesome floors who’s boss!