If you’re a racer, then you know the importance of camber. Proper camber can mean the difference between winning and losing. But what do you do if your car doesn’t have adjustable camber bolts? Don’t worry – you can still adjust your camber without them! This post will show you how to adjust camber without camber bolts. Keep reading to learn more.

Summary: Adjusting your car’s camber without camber bolts is possible, and can be done in a few simple steps. Start by parking, jacking up and placing jack stands under your car.
Next, remove the wheel and inspect the suspension components to identify what adjustments need to be made. Make any necessary adjustments, then re-install the wheel and lower your car. Test drive the vehicle to make sure the camber has been adjusted properly. If not, make further adjustments as needed.
What Causes Negative Camber?
There are a few things that can cause negative camber. One is worn-out suspension components. If your suspension components are worn out, they can’t support the car’s weight properly. This will cause the wheels to tilt inward (toward the car’s center). Another cause of negative camber is lowered springs. Lowering your springs changes the geometry of the suspension and can cause the wheels to tilt inward.
The other cause of negative camber is an uneven road surface. If you hit a bump or pothole, it can cause the wheel to tilt inward. Finally, if you have a lot of weight on one side of the car, it can also cause the wheel to tilt inward.
What Causes Camber to Become Misaligned?
Several things can cause the camber to become misaligned, and the first and most common of which is simply driving over uneven surfaces. Over time, this can cause the suspension to become worn or damaged, resulting in the camber becoming out of alignment. Additionally, hitting a large bump or pothole can also cause the camber to become misaligned.
Another common cause of misaligned camber is simply because the suspension begins to settle as your vehicle ages. This natural settling process can cause the camber to become out of alignment and is especially common in vehicles that have been driven for a long time without having the suspension adjusted or repaired.
Why It’s Important to Adjust Camber
There are a few reasons why adjusting the camber is important. First, it can help you improve your car’s handling. If your camber is out of adjustment, your tires will not fully contact with the ground. This can cause your car to slip and slide, especially in corners. Second, adjusting the camber can help you improve your tire’s life. If your tires do not make full contact with the ground, they will wear out more quickly.
Third, adjusting the camber can help you improve your fuel economy. If your tires do not make full contact with the ground, they will create more drag. This will cause your engine to work harder, using more fuel.

Step by Step How to Adjust Camber Without Camber Bolts
1. Park Your Car
The first step is to park your car on a level surface. This will make it easier to take measurements and make adjustments. To do this, find a level spot in your driveway or a parking lot. Once you’ve found a level spot, park your car and set the parking brake.
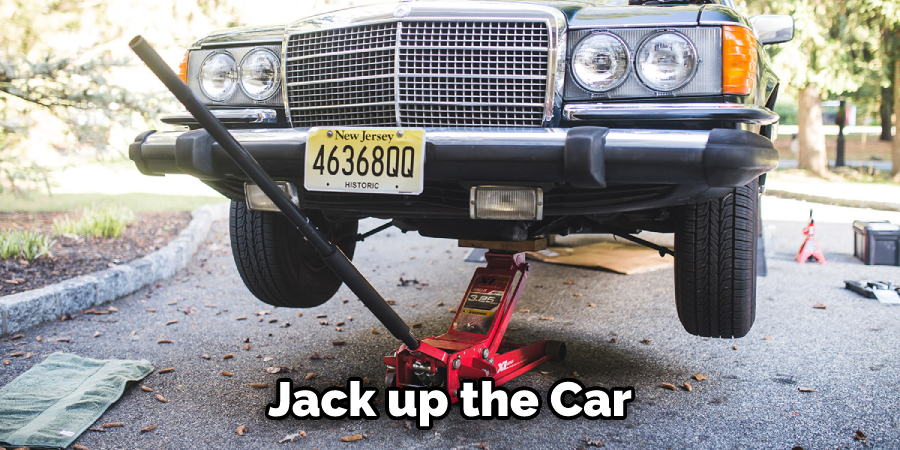
2. Jack Up Your Car
The next step is to jack up your car. You’ll need to do this to access the suspension and make adjustments. To jack up your car, first, find the jack points. These are usually located near the wheels. Once you’ve found the jack points, place the jack under the car and slowly lift the car until the wheel is off the ground. If you’re unsure how to do this, consult your car’s owner’s manual.
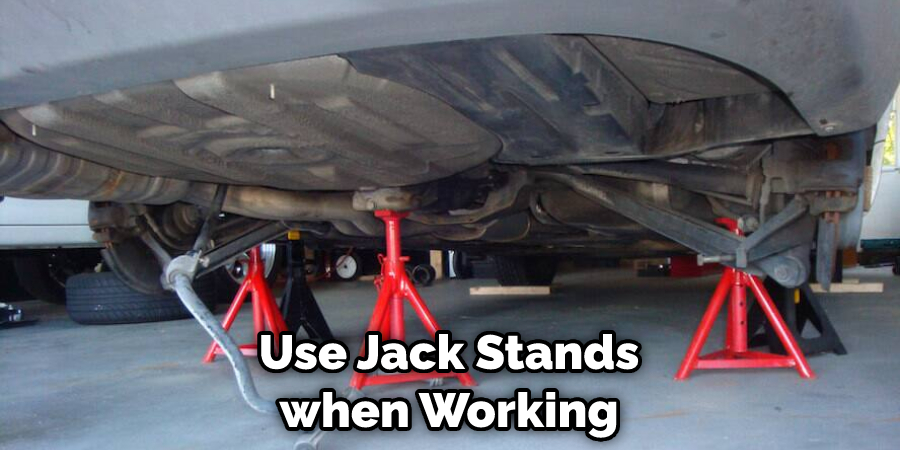
3. Place a Jack Stand Under Your Car
Once the car is jacked up, you’ll need to place a jack stand under it to support the weight. To do this, locate the frame of your car and look for a solid spot to place the stand. Once you’ve found a good spot, slowly lower the car onto the stand until the stand is supporting the weight of the car. If your car has plastic body panels, be careful not to scratch or damage them when placing the jack stand.
4. Remove the Wheel
The next step is to remove the wheel. This will give you better access to the suspension and make it easier to take measurements. First, loosen the lug nuts with a wrench to remove the wheel. Then, jack up the car and place a jack stand under the frame for support. Finally, remove the lug nuts and pull the wheel off. If your car has hubcaps, you will also need to remove them.
5. Inspect the Suspension Components
Once the wheel is off, you’ll need to inspect the suspension components. Look for any signs of wear or damage. If you find any damaged parts, you’ll need to replace them before proceeding.
If everything looks good, you can move on to the next step. Inspecting the suspension components is important because it can help you identify any issues that need to be fixed.
You Can Check It Out To Fix Camber on a Lifted Truck
6. Adjust the Suspension Components
Once you’ve inspected the suspension components, you’ll need to adjust them. To do this, first, locate the adjustment points on the suspension. These are usually found at the control arms or struts. Next, use a wrench or ratchet to loosen the suspension component. If you’re not sure how to do this, consult your car’s owner’s manual. Finally, adjust the suspension component to the desired setting and tighten it back into place.
7. Adjust the Camber
Now, it’s time to adjust the camber. To do this, turn the adjusting bolt until you have achieved the desired setting. Remember to check and double-check your work, as an incorrect camber setting can cause serious problems down the road. Camber settings are usually measured in degrees, so make sure you use a protractor to get an accurate reading.
8. Re-Install the Wheel
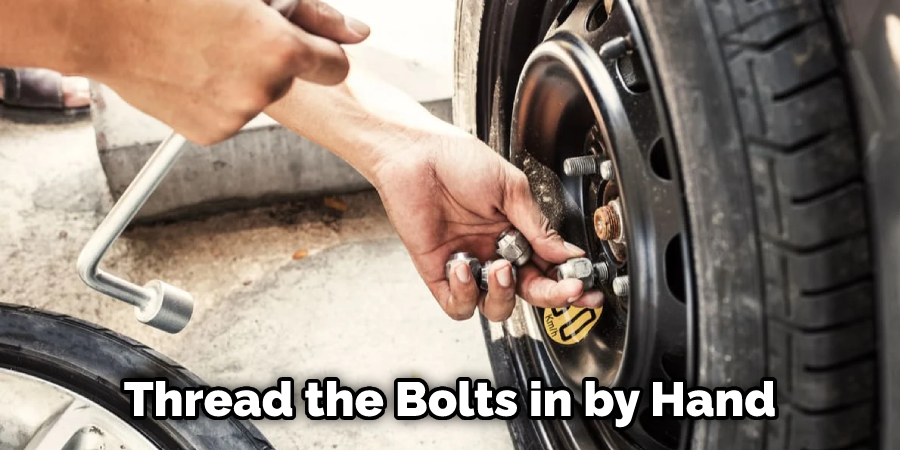
Once you’ve adjusted the camber, it’s time to reinstall the wheel. To do this, first, line up the holes in the wheel with the bolts. Next, thread the bolts in by hand to make sure they’re going in smoothly. Once all the bolts are started, use a socket wrench to tighten them down. Be sure to alternate between the bolts as you’re tightening them so that they all get tightened evenly. Finally, lower the car back down to the ground and test drive it to see how the new camber feels.
9. Lower Your Car
Once you’re finished making adjustments, it’s time to lower your car back down to the ground. To do this, slowly release the jack and let your car settle back onto its suspension. Once it’s down, remove the jack and stand back to take a look at your handiwork. If everything looks good, then you’re all set.
10. Test Drive Your Car
Now that you’ve adjusted your car’s camber, it’s time to take it for a test drive. This will help you see how the new setting feels and see if any issues need to be addressed. If everything feels good, then you’re all done. Test driving your car is an important step in the adjustment process, so be sure to take your time and pay attention to how the car feels.
11. Adjust as Needed
After test driving your car, you may find that the camber needs to be adjusted further. If so, simply repeat the steps above until you’re satisfied with the setting. Remember, it’s important to take your time and double-check your work to ensure that everything is correct. Adjusting your car’s camber is a relatively simple process, but it’s important to take your time and do it correctly.
Tips and Warnings on How to Adjust Camber Without Camber Bolts
Tips:
- Be sure to have a camber gauge handy before beginning this process.
- You’ll need to be familiar with the terms “static camber” and “dynamic camber.” Static camber is the wheel’s angle when the vehicle is not moving. Dynamic camber is the wheel’s angle when the vehicle is in motion.
- It’s best to adjust the camber when the vehicle is on a level surface.
- Always use jack stands when working on your vehicle.
Warnings:
- Do not attempt to adjust the camber if you are not familiar with the process.
- Incorrectly adjusting the camber can adversely affect the handling of your vehicle.
- Do not drive your vehicle after adjusting the camber without first having the alignment checked by a professional.
How Often Should You Adjust Camber?
Most experts recommend checking and, if necessary, adjusting the camber every six months or 10,000 miles. This can help prevent uneven tire wear and premature tire failure. If you notice that your tires are wearing unevenly, it’s a good idea to check the camber and make adjustments as needed.
Conclusion
So, there you have everything you need to know about how to adjust camber without camber bolts. We hope this article has helped clear up any confusion and shown you that adjusting your camber is a simple process. So, have fun with it and experiment until you find the best settings for you and your car. If you have any questions, be sure to consult a professional. Happy wrenching.
You May Also Read: How to Fix Camber on Lowered Truck