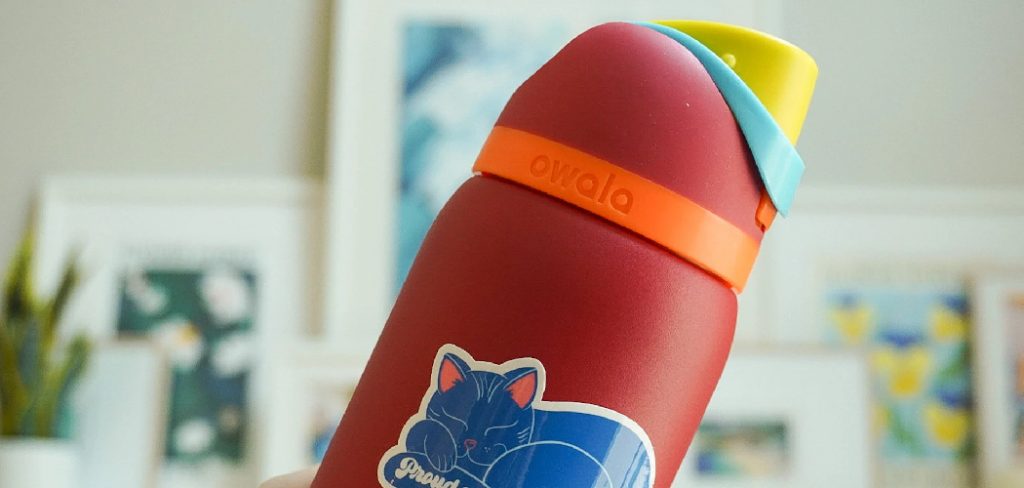
Are you having trouble with your Owala water bottle button? You’re not alone. Many people have experienced issues with their Owala buttons getting stuck or not working properly.
The Owala water bottle is known for its convenience and innovative design, but over time, its button mechanism can sometimes face issues, such as becoming stuck or less responsive. Fortunately, fixing the Owala button is typically a straightforward process that requires just a few tools and some basic steps. Additionally, there are some preventative measures you can take to help reduce the chances of encountering button problems in the future.
This guide on how to fix owala button will walk you through the solutions to common problems, ensuring that your Owala bottle works seamlessly and continues to be a reliable companion for your hydration needs.
What Are the Benefits of Owning an Owala Bottle?
Owning an Owala bottle has many benefits. Not only does it provide you with a convenient and stylish way to stay hydrated throughout the day, but it also helps reduce single-use plastic waste. With its durable construction and versatile design, your Owala bottle can accompany you on all your adventures, from work commutes to outdoor activities.
But perhaps one of the most appealing features of the Owala bottle is its easy-open button. This unique button design allows for effortless one-handed operation, making it ideal for on-the-go hydration.
What Will You Need?
To get started with your new Owala water bottle, you will need the following items:
- Your Owala water bottle (of course!)
- Clean water
- Any desired add-ins, such as fruit, herbs, or ice cubes
- A secure lid or cap for your bottle (if it doesn’t come with one)
- A reusable straw (optional)
Once you have all of these items, you’re ready to start using your Owala bottle!
10 Easy Steps on How to Fix Owala Button
Step 1. Assess the Problem
Begin by closely examining the Owala bottle and its button mechanism to identify the issue. Check whether the button is stuck, unresponsive, or not functioning as expected. Inspect for any visible signs of damage, such as cracks in the button, dirt buildup, or a misalignment in its position. Take note of any unusual sounds or resistance when pressing the button. This assessment will help you determine the exact cause of the problem and guide the necessary steps for fixing it effectively.
Step 2. Clean the Button Area
To clean the button area, start by turning off and unplugging the device, if applicable, to ensure safety. Use a soft, dry cloth to wipe away any loose dirt or debris around the button. For more stubborn grime, dampen a cotton swab or cloth with a small amount of isopropyl alcohol and gently clean the button and its surrounding area. Avoid excessive moisture, as liquids can damage internal components. Make sure to clean in and around crevices to remove any buildup that might hinder the button’s functionality.
Step 3. Check for Blockages
Inspect the area around and beneath the button for any visible blockages or foreign objects that might be causing an obstruction. Use a flashlight to illuminate hard-to-see areas, ensuring a thorough check. If you identify any debris, carefully remove it using a pair of tweezers or a soft brush. Be gentle during this process to avoid causing damage to delicate components. Double-check the area to confirm that it is completely clear before moving on to the next step.
Step 4. Apply Lubrication
To ensure smooth operation, apply a small amount of appropriate lubrication to the moving parts of the button mechanism. Use a precision applicator or a cotton swab to carefully apply the lubricant, focusing on areas prone to friction. Avoid over-lubricating, as excess lubricant can attract dust and debris, potentially causing further issues. Once applied, press the button a few times to distribute the lubricant evenly and test the functionality. If the button operates smoothly, proceed to the next step.
Step 5. Tighten or Adjust Components
Inspect all screws, fasteners, or clips holding the mechanism together. Tighten any loose screws carefully using the appropriate tool, ensuring not to over-tighten and risk stripping the threads. If any components are misaligned, adjust them gently to restore proper alignment. Pay special attention to any parts that connect directly to the button, as their position can affect functionality. After adjustments, test the button again to confirm that it moves freely without sticking or resistance. If the issue persists, consider revisiting previous steps to ensure nothing was overlooked.
Step 6. Reset the Button
To reset the button, begin by disconnecting any power source connected to the device to ensure safety. Locate the reset mechanism for the button, which may involve a small switch, a spring mechanism, or electronic settings depending on the device’s design. If a physical reset is required, gently press and hold the reset switch for a few seconds or follow the device manual’s instructions for reinitialization. For electronic resets, refer to the device’s user interface or settings menu to activate the reset command. Once completed, reassemble the device if applicable and reconnect the power source. Test the button to verify that it now functions correctly and responds as intended.
Step 7. Inspect the Spring Mechanism
Carefully examine the spring mechanism for any signs of wear, damage, or misalignment. Ensure that the spring is securely in place and has not become deformed or dislodged. If the spring appears to be damaged, it may need to be replaced to restore proper functionality. Use a small tool or your hands to gently test the tension of the spring, ensuring it provides the necessary resistance without being overly stiff or loose. Clean the spring and surrounding components with a soft cloth to remove any dirt or debris that may impede its operation.
Step 8. Replace Faulty Parts
If any components are identified as faulty or damaged, replace them with appropriate parts that match the specifications of the original components. Begin by carefully removing the defective part, ensuring not to damage the surrounding elements during the process. Refer to the manufacturer’s instructions or diagrams for guidance on proper installation. Once the new part is in place, secure it tightly and verify its alignment and functionality. After replacement, test the system to ensure it operates smoothly with the newly installed component.
Step 9. Reassemble Components
After replacing the necessary parts, carefully reassemble all components in the reverse order of disassembly. Ensure that each part is securely fastened and properly aligned to avoid any operational issues. Use the manufacturer’s manual as a reference to confirm correct placement of each component. Double-check all connections, screws, and seals to ensure the system is fully intact. Once reassembly is complete, perform a final inspection to guarantee there are no loose or misplaced parts before proceeding to test the system.
Step 10. Test the Button
After reassembly, press the button several times to ensure it functions as intended. Observe whether the button responds smoothly without sticking or requiring excessive force. Check for consistent feedback, sound, or light (if applicable) that confirms successful activation. If the button does not function properly, re-inspect the assembly for potential misalignment or loose components. Repeat adjustments as necessary until the button operates correctly and reliably. Once fully tested and verified, the system is ready for regular use.
By following these simple steps, you can get your Owala button working like new and continue enjoying the convenience of your water bottle!
5 Things You Should Avoid
- Using Excessive Force: Avoid using too much force when attempting to realign or press the button, as this can cause further damage to the internal components. Gentle adjustments are usually sufficient.
- Ignoring Dirt or Debris: Make sure to clean the button and surrounding area before starting any repairs. Operating on a dirty mechanism can worsen the issue or lead to improper functioning.
- Skipping Testing Steps: After making adjustments, always test the button to ensure it is functioning correctly. Skipping this step may leave you unaware of unresolved problems.
- Using Incorrect Tools: Refrain from using tools that are not suited for the task, as they can scratch, strip, or damage the parts of the button.
- Disassembling Unnecessarily: Avoid completely disassembling the bottle unless absolutely necessary. This increases the likelihood of losing small parts or reassembly issues, leading to further complications.
What are the Causes of Button Failure?
Button failure can occur due to a variety of reasons. Some common causes include:
- Wear and Tear Over Time: As with any mechanical device, buttons can wear down with frequent use. This can lead to reduced sensitivity or complete failure.
- Dirt and Debris Buildup: Buttons that are frequently used may accumulate dirt, dust, or other debris, which can interfere with their functionality.
- Moisture Damage: Exposure to liquids or high humidity levels can cause corrosion or short circuits in the button’s internal components.
- Manufacturing Defects: In some cases, buttons may fail due to defects in the manufacturing process, such as poor quality materials or improper assembly.
- User Error: Mishandling of the button, such as applying excessive force or pressing it too hard, can also cause damage and lead to failure.
Conclusion
How to fix owala button requires a combination of patience, the right tools, and proper techniques.
By understanding the specifics of the issue, such as blockages or mechanical malfunctions, and avoiding common mistakes like applying excessive force or using improper tools, you can address the problem effectively. Always prioritize a methodical approach, and if the issue persists, consider reaching out to Owala’s customer support for further assistance.
With careful attention and effort, you can restore your bottle’s functionality and continue to enjoy its benefits.