Are you noticing that your gutter is starting to pull away from your roofline? This can be a common issue for homeowners, but it’s important to address it as soon as possible to prevent further damage.
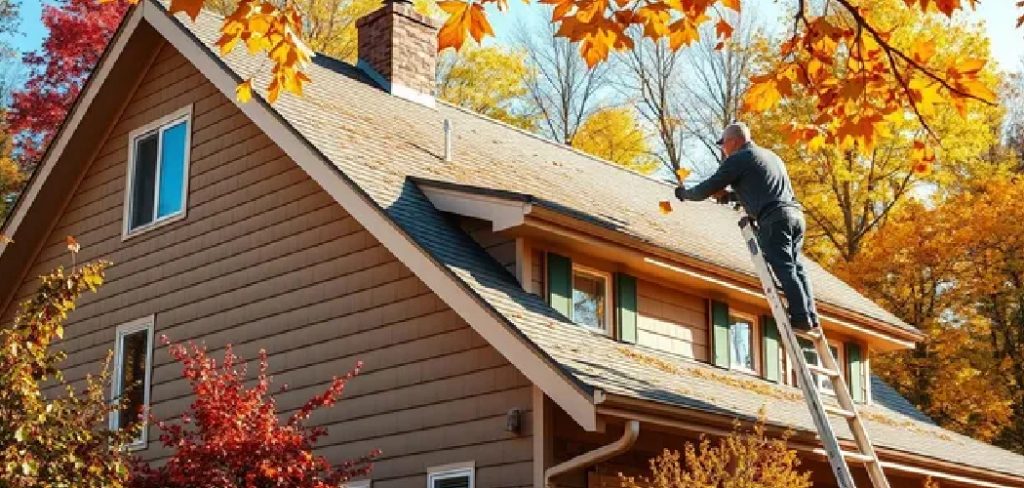
Maintaining a functional gutter system is essential for protecting your home from water damage. Over time, gutters can begin to sag or detach due to factors like weather conditions, debris buildup, or loose fasteners. A falling gutter not only compromises your home’s drainage system but can also lead to costly repairs if left unaddressed. Fortunately, fixing a gutter that is falling off is a straightforward task that requires minimal tools and effort.
This guide on how to fix a gutter that is falling off will walk you through the steps to restore your gutter system and ensure it continues to safely direct rainwater away from your home.
What Are the Causes of a Falling Gutter?
There are several reasons why your gutter may be falling off. Some common causes include:
- Poor Installation: If the gutter was not properly installed, it may not have enough support to withstand strong winds or heavy rainfall.
- Clogs and Debris Buildup: When gutters become clogged with leaves, twigs, and other debris, they can become weighed down and pull away from the house.
- Loose Fasteners: Over time, the fasteners that hold the gutter in place can come loose due to weather conditions or general wear and tear.
Regardless of the cause, it is important to address a falling gutter as soon as possible to avoid further damage to your home.
What Will You Need?
To repair a falling gutter, you will need the following supplies:
- Ladder
- Hammer
- Nails or screws
- Caulk gun and caulk
- Gutter sealant
Once you have gathered these supplies, you can begin the repair process.
10 Easy Steps on How to Fix a Gutter That is Falling Off
Step 1. Ensure Safety First
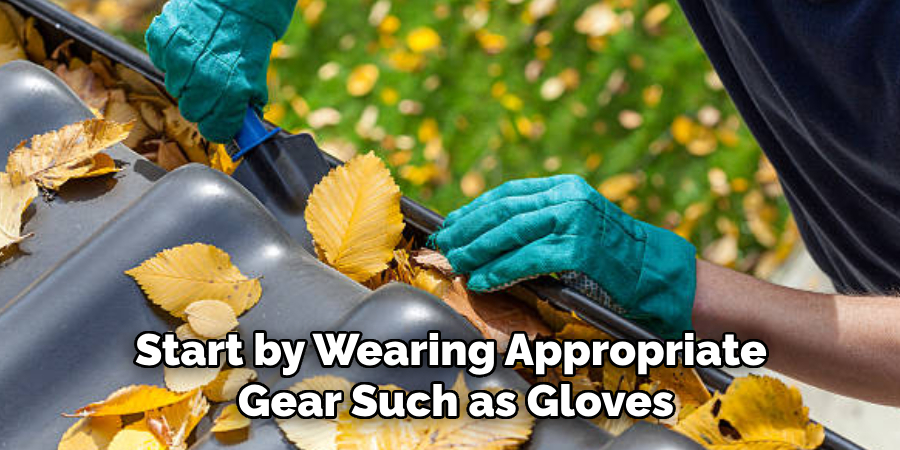
Before beginning any repair work, prioritize your safety. Start by wearing appropriate gear such as gloves, safety goggles, and sturdy footwear to reduce the risk of injury. Ensure that the ladder you are using is secure and stable, preferably on a flat and even surface. If possible, have someone hold the base of the ladder for added stability while you work.
Avoid working on the gutter during bad weather or in conditions where the ground is slippery, as this increases the risk of accidents. Double-check all equipment and thoroughly inspect your tools for any defects to ensure they are in good working condition. Taking these precautions will create a safe environment for your repair project.
Step 2. Inspect the Gutter and Surrounding Area
Start by examining the gutter for any visible signs of damage, such as cracks, holes, or rust spots. Look for sections where the gutter may be sagging or pulling away from the structure, as these could indicate loose fasteners or compromised brackets. Additionally, check for clogs caused by leaves, debris, or dirt that may obstruct water flow. Inspect the downspouts to ensure they are securely attached and free of any blockages.
While assessing the gutter, take note of the condition of the roofline and fascia board, as any wear or damage in these areas could impact the gutter’s performance. Identifying these issues early will help to determine the necessary repairs and prevent further complications.
Step 3. Clean Out the Gutter
Begin cleaning the gutter by removing all visible debris, such as leaves, twigs, and dirt, using a gloved hand or a small scoop. Place the debris into a bucket or tarp for easy disposal. If there is any stubborn buildup, use a stiff-bristled brush to scrub the gutter interior, ensuring it is free from grime.
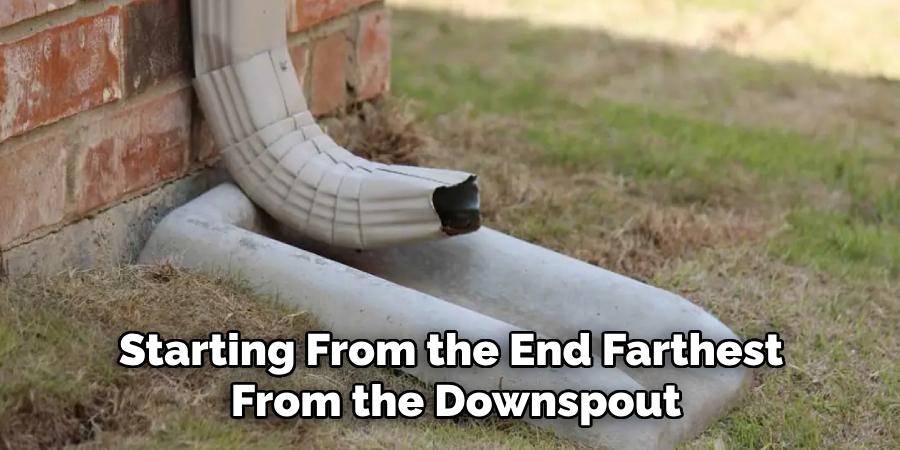
For an effective cleanse, flush the gutter with a hose, starting from the end farthest from the downspout to ensure smooth water flow. Pay close attention to the downspouts, using the hose to clear any blockages. Keeping the gutter clean not only prevents water damage but also ensures the longevity of your home’s drainage system.
Step 4. Remove Loose or Faulty Fasteners
Inspect the gutter fasteners that hold the system in place, including screws, nails, or brackets. Check for any that are loose, bent, rusted, or missing entirely. Use a screwdriver or drill to tighten any loose fasteners securely. If fasteners are damaged or rusted beyond repair, replace them with new ones to ensure the gutter stays securely attached to the house.
Properly functioning fasteners are crucial for maintaining the gutter’s stability, especially during heavy rainfall or strong winds. Taking the time to address these issues will improve the overall durability of the gutter system.
Step 5. Install New Fasteners or Brackets
To install new fasteners or brackets, begin by positioning them in the proper locations along the gutter system. Ensure they are evenly spaced to provide maximum support and stability. Use a level to confirm that the gutter is aligned correctly to allow proper water flow.
Mark the drilling points, then securely attach the fasteners or brackets to the fascia using appropriate screws or anchors. Double-check that each fastener is tight and secure. This step is essential for reinforcing the gutter system and preventing sagging or detachment during adverse weather conditions.
Step 6. Check and Adjust the Gutter’s Slope
The gutter’s slope is critical for ensuring proper water drainage. To check the slope, use a level along the length of the gutter. The general recommendation is a slope of about 1/4 inch for every 10 feet of guttering, directing water toward the downspouts. If the slope is incorrect, adjust the gutter brackets by loosening and repositioning them as needed. Make sure any adjustments maintain a consistent downward angle. Once satisfied, tighten the brackets securely and retest with the level to confirm proper alignment. A well-adjusted slope prevents water accumulation and guarantees efficient flow through the system.
Step 7. Seal Any Leaks
Inspect the gutters carefully for any signs of leaks, such as dripping water or visible cracks along the seams. Use a gutter sealant or silicone caulk to seal these problem areas effectively. Apply the sealant generously over the cracks or seams, ensuring full coverage to prevent water from escaping. For larger holes, consider using a gutter patch kit for a more durable solution. Allow the sealant to cure as per the manufacturer’s instructions before testing the gutters with water. Properly sealed leaks will extend the life of your gutter system and protect your property from water damage.
Step 8. Reinforce the Gutter with Additional Brackets
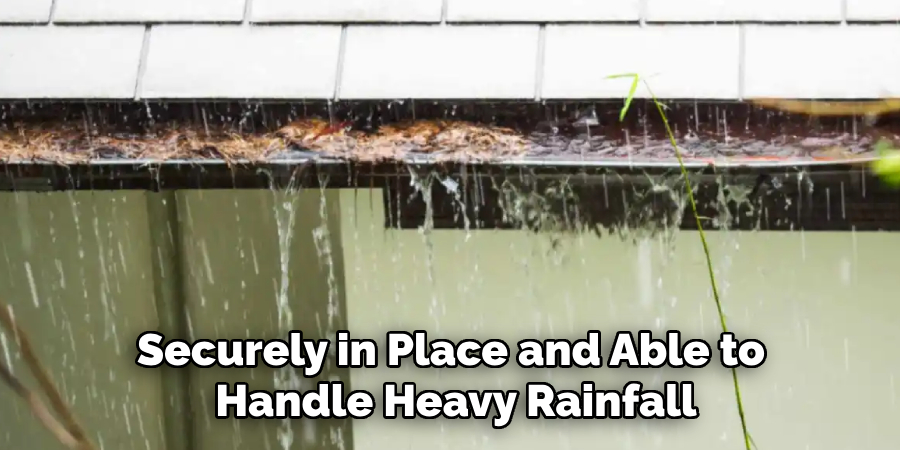
To ensure the gutter system is securely in place and able to handle heavy rainfall, reinforce it with additional brackets. Inspect the existing brackets for signs of wear or damage and replace them if necessary. Install new brackets evenly along the gutter, ensuring proper spacing as per the manufacturer’s recommendations, typically every 3 to 4 feet. Secure the brackets firmly to the fascia board using corrosion-resistant screws to prevent loosening over time. Reinforcing the gutter will improve its stability and help prevent sagging or detachment, especially during extreme weather conditions.
Step 9. Test the Gutter’s Functionality
Pour water into the gutter system using a garden hose or a large container to simulate rainfall. Observe the flow of water to ensure it moves smoothly towards the downspouts without pooling or overflowing at any point. Check for leaks along the joints and seams, and make any necessary adjustments or repairs, such as sealing gaps with silicone caulk or tightening connections. Testing the functionality of your gutter system is crucial to confirm its effectiveness in directing water away from your home and preventing potential water damage.
Step 10. Perform Routine Maintenance
Routine maintenance is essential to keep your gutter system functioning properly and to extend its lifespan. Regularly inspect and clean your gutters at least twice a year, ideally in the spring and fall, to remove debris such as leaves, twigs, and dirt that may accumulate. Additionally, check for any signs of wear or damage, including rust, cracks, or sagging sections, and address these issues promptly. Ensure that all gutter brackets and fasteners are secure, and replace any worn components as needed.
By following these simple steps, you can effectively repair a falling gutter and protect your home from potential water damage.
5 Things You Should Avoid
- Using the Wrong Tools or Materials
Avoid using incorrect tools or substandard materials for the repair. Using items like duct tape or inappropriate fasteners can lead to temporary fixes that won’t hold up in the long term, potentially causing the gutter to fall again.
- Ignoring the Root Cause
Simply reattaching the gutter without addressing why it fell in the first place can lead to repeated issues. Ensure you examine and resolve underlying problems, such as clogged downspouts, loose brackets, or improper installation.
- Working Without Safety Measures
Never attempt to fix a falling gutter without proper safety precautions. Using an unstable ladder or working without gloves and protective gear can lead to injuries, making the repair more dangerous than necessary.
- Overtightening or Misaligning Fasteners
Overtightening screws or improperly aligning the gutter can cause unnecessary stress on the system, leading to cracks or poor water flow. Always ensure fasteners are secure but not excessively tight, and double-check the alignment.
- Ignoring the Weather Conditions
Avoid repairing gutters in poor weather conditions such as heavy rain, high winds, or freezing temperatures. These conditions increase the risk of accidents and may compromise the quality of the repair. Always wait for calm weather to ensure a safe and effective fix.
Conclusion
How to fix a gutter that is falling off requires careful planning, attention to detail, and adherence to safety precautions.
By properly inspecting the gutter, securing fasteners, ensuring correct alignment, and working in safe weather conditions, you can effectively restore the gutter’s functionality. Taking the time to address minor issues promptly can prevent more significant problems from developing, saving you time and money in the long run.
Always prioritize safety, and if the repair seems too challenging, consider consulting a professional for assistance.