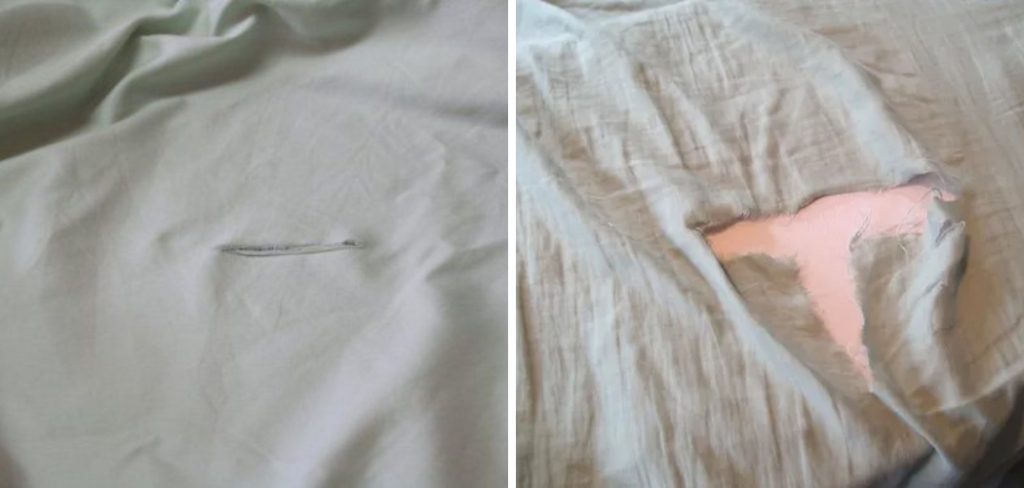
There’s nothing more frustrating than climbing into bed after a long day, only to feel a tear in your beloved bed sheet. Not only is it uncomfortable to sleep on, but it can also lead to further damage if left untreated. But fear not, because in this blog post, we’re going to show you how to fix torn bed sheet, so you can regain the cozy and peaceful nights of rest you deserve.

Whether it’s a small tear or a gaping hole, we’ve got you covered with easy and effective solutions that will have your bed sheet looking as good as new in no time. So grab your sewing kit and let’s get started on mending those tears, because a good night’s sleep is just a stitch away!
Why is It Important to Fix Torn Bed Sheet?
1 . To Keep Your Bed Looking Nice and Clean
Sleeping in a bed with torn sheets can be quite uncomfortable. Not only that, it also makes your bed look messy and unattractive. By fixing the tears on your bedsheets, you can keep your bed looking clean and presentable.
2 . To Prevent Further Damage
Leaving torn bedsheets as is may cause the tears to become bigger and more difficult to fix in the future. By fixing them as soon as possible, you can prevent further damage and prolong the lifespan of your bedsheets.
3 . To Avoid Accidents
Torn bedsheets can cause accidents such as getting tangled or tripping on loose fabric. This can be especially dangerous for children and elderly people. By fixing your torn bedsheets, you can ensure the safety of everyone in your household.

4 . To Save Money
Buying new bedsheets can be expensive. By fixing your torn bedsheets, you can save money and avoid having to constantly replace them with new ones.
How to Fix Torn Bed Sheet in 6 Easy Steps
Step 1: Gather Supplies
Before you start fixing your torn bed sheet, make sure you have all the necessary supplies. This will save you from having to stop midway and search for something. Here are the items you’ll need:
- Sewing needle
- Thread (matching color)
- Scissors
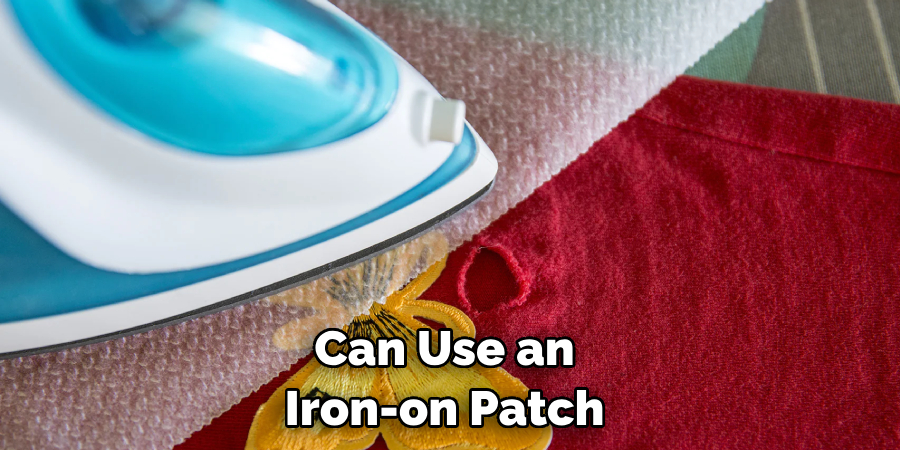
- Iron-on patch or fabric glue
- Iron
Step 2: Assess the Damage
Take a close look at the tear in your bed sheet. If it is a small rip, you may be able to fix it with just a few stitches. However, if the tear is large or has multiple holes, you will need to use an iron-on patch or fabric glue.
Step 3: Thread Your Needle
Thread your sewing needle with the matching colored thread. If you are using an iron-on patch, skip this step.
Step 4: Stitch the Tear
Start by knotting the end of your thread. Then, carefully stitch along the edges of the tear. Make sure to pull the thread tight so that it holds the fabric together. Continue stitching until you reach the end of the tear.
Step 5: Iron-On Patch or Fabric Glue
If the tear is too large to be stitched, you can use an iron-on patch or fabric glue. Simply follow the instructions on the packaging and apply it to the torn area. If using fabric glue, make sure to spread it evenly and press down firmly.

Step 6: Iron the Fixed Area
Once your tear is repaired, it’s important to iron the fixed area. This will help seal the stitches or patch and ensure that they hold up over time. Also, ironing will make the repair less noticeable. Also, make sure to wait at least 24 hours before washing or using the bed sheet again.
Additional Tips
1 . Reinforce Seams
To prevent future tears, reinforce the seams of your bed sheet. This can be done by simply stitching along the edges of the seams or using a zigzag stitch for added durability. Also, avoid pulling on the seams when making the bed or putting on fitted sheets.
2. Use a Fabric Repair Kit
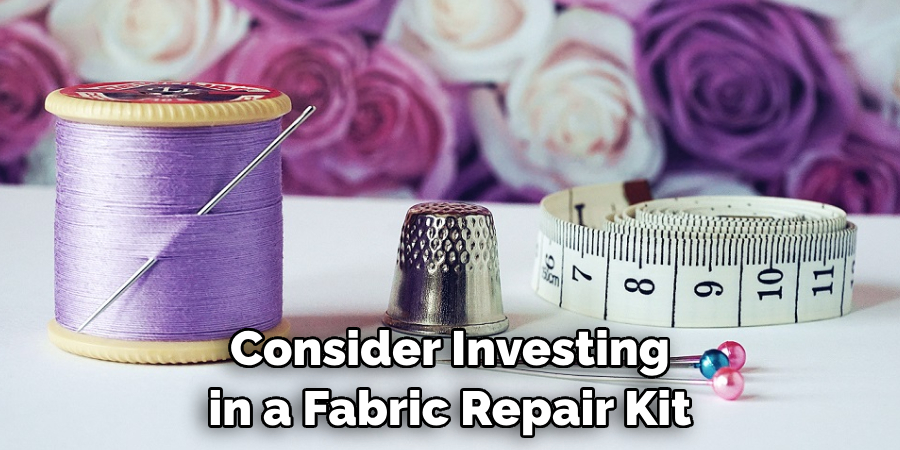
If you frequently have torn bed sheets, consider investing in a fabric repair kit. These kits come with various tools and materials specifically designed for repairing tears in fabric. Also, they come in handy for fixing other items made of fabric.

3. Trim Frayed Edges
If the edges of your torn bed sheet are fraying, use sharp scissors to trim them. This will not only make the repair look neater but also prevent further damage to the fabric. Also, make sure to trim any loose threads after stitching or using an iron-on patch.
Frequently Asked Questions
What Precautions Should I Take Before Repairing a Torn Bed Sheet?
Before starting the repair process, it is important to wash and dry your bed sheet to remove any stains or dirt that may interfere with the sewing process. Make sure to iron the sheet carefully to smooth out any wrinkles and creases. Next, you should assess the size and location of the tear. If it is a small tear, you may be able to fix it yourself. However, for larger or more complex rips, it is recommended to take your bed sheet to a professional tailor or seamstress.
How Do I Repair a Small Tear in My Bed Sheet?
To repair a small tear in your bed sheet, you will need a sewing needle and thread that matches the color of your sheet. First, turn your bed sheet inside out and place a piece of fabric or thin cardboard under the tear for support. Next, thread your needle and tie a secure knot at the end.
Using a whip stitch, carefully sew the edges of the tear together, making sure to keep the stitches as close together as possible. Once you have reached the end of the tear, tie another knot to secure the thread and trim any excess.
How Do I Repair a Larger Tear in My Bed Sheet?
If you have a larger tear in your bed sheet, the repair process may be more complicated. You may need to use an iron-on patch or fabric glue for a quick fix. However, if you want a more permanent solution, follow these steps: First, cut out a piece of fabric that is slightly bigger than the tear.

Next, place the patch over the tear and secure it with pins. Turn your sheet inside out and use a sewing machine or hand stitch to sew around the edges of the patch. If you are using a sewing machine, make sure to use a zigzag stitch for added durability.
How Can I Prevent Tears in My Bed Sheet?
Preventing tears in your bed sheet is all about proper care and maintenance. Avoid using harsh chemicals or bleach when washing your sheets, as this can weaken the fabric.
It is also recommended to wash your sheets separately from heavier items like towels or jeans, which can cause friction and lead to tears. You can also rotate your sheets regularly to distribute the wear and tear evenly. Lastly, make sure to follow the manufacturer’s care instructions and replace your sheets when necessary.
Can I Repair a Torn Bed Sheet with Duct Tape?
Although it may seem like a quick and easy fix, duct tape is not recommended for repairing torn bed sheets. The adhesive can leave behind residue and potentially ruin your sheets. Plus, the tape is not durable enough to hold up against regular use and washing. It is best to stick to traditional sewing methods or seek professional help for repairing your bed sheet.
Overall, taking proper precautions and following appropriate repair methods can help extend the life of your bed sheets. With a little bit of effort, you can fix a torn bed sheet and avoid having to replace it entirely. So next time you find a tear in your favorite sheet, don’t panic – just grab a needle and thread and get to sewing!
Conclusion
In conclusion, whether your torn bed sheet is torn near the top or bottom, a hole in the middle of the bedsheet or the seams have unraveled, you now know how to fix torn bed sheet With household tools from scissors to tape and a little bit of creativity, you can ensure that no matter what kind of unexpected damage is done to your bed sheet, it can be quickly and effectively patched.
You’ll feel better having an intact set of sheets ready for any sleeping situation and you might even find yourself feeling more motivated to make other organized repairs around your home! So don’t wait – take action now by organizing necessary items, watching helpful videos on specific techniques if needed and be sure to use caution with sharp tools or hot irons. You’ll feel proud knowing that your comfort in bed won’t be hindered by forgotten tears or holes.
