When working with epoxy resin for countertops, achieving a smooth, immaculate finish is crucial for both aesthetics and functionality. However, there are instances when the epoxy remains tacky or sticky even after the curing time has elapsed.
This issue can arise due to various factors, including incorrect measurements of resin and hardener, insufficient mixing, or inappropriate environmental conditions during the curing process.
Understanding the root causes and learning how to effectively troubleshoot these problems can ensure a successful, glossy countertop that stands up to both time and usage. In this guide on how to fix sticky epoxy countertop, we’ll delve into the common causes of sticky epoxy surfaces and offer step-by-step solutions to rectify them.
What is Epoxy Resin?
Epoxy resin is a versatile polymer widely used in industries ranging from construction to art due to its strong adhesive properties and resistance to environmental degradation. It typically consists of two main components: a resin and a hardener, which, when mixed, undergo a chemical reaction resulting in a hard, durable finish.
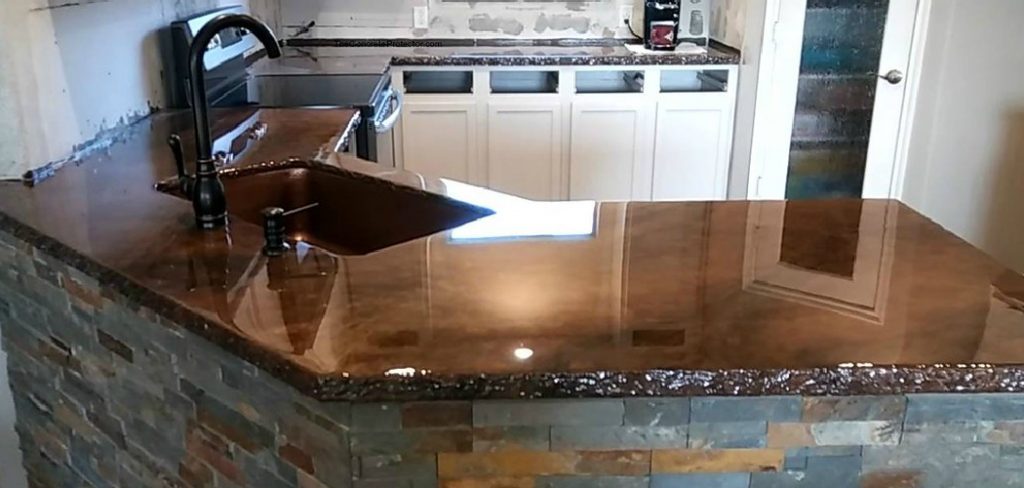
This material is prized for its transparency and ability to adhere to various surfaces like wood, concrete, and metal. In the context of countertops, epoxy resin provides a sleek, glossy finish that enhances the surface’s visual appeal while offering protection against scratches, stains, and water damage. Its adaptability and resilience make it a popular choice for creating long-lasting, beautiful surfaces.
Why Does Epoxy Resin Become Sticky?
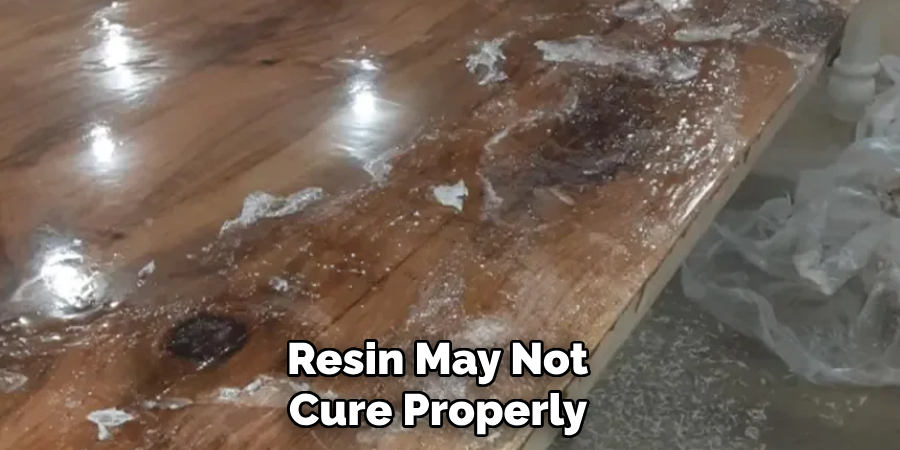
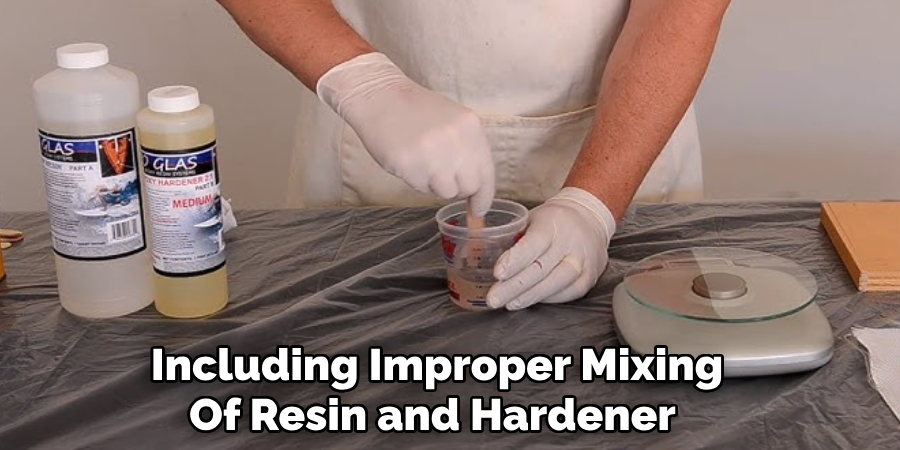
Epoxy resin can become sticky when the curing process is disrupted or improper. One common cause is an inaccurate ratio of resin to hardener, as the two components must be mixed precisely according to the manufacturer’s instructions to ensure a complete chemical reaction.
If the mixture is imbalanced, the resin may not cure properly, leading to a tacky surface. Inadequate mixing can also hinder the curing process, as the components need to be thoroughly combined to activate the hardening reaction.
Additionally, environmental factors such as temperature and humidity play a significant role; low temperatures can slow the curing process, while high humidity levels can introduce moisture to the resin, resulting in a sticky finish. Understanding these variables is crucial in preventing and addressing sticky epoxy situations.
Needed Materials
- Epoxy Resin and Hardener (as Per Manufacturer’s Instructions)
- Measuring Cups/spoons
- Stir Sticks
- Heat Gun or Blowtorch
- Sandpaper (Various Grits)
- Plastic Scraper
- Isopropyl Alcohol or Acetone
9 Step-by-step Guides on How to Fix Sticky Epoxy Countertop
Step 1: Determine the Cause
The first step in addressing a sticky epoxy countertop is to pinpoint the root cause of the problem. Begin by reviewing your project notes and the instructions provided by the epoxy manufacturer.
Confirm that the ratio of resin to hardener was measured accurately and mixed thoroughly. Reflect on the environmental conditions during the curing process, such as temperature and humidity, and ensure they are within the recommended range.
Assess whether any disturbances occurred during curing, such as inadequate ventilation or contamination from dust or debris. By identifying the specific cause, you can tailor your approach to effectively resolve the issue and prevent it from happening in future projects.
Step 2: Wait for the Complete Curing
If the epoxy is still sticky or tacky, it may not have fully cured yet. Depending on the type and brand of resin used, curing time can range from 24 hours to several days. Consult the manufacturer’s instructions to determine the estimated curing time for your product and allow enough time for it to dry completely before attempting any fixes.
It’s also essential to note that cooler temperatures can slow the curing process, so if you’re working in a colder environment, be patient and allow for additional curing time.
Step 3: Heat Gun or Blowtorch
When epoxy resin is applied, bubbles may form and get trapped beneath the surface. Using a heat gun or blowtorch on low heat can help release these air bubbles and create a smoother finish.
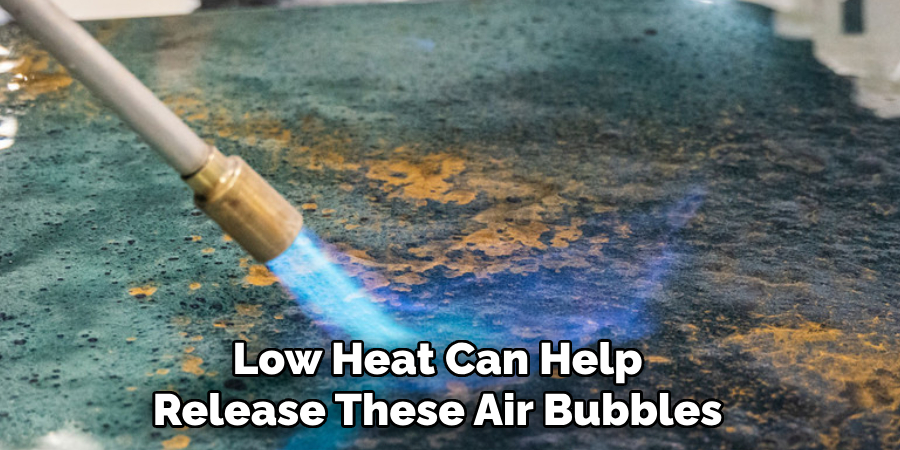
However, too much heat can cause the resin to become sticky again or even ignite. Use caution when applying heat and keep it at least six inches away from the surface to avoid damaging the countertop.
You can also try gently blowing on the surface with a straw to release any bubbles before using a heat gun or blowtorch.
Step 4: Sanding
If the stickiness persists, lightly sanding the surface may help. Start with fine-grit sandpaper and gradually move to coarser grits until you achieve the desired smoothness. Be careful not to overspend, as this can damage the finish and expose your countertop to further issues like discoloration or scratches.
After sanding, wipe down the area with isopropyl alcohol or acetone to remove any dust particles and residue.
Step 5: Add Another Layer of Epoxy
If the issue persists after sanding, you can try adding another layer of epoxy to the surface. Be sure to mix the resin and hardener in precise proportions and apply it evenly across the countertop. The new layer will bond with the original one and help create a smoother, non-sticky finish.
You can also use a heat gun or blowtorch to remove any air bubbles that may form during the application.
Step 6: Remove Excess Resin with a Plastic Scraper
In some cases, excess resin may have pooled in certain areas, causing stickiness. Use a plastic scraper to gently remove these pools of resin from the surface. Be careful not to scrape too hard, as this can damage the finish.
After removing excess resin, sand the affected area lightly and apply another layer of epoxy if necessary.
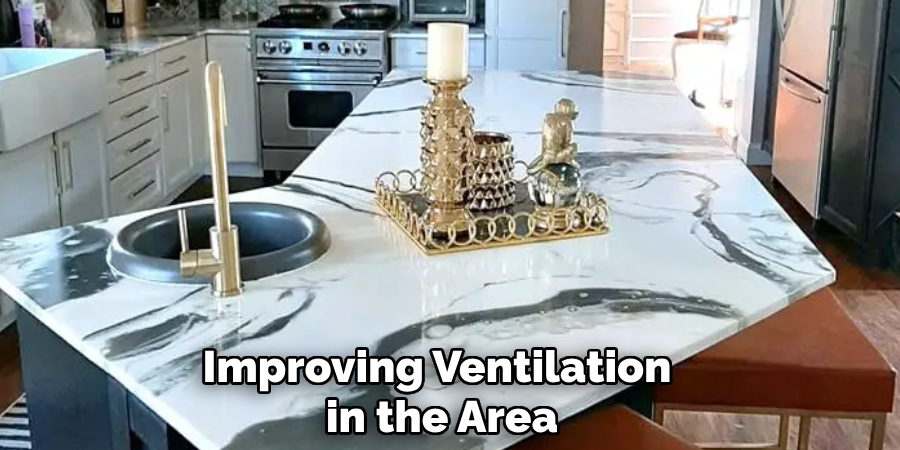
Step 7: Improve Ventilation
As mentioned earlier, inadequate ventilation during the curing process can introduce moisture and cause sticky epoxy surfaces. If you suspect this is the issue, try improving ventilation in the area by opening windows and using fans to circulate air.
It’s also essential to ensure that the workspace is clean and free of dust or debris, as these can also affect the curing process.
Step 8: Prevention Tips
To prevent sticky epoxy surfaces in future projects, always carefully measure and mix resin and hardener according to manufacturer instructions. Make sure your work area is well-ventilated and free of dust or debris.
If working in colder temperatures, allow for additional curing time before sanding or applying another layer of epoxy. It may also be helpful to test a small patch on a scrap piece before tackling a larger project to identify any potential issues early on.
Step 9: Seek Professional Help
If all else fails, it may be best to seek professional assistance. A trained technician can assess the situation and provide solutions tailored to your specific project. They may also recommend specialized products or techniques for fixing sticky epoxy countertops.
Following these steps on how to fix sticky epoxy countertop and understanding the factors that can affect epoxy curing can help you achieve a flawless, non-sticky finish for all your future projects. Remember to always take your time, follow instructions carefully, and be patient during the curing process. Happy crafting!
Frequently Asked Questions
Q: Can I Fix a Sticky Epoxy Countertop Without Sanding?
A: Sanding is often the most effective solution for fixing a sticky epoxy countertop, but it is not always necessary. If the stickiness is caused by excess resin pooling in certain areas, it may be possible to remove it with a plastic scraper or knife. However, sanding will likely still be required to achieve a smooth finish.
Q: How Long Should I Wait Before Sanding the Epoxy Countertop?
A: The time needed for epoxy countertops to cure can vary based on the type and brand of resin used, as well as environmental factors like temperature and humidity. Consult the manufacturer’s instructions for a recommended curing time and allow for additional time if working in cooler temperatures. It’s best to wait until the epoxy is completely dry before sanding to avoid damaging the finish.
Q: Why Does My Epoxy Countertop Keep Getting Sticky?
A: There are several reasons why an epoxy countertop may become sticky, including improper mixing of resin and hardener, inadequate curing time, poor ventilation during the curing process, or contamination from dust or debris. Identifying the specific cause can help you prevent it from happening in future projects.
Q: Can I Use a Hair Dryer Instead of a Heat Gun or Blowtorch?
A: It is not recommended to use a hair dryer on epoxy surfaces as it may not provide enough heat to release air bubbles and can also cause the resin to become sticky again. A heat gun or blowtorch on low heat are more effective options, but always use caution and keep them at least six inches away from the surface.
Conclusion
Successfully resolving sticky epoxy countertops requires a thorough understanding of the potential causes and effective solutions. By carefully following the step-by-step guide on how to fix sticky epoxy countertop provided, you can address the stickiness and achieve a smooth, professional finish.
Preventing future issues depends on proper preparation, precise measurement, and ensuring the environment is conducive to optimal curing. Remember, the key to a successful epoxy project is patience and attention to detail.
By applying these prevention techniques and being vigilant throughout the process, you can create durable and aesthetically pleasing epoxy surfaces that enhance the beauty and functionality of your space.