Squeaking suspension in vehicles can be both an irritating nuisance and a cause for concern. This unsettling sound often arises when you’re driving over bumps or uneven terrain, and it may point to underlying issues within your vehicle’s suspension system. Left unchecked, the squeaking suspension could signify worn or damaged components, such as bushings, shock absorbers, or springs, compromising your vehicle’s safety, handling, and overall performance.
Addressing squeaking suspension promptly is crucial to maintaining a smooth and secure driving experience. This article will guide you through understanding how to fix squeaking suspension by exploring its common causes, diagnosing the problem, and detailing the necessary tools and steps for repairing it. Proper diagnosis is essential before performing any repairs, as it ensures the correct part is fixed or replaced. Following these steps, you can restore your vehicle’s suspension system and enjoy a quieter, more comfortable ride.
Identifying the Symptoms and Causes of Squeaking Suspension
Signs of Squeaking Suspension
One of the most noticeable symptoms of a squeaking suspension is the audible squeak or creak that can be heard during specific driving conditions. This sound may occur while turning, driving over bumps, braking, or even during regular movement on uneven terrain. The volume and frequency of the squeak can vary depending on the severity and nature of the issue. For instance, a worn component might generate a persistent, high-pitched squeak, while a dry or loose part could produce intermittent creaking noises. Paying attention to when and how the sound occurs is an essential first step in diagnosing the problem.
Common Causes of Squeaking Suspension
- Worn or Dry Bushings
Suspension bushings, typically made of rubber, act as cushions to reduce vibration and noise between metal components. Over time, these bushings can wear out, crack, or dry out due to age or exposure to the elements. When this happens, they may generate a squeaking noise as the suspension moves.
- Damaged Shock Absorbers or Struts
Shock absorbers or struts are vital for controlling the motion of the vehicle’s suspension. If these components are worn or leaking, the resulting lack of proper damping can lead to squeaking noises as the suspension compresses or rebounds.
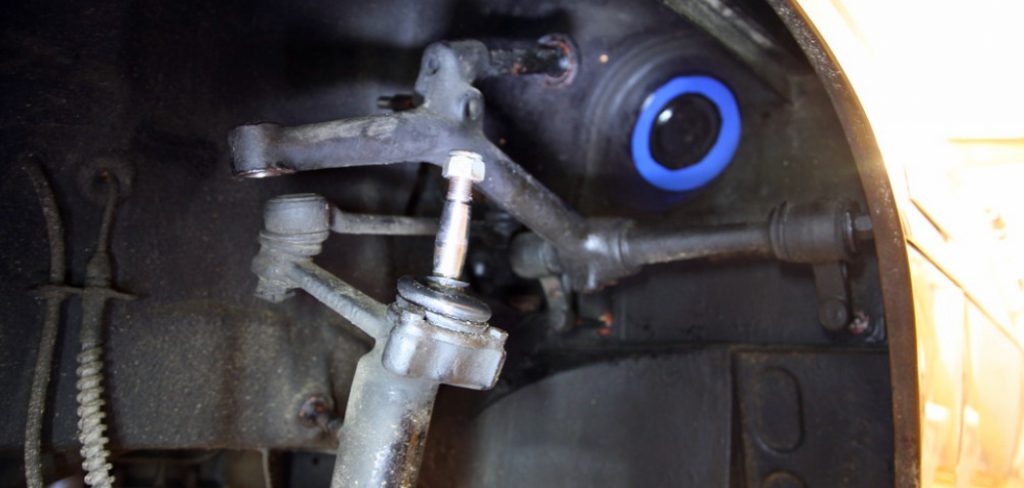
- Faulty Ball Joints
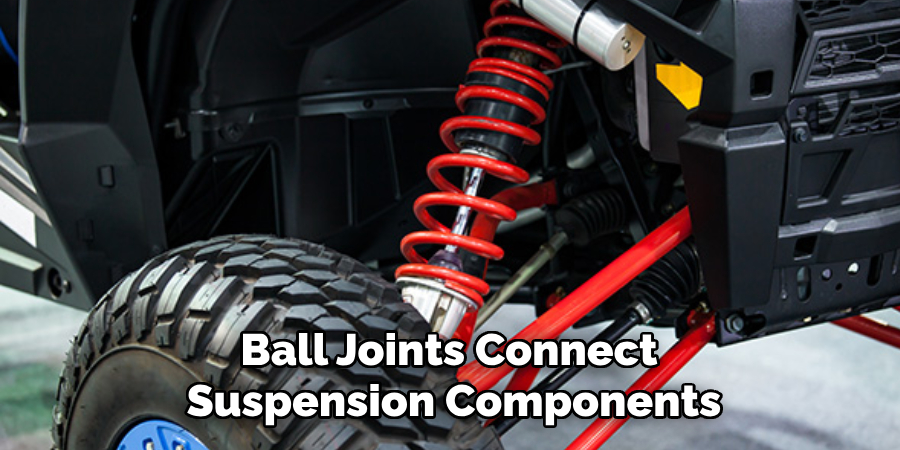
Ball joints connect suspension components and allow for smooth movement. When these joints become damaged, corroded, or loose, squeaking sounds can occur during suspension movement, especially while turning or maneuvering.
- Loose or Worn Springs
Suspension springs are responsible for absorbing the energy from road impacts. They can produce creaking or squeaking noises during vehicle motion if they become loose, worn, or improperly seated.
Tip
Properly identifying the root cause of the squeaking is essential for effective repairs. A thorough inspection ensures the right component is fixed or replaced, restoring the suspension system’s functionality and ensuring a smoother, quieter ride.
Tools and Materials Needed
Basic Tools for Diagnosis and Repair
- Car Jack and Jack Stands: These are essential to lift the vehicle safely, allowing proper access to the suspension system for inspection and repairs.
- Wrench and Socket Set: A versatile toolset needed for removing bolts and securing components during repair tasks.
- Screwdrivers: Useful for removing smaller components, clips, or connectors within the suspension system.
- Grease Gun: An important tool for lubricating suspension components, such as bushings, to reduce noise and improve functionality.
Tools for Suspension Parts Replacement
- Ball Joint Press: Specifically designed to safely remove and install ball joints, a common repair for squeaking suspensions.
- Spring Compressor: Necessary for safely handling suspension springs during removal and installation processes.
- Replacement Parts:
- Suspension Bushings: To swap out worn bushings causing squeaks or poor performance.
- Shock Absorbers or Struts: Needed when replacing worn-out or leaking components.
- Ball Joints: Essential for addressing damaged or corroded ball joints.
- Lubricants: For greasing parts to minimize friction and eliminate creaks or squeaks.
Diagnostic Tools
- Suspension Inspection Kit: A diagnostic toolset to identify issues such as worn components, alignment challenges, or other suspension-related problems.
Tip
Ensuring you have all the necessary tools and replacement parts before beginning repairs can save significant time and eliminate unnecessary frustration. Proper preparation ensures a smoother repair process and a successful outcome.
How to Fix Squeaking Suspension: Diagnosing the Source of the Squeaking
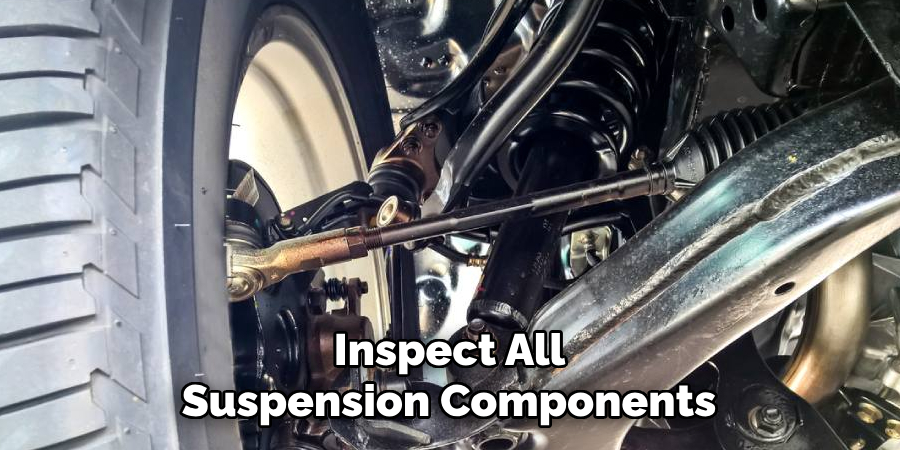
Step 1: Inspecting the Suspension Components
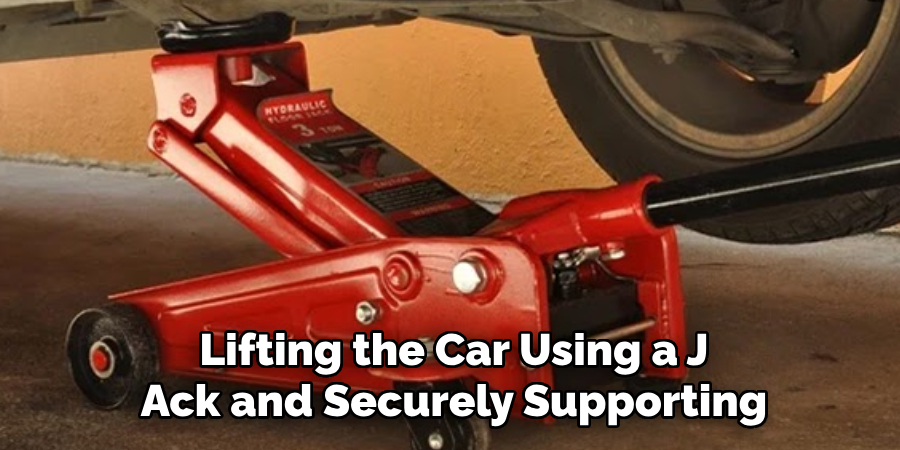
Begin by lifting the car using a jack and securely supporting it with jack stands. Ensure the vehicle is stable before proceeding with the inspection. Carefully examine the suspension system, focusing on critical parts such as the shock absorbers, springs, bushings, ball joints, and struts. Look for any visible signs of wear, damage, or misalignment that could be contributing to the squeaking noise.
Step 2: Check for Worn or Damaged Bushings
Bushings are a common culprit for suspension squeaks. Inspect bushings around the control arms, sway bars, and suspension joints for cracks, dryness, or signs of deterioration. Use a pry bar to gently test for excessive movement in the bushings. If the bushings feel loose, brittle, or overly worn, they should be replaced to restore proper function and eliminate noise.
Step 3: Examine Shock Absorbers or Struts
Closely inspect the shock absorbers or struts for leaks, dents, or visible damage. Apply pressure to test their functionality; they should resist compression and rebound smoothly. If they lack proper resistance or rebound too quickly, it’s an indication they are worn out and require replacement.
Step 4: Check Ball Joints and Springs
Inspect the ball joints by wiggling them manually or loading the suspension with a jack. Play or damage in the ball joints can lead to squeaking. Similarly, assess the springs for wear or misalignment. Worn or improperly seated springs may rub against other components, causing noise.
Step 5: Test the Vehicle
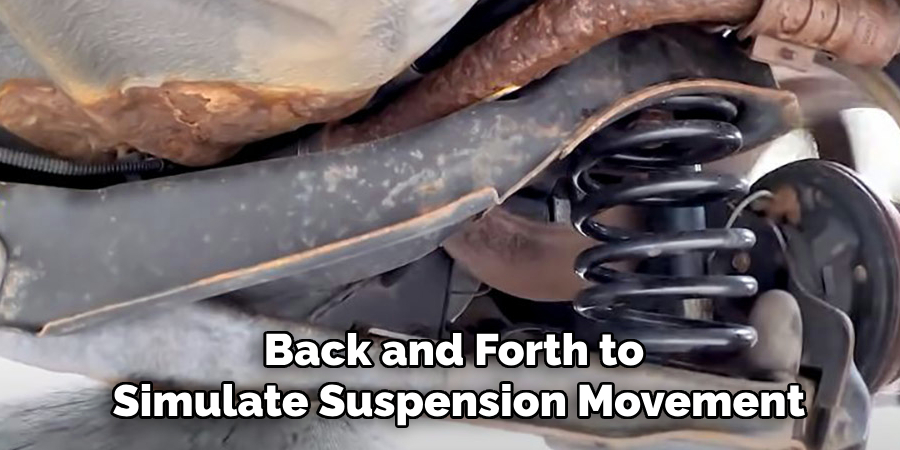
While the vehicle is raised and secured, gently move it back and forth to simulate suspension movement. Listen for squeaking sounds and observe which suspension parts move in conjunction with the noise. This hands-on test can help refine your diagnosis by identifying specific problem areas.
Tip
Conducting a thorough inspection is key to resolving suspension issues. Carefully evaluating each component ensures that you address the root cause, whether it involves one part or multiple factors. This detailed approach not only reduces frustration during repairs but also guarantees a long-lasting solution.
Lubricating Suspension Components
Step 1: Greasing Bushings
Apply high-quality silicone-based grease to the suspension bushings, especially those that show signs of wear or dryness. Use a grease gun to apply lubricant directly to the joints and bushings, ensuring even coverage. Rotate the suspension components to help the grease reach all moving parts effectively. This process reduces friction and prevents squeaking noises caused by dry or worn-out bushings.
Step 2: Lubricating Ball Joints and Other Moving Parts
Utilize a grease gun or aerosol lubricant to lubricate the ball joints, sway bar links, and other moving suspension components. Carefully inspect for any available grease fittings on the suspension parts and apply grease where necessary. Proper lubrication ensures smooth operation and eliminates noise caused by metal-on-metal contact.
Step 3: Check for Excessive Lubricant
After lubricating, ensure that you haven’t over-applied the lubricant, as excessive grease can attract dirt and debris. This accumulation can lead to additional wear and tear over time. Wipe away any excess grease, particularly near brake components or other sensitive areas where contamination could cause performance or safety issues.
Tip
Regular lubrication prevents squeaks and significantly extends the lifespan of suspension components. Incorporating this maintenance step into your routine ensures smoother rides and enhances overall vehicle safety.
Replacing Worn Suspension Parts
Step 1: Replacing Suspension Bushings
If lubrication doesn’t resolve the squeaking, you may need to replace the suspension bushings. Use a wrench or socket to remove the bolts holding the old bushings in place. Take note of the position and orientation of the existing bushings to ensure proper installation of the new ones. Install the new bushings, ensuring they are properly aligned with the mountings and securely fastened. Tighten the bolts to the manufacturer’s specified torque to prevent loosening or further issues.
Step 2: Replacing Shock Absorbers or Struts
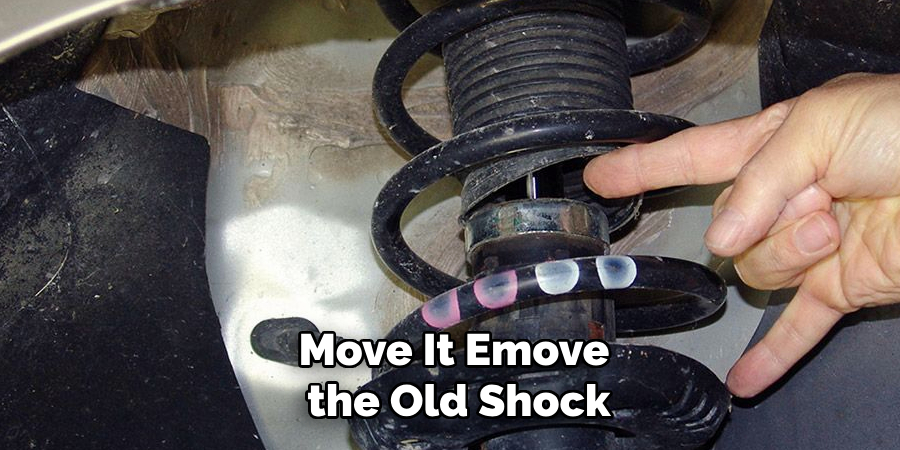
Damaged or worn shock absorbers or struts can significantly affect ride quality and suspension performance. To replace them, use a wrench to remove the mounting bolts securing the shock absorbers or struts to the vehicle. Carefully remove the old shock absorber or strut, ensuring no surrounding parts are damaged during the process. Install the replacement component, making sure to secure it with the correct torque specifications. Reassemble any components, such as sway bars or brackets, that were removed to access the shock absorbers or struts.
Step 3: Replacing Ball Joints
Ball joints are critical for maintaining proper suspension alignment and smooth operation. To replace worn ball joints, first use a ball joint press tool to safely remove the old joints from the suspension arms. Clean the mounting area before installing the new ball joints to ensure a secure fit. Install the new ball joints, taking care to properly seat them in their mounting points. Use new bolts or fasteners, as old ones may be worn, and tighten them to the advised torque levels provided by the manufacturer.
Step 4: Replacing Suspension Springs
Damaged suspension springs can lead to uneven rides or sagging, sometimes making replacement necessary. First, use a spring compressor to securely compress the old suspension springs before removing them. This prevents accidental release of tension, which can be dangerous. Remove the springs carefully, then position the new springs in the correct orientation. Check that they are properly seated in their designated mounting points before decompressing the spring compressor. Double-check their fitment after installation to ensure proper operation.
Tip
If you’re unsure about replacing suspension parts, it may be best to seek professional assistance. Proper installation is critical for your safety and the vehicle’s long-term performance. A qualified mechanic will have the tools and expertise needed to ensure each component is installed correctly and securely.
Reassembling and Final Checks
Step 1: Reassemble the Suspension Components
After replacing or lubricating the suspension components, carefully reassemble the suspension system. Start by ensuring that all bolts, fasteners, and nuts are secured in their proper places. Use a torque wrench to tighten each fastener to the manufacturer’s specified torque levels. Proper torque ensures both the safety and the longevity of the components. Double-check the alignment and fitment of each part as you proceed to avoid any oversight.
Step 2: Test the Vehicle
Once reassembly is complete, lower the vehicle safely back to the ground and take it for a short test drive. During this drive, pay close attention to whether the squeaking noise persists under normal driving conditions. Test the vehicle’s suspension by turning corners, driving over bumps, and varying speeds. The suspension should feel smooth, responsive, and free of unusual noises during these tests.
Step 3: Recheck Suspension Components
After completing the test drive, raise the vehicle once again and inspect all suspension components. Verify that everything is securely fastened and functioning as intended. If you notice any looseness or other issues, make the necessary adjustments, whether it involves tightening, lubricating, or realigning specific parts.
Tip
Ensure the vehicle is on a level surface and securely supported at all times during the reassembly and testing process. Your safety and the vehicle’s performance depend on the thorough and careful execution of these steps.
Conclusion
Learning how to fix squeaking suspension involves a careful process of diagnosing the source of the noise, lubricating components, and replacing worn parts like bushings, shock absorbers, ball joints, and springs. Each step is crucial to resolving the issue and ensuring smooth vehicle performance. Regular maintenance of suspension components is essential to prevent further damage, enhance driving comfort, and promote the safe vehicle operation. For complex repairs or beyond your skill level, it is always wise to seek professional assistance. Addressing squeaky suspension promptly improves your driving experience and extends your suspension system’s lifespan.