Ensuring the safety of your drinking water is paramount, and a functioning UV lamp in your purifier plays a crucial role in achieving that goal. UV lamps are designed to eliminate bacteria, viruses, and other harmful microorganisms, ensuring that your water is free from potential health threats. However, issues like failing to light, flickering, or diminished efficiency can compromise their performance. Knowing how to troubleshoot and fix these problems can save you money and extend the lifespan of your purifier. This guide will walk you through how to fix purifier uv lamp safely and effectively.
How UV Lamps Work in Water Purifiers
UV lamps operate using ultraviolet light, specifically within the UV-C spectrum, to neutralize microorganisms. This type of UV light disrupts the DNA of bacteria, viruses, and other pathogens, rendering them unable to reproduce and cause harm. Water passes through the purification chamber, where the UV lamp emits this powerful light, ensuring clean and safe water.
The lifespan of a UV lamp varies depending on the model and usage, but typically spans 9,000 to 12,000 hours or about a year of continuous use. Factors such as excessive usage or fluctuating power supply can reduce its efficiency prematurely. Recognizing how these lamps operate will help you better understand when repairs or replacements are needed.
Signs That Your UV Lamp May Need Fixing
Common Symptoms
When a UV lamp in your purifier begins to malfunction, it shows certain symptoms, including:
- Water purifier stops dispensing purified water: Some purifiers shut down entirely if the lamp fails.
- Error indicators: Many models include a light or alarm system that signals lamp issues.
- Flickering or buzzing noises: These can indicate internal faults or ballast issues impacting the UV lamp’s operation.
Identifying these signs early enables you to address the problem before it impacts water quality.
Diagnosing the Issue
Diagnosing the problem involves systematic checks:
- Inspect the purifier’s indicator light system: If a fault is detected, the lamp area often features a specific error light.
- Test water flow and quality: Compare current performance to when the purifier was working correctly.
- Check for power issues: Lamp malfunctions may also result from faulty ballast components or connection issues.
This step eliminates guesswork and helps you isolate the root cause.
Tools and Supplies Needed
Before attempting to fix your UV lamp, gather the necessary tools and supplies:
- Toolkit: Include items like screwdrivers and pliers.
- Multimeter: Required for testing electrical connections and components.
- Protective gloves: UV lamps are delicate, and oils from bare hands can compromise their functionality.
- Replacement parts: UV lamp tube, connectors, or a ballast if needed.
- Cleaning materials: Use a lint-free cloth and isopropyl alcohol for maintenance.
Being well-prepared minimizes risk and ensures an efficient repair process.
Safety Precautions When Handling UV Lamps
It is important to take certain safety precautions when handling UV lamps, as they contain components that can be hazardous if not handled properly. Here are some tips to ensure your safety while working with UV lamps:
- Wear protective gear: Always wear safety glasses and gloves when handling any electrical equipment, including UV lamps.
- Use caution when turning on the lamp: Make sure to turn off the power supply before turning on the lamp. This will prevent any potential electric shock.
- Handle with care: Be gentle when handling UV lamps, as they contain delicate components that can easily break or malfunction if mishandled.
- Check for cracks or damage: Before use, inspect the lamp for any cracks or damage. If you notice any, do not use the lamp as it could be a safety hazard.
- Position lamp properly: Ensure that the UV lamp is positioned correctly and securely in its designated holder to prevent any accidents or damage.
- Clean regularly: Regular cleaning of the UV lamp is essential for optimal performance and longevity. Use appropriate cleaning solutions and techniques recommended by the manufacturer.
- Replace bulbs when necessary: Over time, UV lamps may lose their effectiveness due to wear and tear. Be sure to replace them when necessary according to the manufacturer’s instructions.
How to Fix Purifier UV Lamp: Step-by-Step Guide
Preparing for the Repair
- Switch off the purifier and its power source: Disconnect from the plug to eliminate electrical risks.
- Locate the UV lamp housing: Use the user’s manual to identify where the lamp is installed.
- Safety check: Ensure the purifier has cooled down if it was recently in operation.
Replacing the UV Lamp
- Carefully remove the housing using a screwdriver.
- Gently extract the faulty UV lamp while noting the orientation for accurate reinstallation.
- Insert the new lamp securely into the connectors, avoiding contact with the glass.
- Reattach the housing and ensure all screws are tightened firmly.
Testing and Reassembly
- Reconnect power: After replacing the lamp, turn on the purifier and observe the indicator light to verify functionality.
- Run a test cycle: Dispense water and check for any error alerts or unusual noises.
- Inspect components to confirm everything is reassembled properly.
Once complete, your purifier should operate like new.
Troubleshooting Common UV Lamp Issues
UV Lamp Not Turning On
This issue often results from:
- Damaged ballasts or circuitry: Use a multimeter to test for proper voltage supply and consider replacing faulty components.
- Loose connections: Ensure all cables and connectors are securely attached.
Reduced Purification Efficiency
If the UV intensity diminishes:
- Clean the lamp’s quartz sleeve: Dust or debris can block UV-C light from penetrating.
- Replace the lamp: Expired lamps lose their effectiveness and should be switched out promptly.
Persistent Error Lights
Constant error alarms can typically be resolved by:
- Press the reset button after a successful replacement.
- Contact customer support if the error persists beyond normal troubleshooting steps.
Preventive Maintenance Tips
Monthly
- Visually inspect the lamp’s condition. The quartz sleeve may need cleaning or the lamp itself may require replacement.
- Ensure proper ventilation and airflow around the unit. Blocked vents can lead to overheating and decreased UV-C output.
- Clean or replace any filters in the unit, as their effectiveness will diminish over time if not maintained.
Quarterly
- Check electrical connections for corrosion or loose wires. This can affect the functioning of the unit and potentially lead to safety hazards.
- Inspect reflectors for dirt or damage. Dirty or damaged reflectors can significantly decrease UV-C light output.
- Test and record UV-C intensity with a radiometer to ensure it is within manufacturer’s specifications.
- Have the unit inspected by a professional to identify any potential issues or necessary repairs.
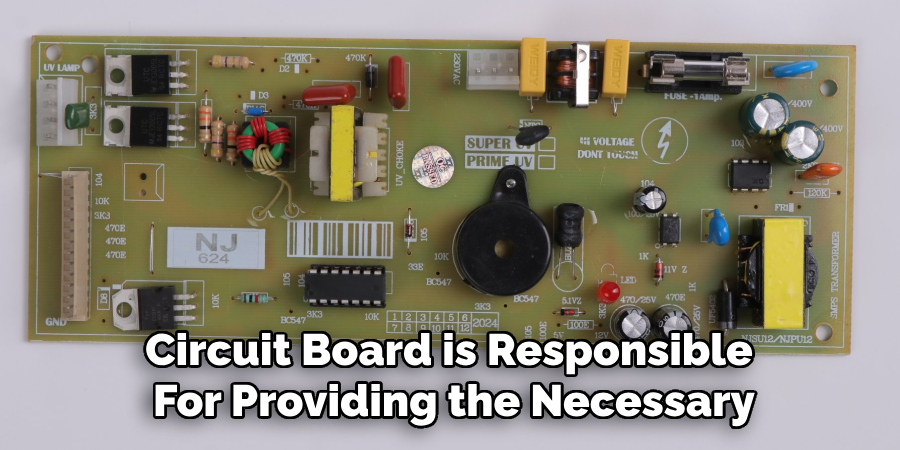
How to Identify a Faulty Ballast or Circuit Board
The UV lamp’s ballast or circuit board is responsible for providing the necessary voltage to start and maintain the lamp’s operation. It also protects the lamp from overheating and electrical spikes. A faulty ballast or circuit board can cause your purifier to stop working properly, so it’s important to identify any issues as soon as possible.
Here are some signs that may indicate a malfunctioning ballast or circuit board:
- Lamp failure: If your UV lamp is not turning on at all, it could be due to a faulty ballast or circuit board.
- Flickering light: If you notice your UV lamp flickering on and off, this could mean that the ballast or circuit board is not providing a steady flow of electricity.
- Strange noises: Unusual buzzing, humming, or clicking sounds coming from your purifier could also be a sign of a malfunctioning ballast or circuit board.
- Inaccurate readings: Some air purifiers have sensors that detect the level of pollutants in the air. If these readings are inconsistent or inaccurate, it could be due to a faulty circuit board.
If you notice any of these signs, it is important to address the issue as soon as possible. Ignoring a malfunctioning ballast or circuit board can not only affect the performance and effectiveness of your UV air purifier but it can also pose potential safety hazards.
Frequently Asked Questions
What Is the Purpose of a UV Water Purification System?
A UV water purification system uses ultraviolet light to eliminate harmful microorganisms, such as bacteria, viruses, and protozoa, from water, ensuring it is safe for consumption.
How Often Should I Replace the UV Lamp?
Generally, UV lamps should be replaced every 9,000 to 10,000 hours of use (approximately once a year) to maintain optimal performance and effective water disinfection.
Can I Install the UV System Myself?
While some UV systems are designed for easy DIY installation, it is recommended to consult a professional plumber or technician to ensure proper and safe installation.
What Should I Do If the System Stops Working?
If the system stops working, check the power supply, inspect the UV lamp for damage, and test the ballast or circuit board. Replace faulty components as needed or contact a qualified technician for assistance.
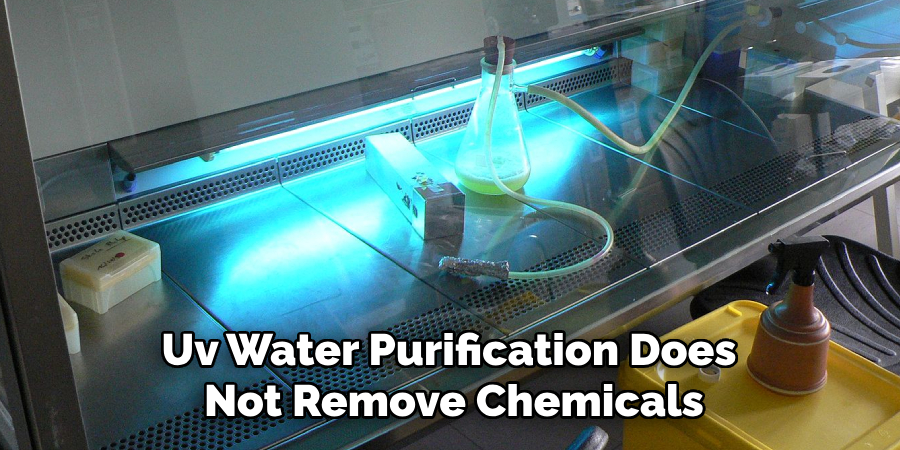
Does UV Water Purification Remove Chemicals?
No, UV water purification does not remove chemicals, heavy metals, or sediment. It only eliminates microorganisms, so pairing it with a filtration system is often necessary for comprehensive water treatment.
Conclusion
Ensuring your water purifier’s UV lamp is functioning properly is vital for safe and clean drinking water. This guide covers everything from recognizing issues to performing DIY repairs and preventive maintenance. By addressing problems promptly, you’ll ensure your purifier continues to operate efficiently, protecting your health and saving on long-term expenses. Prioritize regular checks and replacements to keep your UV lamp in optimal condition. Thanks for reading our post about how to fix purifier uv lamp.