When the webbing on your patio chairs begins to fray or sag, it not only diminishes the aesthetic appeal of your outdoor space but also compromises the comfort and functionality of the seating. Fortunately, repairing or replacing the webbing is a straightforward process that can extend the life of your furniture.
This guide will walk you through how to fix patio chair webbing, ensuring they look good as new and provide support for years to come. Whether you’re dealing with synthetic or natural materials, these easy-to-follow instructions will help you refresh your furniture without needing to purchase new pieces.
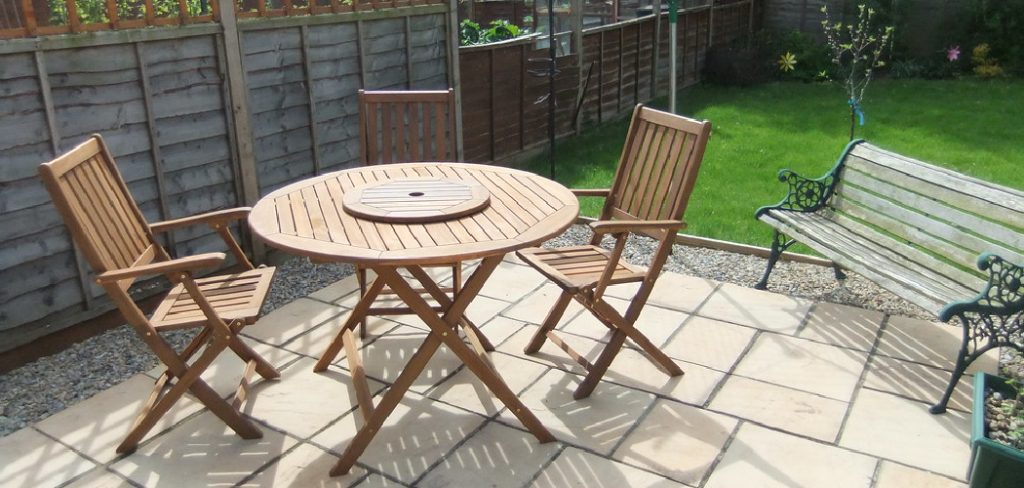
Understanding Patio Chair Webbing Issues
Webbing issues can arise from various factors, and it’s essential to identify the root cause before attempting any repairs. Common problems include fraying, sagging, tearing, or discoloration due to prolonged exposure to the elements such as sun and rain. Webbing made from materials like vinyl, nylon, or polyester can degrade over time if not properly maintained.
Sunlight, in particular, can weaken fibers and fade colors, while moisture can lead to mold and mildew growth. By understanding these potential issues, you can take preventive measures and choose the correct approach to restore your patio chairs effectively.
Tools and Materials Needed
Before you begin the repair process, gather the essential tools and materials to ensure a smooth and efficient task. You will need a tape measure to accurately determine the dimensions of the webbing required. A pair of scissors or a utility knife will be necessary for cutting the webbing to size. A screwdriver, preferably with interchangeable bits, will help in removing any screws from the chair frame.
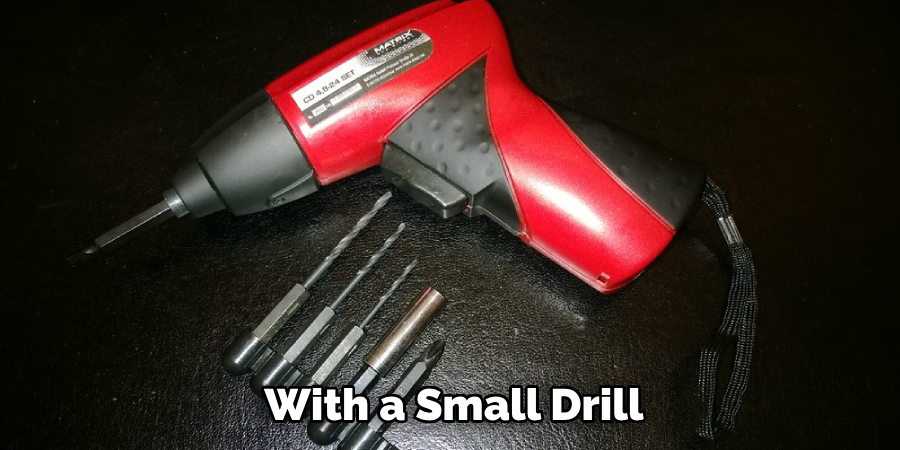
You may need a drill with a small drill bit for creating holes if new ones are required. Additionally, a webbing stretcher tool will aid in achieving a tight fit. As for materials, you will need the replacement webbing itself, which can be purchased in rolls and comes in various colors and patterns to match your existing decor. Plastic rivets or screws, depending on your chair type, will secure the new webbing in place. Lastly, consider having some protective gloves to ensure safety while handling tools and materials.
10 Methods How to Fix Patio Chair Webbing
1. Assess the Damage
Before diving into any repairs, it’s crucial to thoroughly assess the condition of the webbing on your patio chairs. Carefully inspect each chair to identify the extent of the damage. Look for frayed edges, tears, or completely broken webbing. Note whether only a section of webbing needs repair or if the entire seat needs replacing. This initial evaluation will guide your repair efforts and help you determine the necessary materials and methods to use.
2. Gather Necessary Tools and Materials
Once you’ve assessed the damage, gather the tools and materials needed for the repair. Common items include replacement webbing (usually made from polyester or vinyl), scissors, a staple gun or upholstery tacker, a measuring tape, and a screwdriver. If you’re replacing the entire seat webbing, you may also need a utility knife and a fabric or webbing stretcher. Having all the necessary tools on hand will streamline the repair process and ensure you don’t have to pause mid-repair to find missing items.
3. Remove Damaged Webbing
If only a section of the webbing is damaged, you can remove just that part; however, if the webbing is extensively worn, it’s often best to replace it entirely. To remove damaged webbing, use a utility knife to cut away any frayed or torn pieces. If the webbing is secured with staples or tacks, use a staple remover or pliers to gently pry them out. Take care not to damage the frame of the chair during this process. Once the damaged webbing is removed, clean the area of any debris to prepare for the new webbing.
4. Measure for Replacement Webbing
Accurate measurements are essential when replacing patio chair webbing. Using a measuring tape, determine the length and width required for the new webbing. If your chair has multiple strips of webbing, measure each strip individually to ensure a proper fit. It’s a good idea to add a few extra inches to your measurements to account for any adjustments that may need to be made during installation. Once you have the correct measurements, you can purchase the appropriate amount of replacement webbing.
5. Cut New Webbing to Size
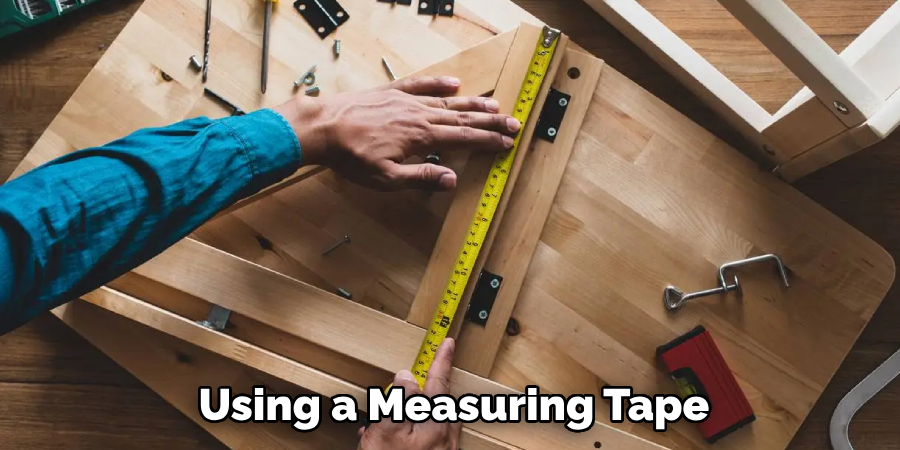
After acquiring the replacement webbing, cut it to size according to your measurements. Use sharp scissors or a utility knife for clean, straight cuts. If you’re working with multiple strips, ensure they are all uniform in length and width. It’s important to handle the new webbing with care to prevent any fraying or damage during cutting. Properly sized webbing will make installation smoother and ensure a snug fit for your patio chair.
6. Attach New Webbing to the Chair Frame
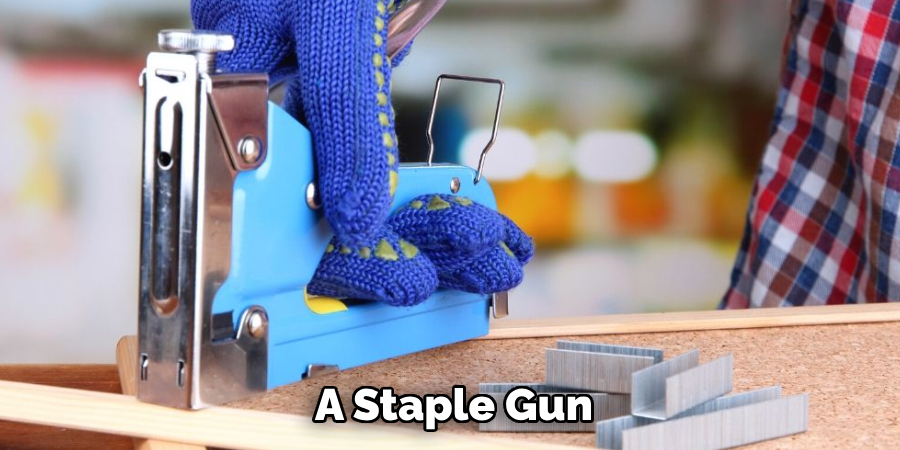
When you’re ready to install the new webbing, lay it across the chair frame in the appropriate position. If your chair has a specific pattern for the webbing, make sure to replicate it accurately. Starting from one end of the chair, secure the webbing in place using a staple gun or upholstery tacker. Begin by stapling one end, then pull the webbing taut before securing the other end.
Repeat this process for any additional strips of webbing, ensuring that each is evenly spaced and securely attached to the frame. Proper tension is crucial for comfort and durability.
7. Use a Webbing Stretcher for Even Tension
For optimal results, consider using a webbing stretcher to ensure even tension across the webbing strips. A webbing stretcher allows you to pull the webbing tight while securing it in place, preventing sagging or unevenness. If you don’t have a webbing stretcher, you can achieve similar results by pulling the webbing taut by hand before stapling. However, using a stretcher will provide a more consistent finish and enhance the overall comfort of the chair.
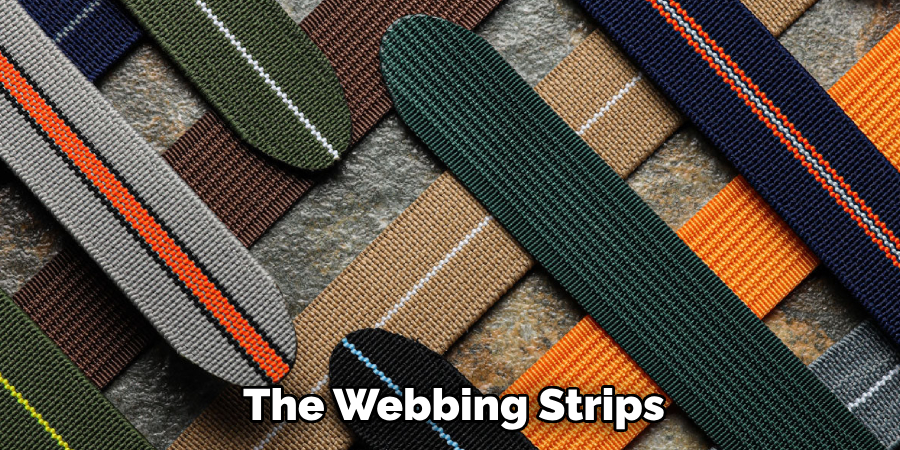
8. Reinforce the Webbing with Additional Staples
Once the new webbing is attached, it’s a good idea to reinforce the secured areas with additional staples for added durability. Focus on the corners and edges where tension is greatest, as these areas are prone to wear over time. Make sure the staples are driven in completely and are flush with the frame to prevent any sharp edges that could catch on clothing or skin. This extra reinforcement will help ensure that your repairs last longer and provide better support for the seat.
9. Trim Excess Webbing
After securing the new webbing in place, take a moment to trim any excess material. Use scissors or a utility knife to carefully cut away any extra webbing that extends beyond the staples. Make sure not to cut too close to the staples, as this could weaken the attachment points. Trimming excess webbing will create a neat and tidy finish, enhancing the overall appearance of your patio chair.
10. Regular Maintenance and Inspection
To prolong the life of your repaired patio chair webbing, establish a routine maintenance schedule. Regularly inspect the webbing for any signs of wear, fraying, or loosening. Promptly addressing any minor issues can prevent more extensive damage down the line. Additionally, consider cleaning the webbing periodically with mild soap and water to remove dirt and debris. Keeping your patio chairs in good condition not only enhances their appearance but also ensures comfort and safety for your outdoor gatherings.
Things to Consider When Repairing Patio Chair Webbing
When undertaking the task of repairing patio chair webbing, there are several factors to keep in mind to ensure a successful and lasting repair. First, always choose high-quality replacement webbing material that is suitable for outdoor use, as this will withstand weather exposure and frequent use better than indoor materials. Additionally, consider the color and pattern of the webbing to match or complement your existing patio furniture for a cohesive look.
Pay attention to the condition of the chair frame itself; a weak or damaged frame may require repairs or reinforcement before new webbing can be attached. Lastly, think about the tools available to you. Having the right tools, such as a staple gun or webbing stretcher, can make the repair process more efficient and reduce the risk of errors. Taking these considerations into account will help you restore your patio chairs effectively and enhance their longevity.
Conclusion
Fixing patio chair webbing is a manageable task that can revitalize your outdoor furniture and extend its lifespan. By following these 10 methods—from assessing the damage and gathering necessary materials to replacing and securing the webbing—you can restore your patio chairs to their original comfort and functionality.
Regular maintenance will further ensure that your chairs remain inviting spaces for relaxation and enjoyment. Thanks for reading, and we hope this has given you some inspiration on how to fix patio chair webbing!
