Do you need help with your Juul device? Don’t worry, you’re not alone. Many Juul users have experienced issues with their devices at some point. Fortunately, most problems can be easily fixed without needing professional help or replacement.
If you’re a Juul user, you might occasionally face issues that disrupt your vaping experience. From battery malfunctions to pod connectivity problems, many common issues can arise. Understanding how to diagnose and fix these problems can save you time and frustration. The following guide on how to fix juul, will equip you with practical tips and solutions to address the most frequently encountered issues with Juul devices.
Whether it’s cleaning the connections or troubleshooting power issues, these straightforward fixes will help you maintain a smooth and satisfying vaping experience.
What are the Reasons for Juul’s Malfunctions?
Before discussing the solutions, let’s examine some of the common reasons behind Juul malfunctions. Knowing what causes these issues is essential for preventing them from occurring in the future.
One of the most common problems with Juul devices is dirty connections. Over time, dust and debris can build up on the connection points between your device and pods, leading to connectivity issues. Another issue is battery corrosion, which can occur due to exposure to moisture or liquid spills. Faulty chargers or low-quality charging accessories can also cause problems with your Juul device’s battery life.
What Will You Need?
Before diving into the specific steps for fixing your Juul, having a few basic tools on hand is helpful. These include:
- Cotton swabs
- Rubbing alcohol
- A small brush (such as a toothbrush)
- A paperclip or pin
- An extra Juul pod (optional)
Having these readily available will make troubleshooting and resolving any issues with your Juul easier.
10 Easy Steps on How to Fix Juul
Step 1: Clean the Connections
Start by cleaning the connections between the Juul device and the pod. Over time, debris or juice can accumulate and interfere with the electrical connection. Use a cotton swab dampened with a small amount of rubbing alcohol to gently clean the metallic contacts on both the device and the pod. Allow the connections to dry completely before reassembling. This simple step often resolves connectivity issues and ensures a better vaping experience.

Step 2: Check the Battery Connection
If cleaning the connections doesn’t solve the issue, the next step is to check the battery’s connection. Sometimes, the Juul device won’t charge properly due to a misalignment between the battery and the charging dock. To fix this, gently tap the Juul device on a flat surface, ensuring that it’s not a complex or damaging impact, to nudge the battery into place. After doing this, connect your Juul to the charger and observe if it begins to charge. Alternatively, use a different USB port or charger to rule out charger-related problems.
Step 3: Inspect the Juul Pod
If your Juul device is still not functioning correctly, it’s essential to inspect the pod itself. Check for cracks or leaks, as damaged pods can cause leakage and connectivity issues. Ensure that the pod is fully clicked on and placed within the device. Sometimes, reseating the pod can resolve malfunctions related to poor connectivity. If the pod appears damaged or used, replacing it with a new pod may resolve the issue and restore average performance.
Step 4: Reset the Internal Sensor
If your Juul device is still non-responsive, it may be necessary to reset the internal sensor. This sensor can occasionally become misaligned, particularly if the device has been dropped or handled roughly. To reset the sensor, take a paperclip or pin and gently insert it into the small hole on your Juul’s back. Apply a light pressure for a few seconds to perform the reset. This simple action can often jump-start your device, restoring its functionality and ensuring it recognizes when to activate upon inhalation.
Step 5: Test with Another Device
If resetting the internal sensor does not solve the issue, testing your Juul pod with another device can help determine whether the problem lies with the pod or the device itself. Borrow a Juul from a friend or use a spare device if you have one. Insert the problematic pod into this alternate Juul and check if it functions correctly. If the pod works on another device, the issue likely stems from your original Juul device, and further troubleshooting may be necessary. If the pod still doesn’t work, consider replacing it, as it might be faulty.
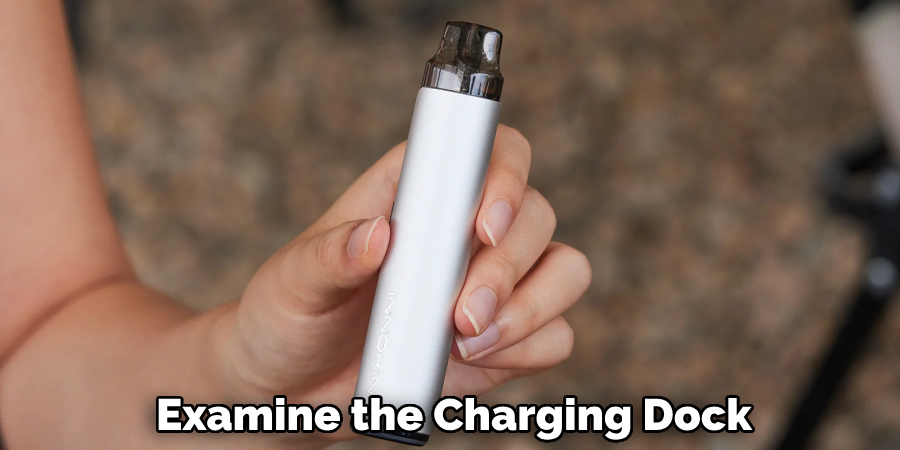
Step 6: Examine the Charging Dock
If your Juul device still isn’t charging correctly, examine the charging dock for potential issues. Sometimes, dust or debris can accumulate in the dock, preventing a solid connection between the device and charger. Use a small brush or a toothbrush to clean the dock, ensuring there’s no blockage gently. Additionally, inspect the charging cable for any visible damage that might be interfering with the charging process.
Testing the charging dock with another Juul device, if available, can also help ascertain whether the dock or charger is dysfunctional. By thoroughly checking and cleaning the charging setup, you may resolve ongoing charging complications and prolong the life of your Juul device.
Step 7: Ensure Proper Airflow
If your Juul device is experiencing weak hits or a lack of vapor production, it may be due to restricted airflow. Check to make sure that nothing is blocking your Juul’s air path. This can be done by examining the small air intake holes on the pod and the device body itself. Gently clean these areas using a paperclip to remove any debris or obstructions. Ensuring proper airflow will often enhance vapor production and improve the overall performance of your Juul device, leading to a more satisfying vaping experience.
Step 8: Replace Faulty Components
If you have tried all the previous steps and your Juul device still isn’t working correctly, consider replacing faulty components. Over time, repeated use and exposure to e-liquid can wear down parts like the battery or the pod connectors. If the battery isn’t charged or the connection points appear corroded, replacing these parts might restore your device to optimal functionality.
While replacing components requires a bit of investment, it can extend the life of your Juul and provide a consistent vaping experience. Remember to purchase parts from a reputable source to ensure compatibility and quality.
Step 9: Contact Customer Support
If all troubleshooting steps have been exhausted and your Juul device continues to malfunction, it may be time to contact Juul’s customer support for assistance. They can provide specific guidance based on your device’s symptoms and may offer solutions not covered in general troubleshooting. Additionally, contacting customer support can facilitate a repair or replacement process if your device is still under warranty.

Ensure you have your device’s serial number and purchase receipts ready when contacting you to expedite the support process. Engaging with customer support can provide the necessary expertise to help resolve persistent issues and ensure you get back to a seamless vaping experience.
Step 10: Maintain Regular Cleaning
Regular maintenance and cleaning are essential to ensure your Juul device’s longevity and optimal performance. Periodically clean the exterior of the device and charging contacts with a microfiber cloth to remove any dust or e-liquid residue buildup. Pay particular attention to the connectors on both the device and the pods, as residue can impede proper connectivity and functionality.
Additionally, consider setting a schedule to check for visible damage or wear and replace pods or other components as needed. Integrating regular cleaning into your routine can help preserve your Juul device’s efficiency and enhance your vaping experience over time.
By following these ten steps, you can troubleshoot and resolve common issues with your Juul device, ensuring a consistent and enjoyable vaping experience.
5 Things You Should Avoid
1. Using Unapproved Tools
Avoid meddling with your Juul device using improvised or unapproved tools, as this can cause irreversible damage to the delicate components inside.
2. Applying Excessive Force
Avoid using too much force when opening or disassembling the device. This could lead to breakage or the snapping of crucial parts.
3. Ignoring Safety Precautions
Always prioritize safety by not bypassing essential guidelines or using unsafe practices that can lead to accidents or further device damage.
4. Misusing Liquids
Do not pour or apply any liquids directly onto the Juul or its internal parts. Moisture inside the device can cause short circuits or other significant malfunctions.
5. Relying Heavily on DIY Fixes from Unverified Sources
While some DIY solutions may work, it’s crucial to use unverified methods found online, as they can often be unreliable and may void any warranty or guarantee associated with the Juul device.

By avoiding these five things, you can ensure your Juul device remains in good condition for long-term use.
Conclusion
In summary, how to fix Juul involves an understanding of both proactive and reactive measures.
Regularly cleaning and maintaining your Juul can prevent many common issues before they arise. When problems occur, carefully follow a structured troubleshooting process, beginning with the most uncomplicated checks, such as examining the pod and charging connection, and progressing through more involved steps, such as replacing components. It’s essential to approach each potential issue methodically, using only approved tools and avoiding unsafe or unverified fixes. If all your efforts do not yield a solution, Juul’s customer support is a valuable resource for additional assistance, especially if the device remains under warranty.
By adhering to these guidelines, you can extend the life of your Juul device and ensure a continuous and satisfying vaping experience.